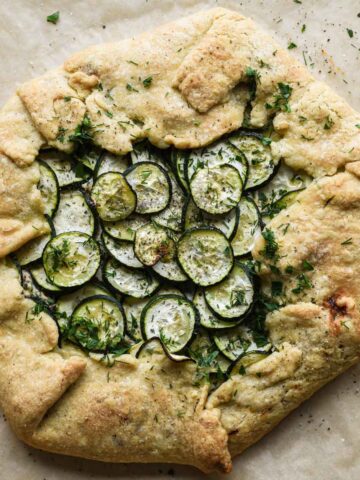
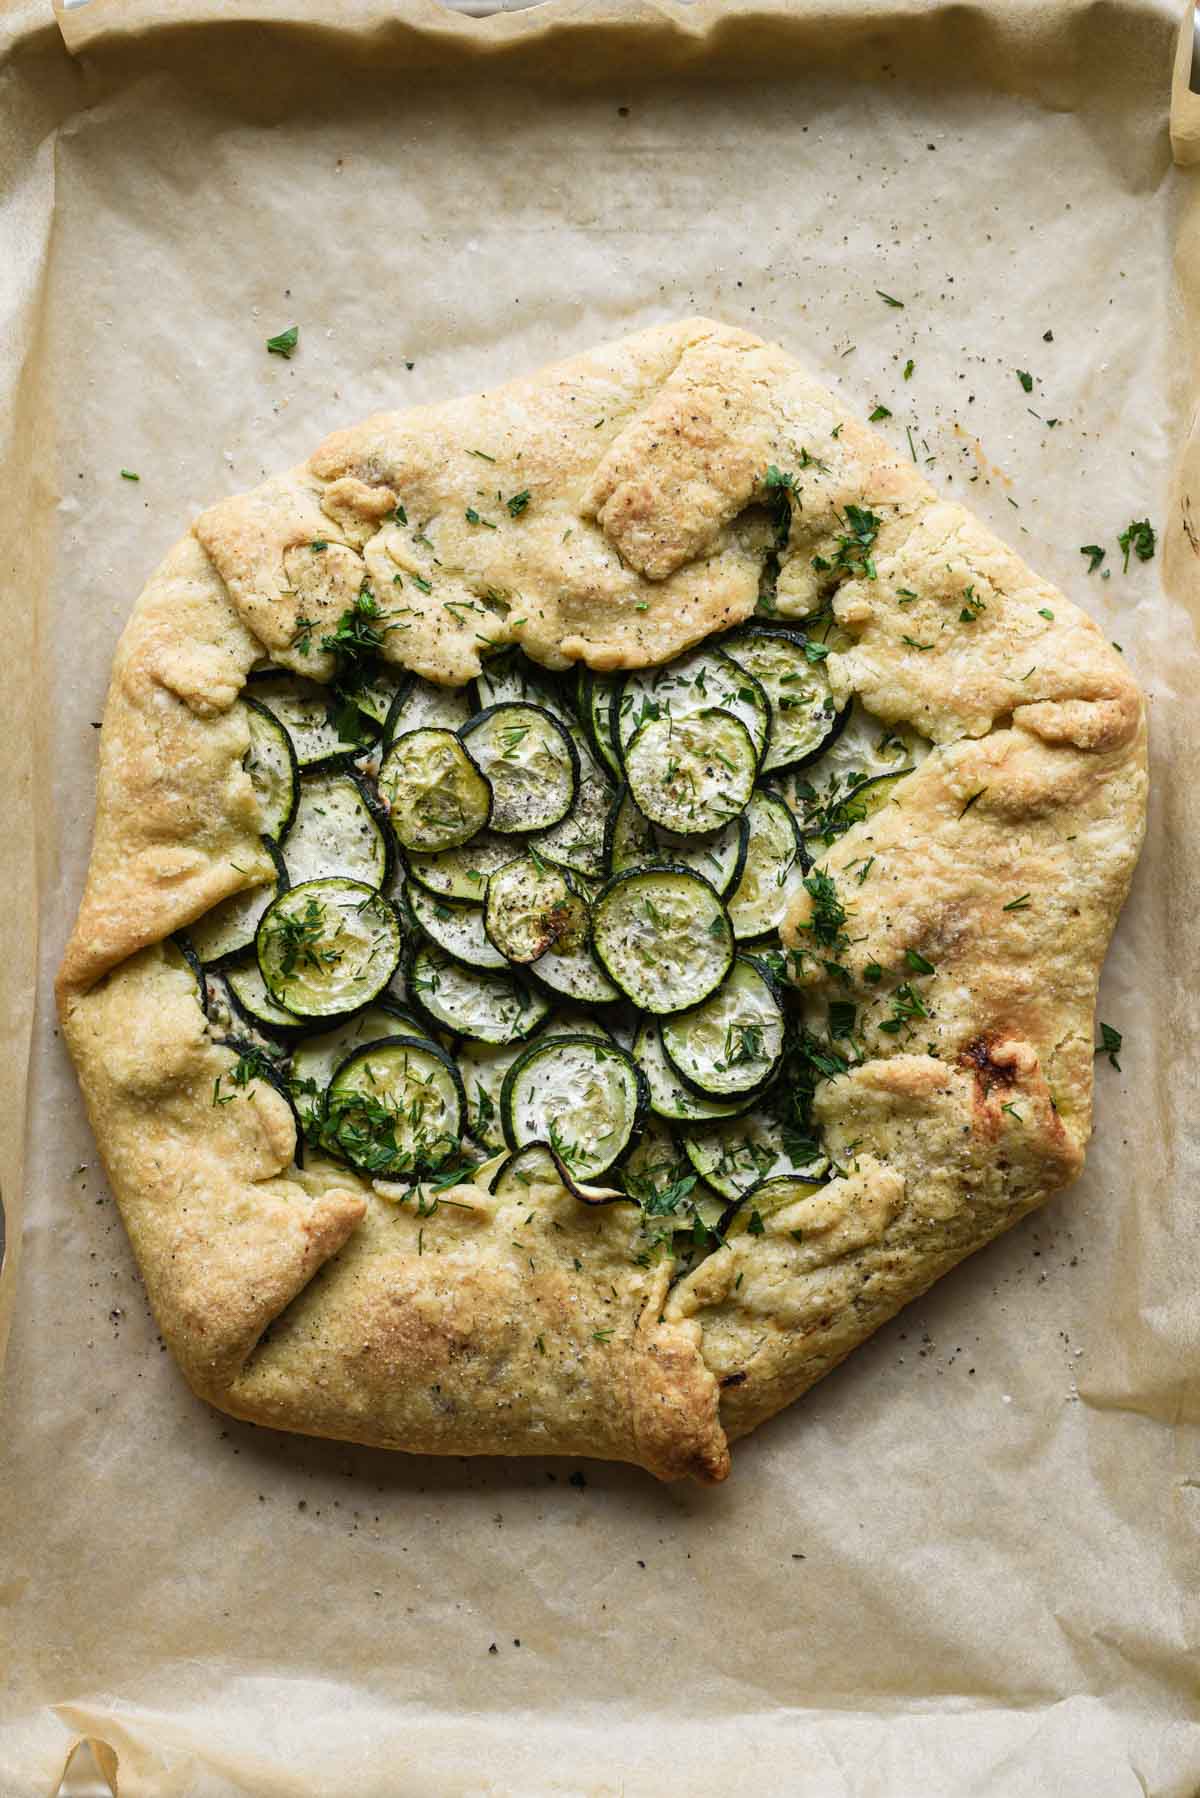
This Zucchini Ricotta Galette screams summer comfort and is a nice alternative to the typical sweet galette. A buttery flaky crust layered with sweet caramelized onion jam, creamy herby spiced ricotta cheese, and thinly sliced zucchini that melt in your mouth. A perfect bite.
Ingredients
Not too many ingredients are needed to make this zucchini ricotta galette, allowing each of them to really shine.

For the filling:
- Fresh zucchini: A super versatile vegetable that's great in the summer – either green zucchini or yellow squash both work. For this recipe the squash needs to be sliced roughly ¼ inch thin.
- Caramelized onion jam: a great item to have on hand, usually can be found in the grocery store aisle near jams or jarred olives. If you can't find this ingredient, you can use homemade caramelized onions.
- Fresh herbs: fresh parsley and dill, chopped.
- Aleppo pepper: slightly spicy and slightly smoky, a great pairing with the dish.
- Ricotta cheese: a mild and creamy cheese.
- Lemon zest: brightens the dish and adds acidity.
For the crust:
- All purpose flour: standard baking flour.
- Cold unsalted butter: cold butter to help get flaky layers.
- Ice water: cold water helps keep the butter colder longer.
- Kosher salt.
How to make a zucchini ricotta galette

Start the dough for the crust. In a food processor pulse together the all purpose flour and cubed butter until you get coarse sand with clumps of butter.

Add water. Add the cold water to the butter-flour mixture and pulse again until the mixture is moistened and stays together when squeezed in your hand.

Form the dough into a disc. Turn it out onto a lightly floured surface and gently form into a flat disk.

Wrap and cool the dough. Wrap the dough in plastic wrap and put it in the fridge for at least an hour.

Make the ricotta cheese filling. In a large bowl mix together the ricotta, lemon zest, aleppo pepper, herbs, and salt.

Roll out the dough. Unwrap the dough and place it on a lightly floured surface. Roll it out into a large circle (it doesn’t have to be perfectly shaped). You want it at least 12 inches in diameter, pretty thin. Transfer it to a parchment paper lined baking sheet.

Assemble. Leaving a 2-inch border of crust, spread out the caramelized onion jam on the dough. On top of that spread out the creamy ricotta filling. Lastly place the thin rounds of zucchini slices over top, overlapping where needed.

Fold up the sides. Once all the filling is in, fold the dough edges up over the filling. Brush the crust with olive oil and drizzle some over the zucchini as well. Sprinkle the whole thing with a pinch of salt.

Bake. Put the galette into a preheated 400°F oven and bake for 40 minutes until golden brown.
Tips and tricks
- You can use a store bought pie dough, just be sure to defrost it before use.
- Use a mandoline to easily slice the zucchini.
- If the zucchini looks excessively wet or moist lay the slices on paper towels and blot away the excess moisture.
- If you don't have a food processor you can cut the butter into the flour with a pastry cutter or even with your hands.
- To easily transfer the dough onto the parchment-lined baking sheet, roll it onto your rolling pin then unroll it onto the sheet.
- Make sure you add the fillings to the dough after you put the dough on the baking sheet, otherwise it’ll be incredibly difficult to transfer.
- If you brush the crust with egg wash (beaten egg + a splash of water) or just beaten egg yolk it’ll get even more golden brown.
- Use an oven thermometer to monitor your oven temperature.
What to serve with a savory galette
It depends what time of the day you're serving the galette, but assuming roughly midday here are some options for accompaniments:
- A big green salad
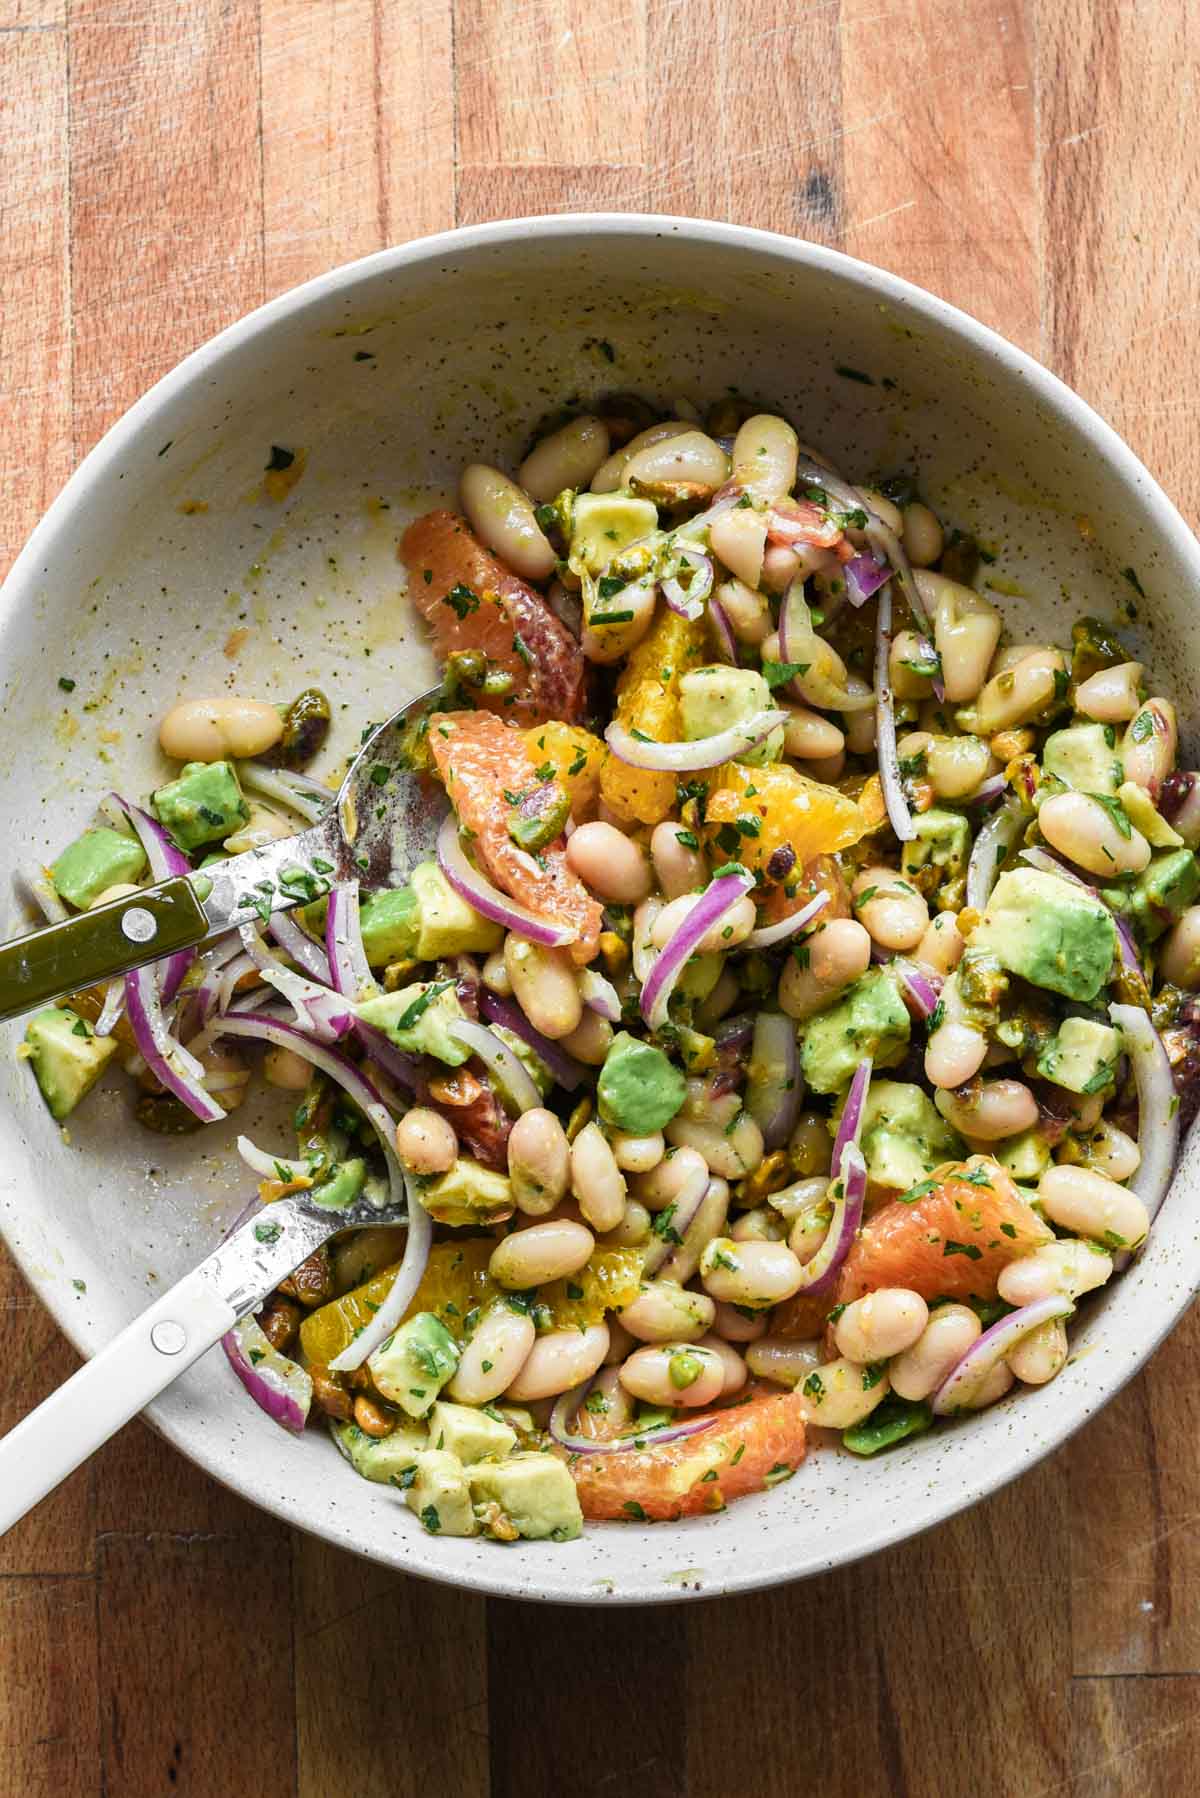
- Something fresh like a cold marinated bean salad or some fruit
- Grilled chicken or shrimp
- Roasted corn.

Storage and reheating
- Store in an airtight container in the fridge for up to 4 days.
- Reheat in a 350°F oven for ~10-15 minutes.
- I would not recommend freezing this dish.
FAQs
Galettes are single layered rustic tarts – or open-faced pies. They are super easy to make because they don't require par-baking the crust.
No, not for a galette.
Yes! You can make it the day before and warm it in the oven at 350°F for ~15 before serving. Alternatively, you can prepare each of the ingredients in advance – make the crust and let it chill, slice the zucchini, and make the ricotta mixture. Then just assemble and bake when you need it.
Substitute 1:1 gluten free flour and it should work fine, although I haven’t tested it.
Did you make this recipe? Leave a rating and review below and tag me on social!
📖 Recipe

Zucchini Ricotta Galette
Ingredients
For the crust
- 1 ¼ cup all purpose flour
- ¼ teaspoon kosher salt
- 1 stick cold unsalted butter, cubed 8 tbsp
- 3-4 tablespoon ice water
For the filling
- 2 large zucchini
- ¼ cup loosely packed fresh parsley chopped
- ¼ cup loosely packed fresh dill chopped
- 1 teaspoon lemon zest
- ½ teaspoon aleppo pepper
- 1 teaspoon kosher salt
- ½ cup caramelized onion jam
- ¾ cup ricotta cheese
- 1 tablespoon extra virgin olive oil
Instructions
- Preheat oven to 400°F.
- Begin making the dough for the crust. In a food processor pulse together the all purpose flour and cubed butter until you get coarse sand with clumps of butter.
- Add the water. Add the cold water to the butter-flour mixture and pulse again until the mixture is moistened and stays together when squeezed in your hand.
- Form the dough into a disc. Turn it out onto a lightly floured surface and gently form into a flat disk.
- Wrap and cool the dough. Wrap the dough in plastic wrap and put it in the fridge for at least an hour.
- Make the filling. In a large bowl mix together the ricotta, lemon zest, aleppo pepper, herbs, and salt.
- Roll out the dough. Unwrap the dough and place it on a lightly floured surface. Roll it out into a large circle (it doesn’t have to be perfectly shaped). You want it at least 12 inches in diameter, pretty thin. Transfer it to a parchment paper lined baking sheet.
- Assemble. Leaving a 2-inch border of crust, spread out the caramelized onion jam on the dough. On top of that spread out the creamy ricotta filling. Lastly place the thin rounds of zucchini slices over top, overlapping where needed.
- Fold up the sides. Once all the filling is in, fold the dough edges up over the filling. Brush the crust with olive oil and drizzle some over the zucchini as well. Sprinkle the whole thing with a pinch of salt.
- Bake. Put the galette into a preheated 400°F oven and bake for 40 minutes until golden brown.