


This Puff Pastry Tomato Tart is a delicious vegetarian appetizer and a great way to use fresh farmer's market tomatoes. It’s super easy thanks to the store-bought puff pastry, and full of flavor with an herbed lemony ricotta base and a heirloom tomato shallot topping. Definitely grab the puff pastry next time you’re at the market so you can make this!

Jump to:
Ingredients
A short list of ingredients are needed to make this flaky tomato puff pastry tart and each has an important role.
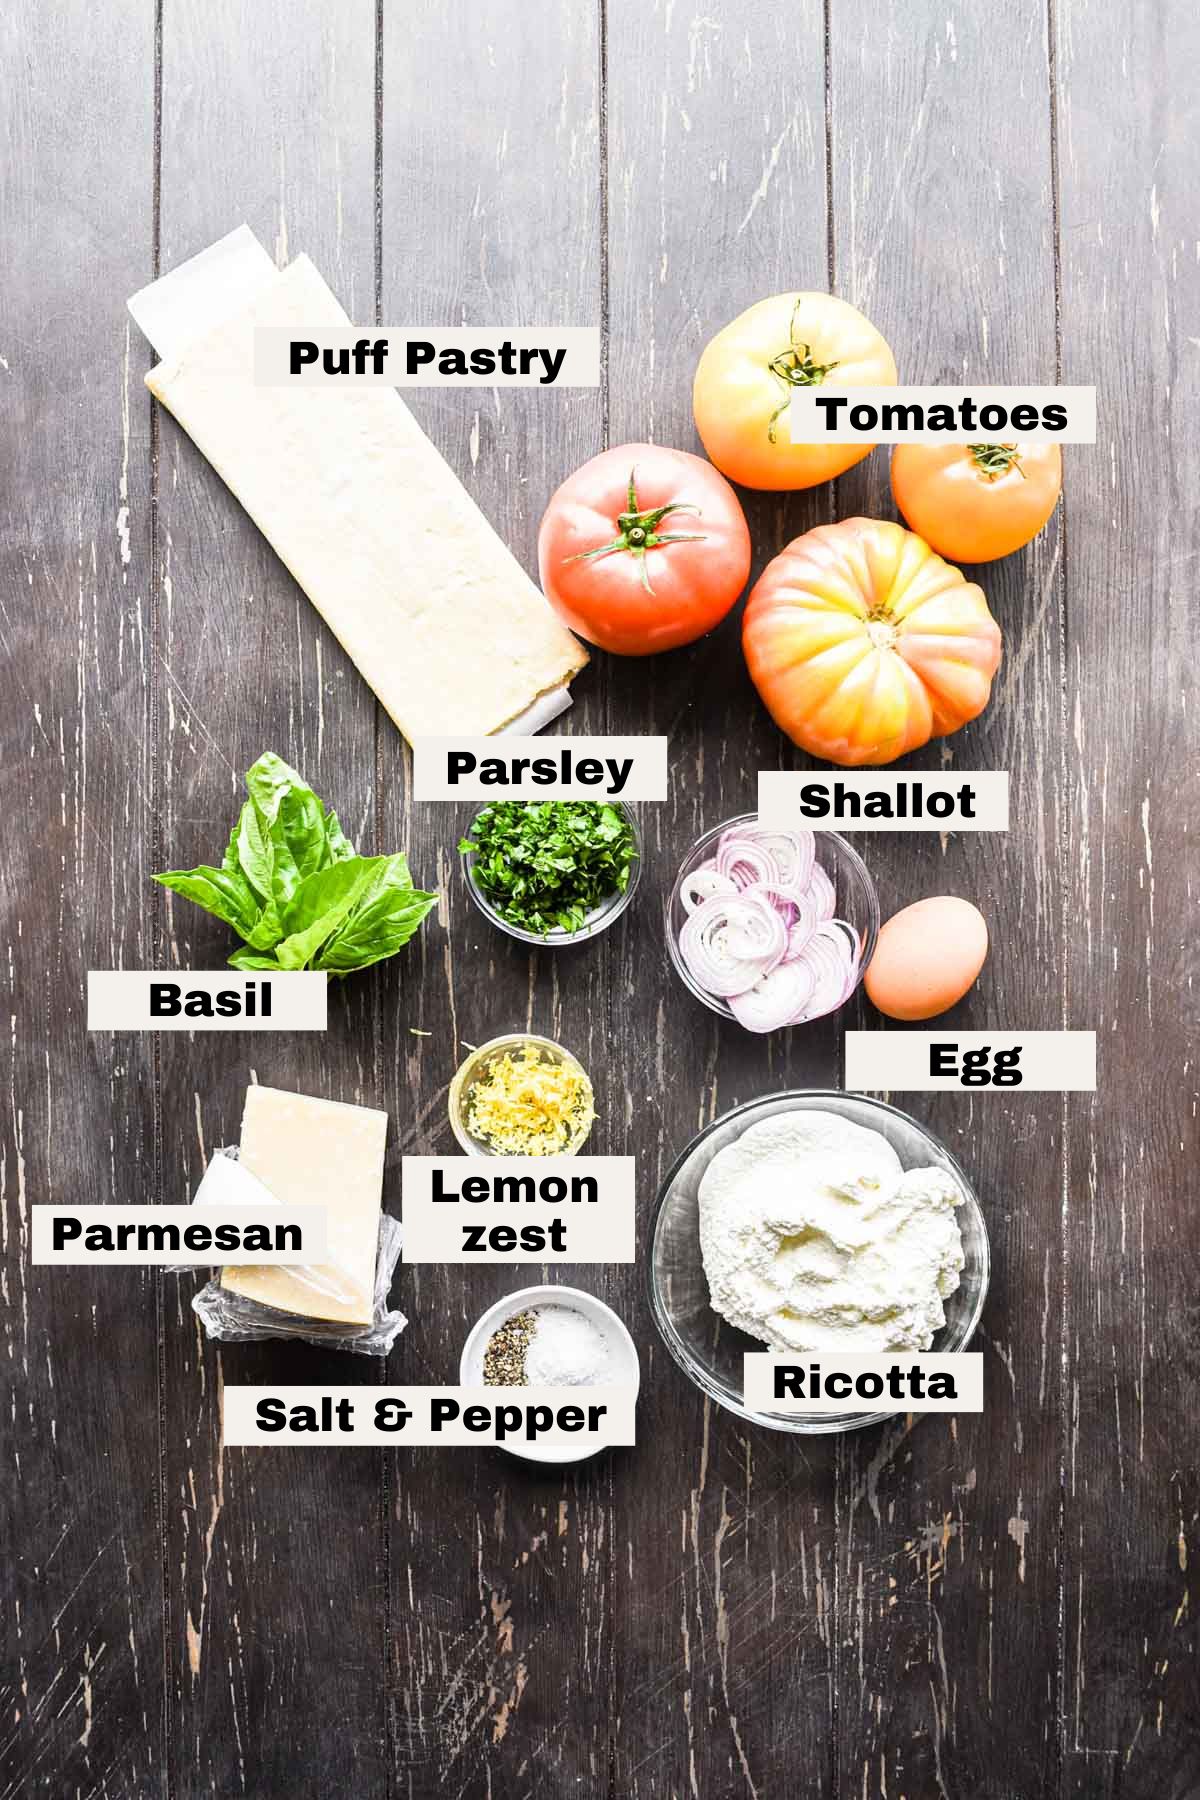
- Puff pastry dough: store bought frozen puff pastry dough, easy peasy. I like to use Pepperidge Farms or Dufour.
- Tomatoes: summer tomatoes are so delicious and sweet. I like to use colorful heirloom tomatoes, but you could also use beefsteak, cherry tomatoes, roma tomatoes, etc. or a mixture.
- Shallot: one thinly sliced shallot gets laid in with the tomatoes. Shallots are a bit milder than onions, so they don’t overpower.
- Ricotta cheese: a cheesy mixture makes up the tart base and makes this recipe really special. Full fat ricotta cheese is ideal because it’s thicker. Low fat will have a higher water content.
- You could also use goat cheese.
- Fresh herbs: I like to put parsley in with the ricotta and basil on top. You could also use dill in either of these applications.
- Lemon zest: to add some acidity and brightness.
- Egg: whisked together to make an egg wash. The egg wash helps get the crust nice and golden.
Step by step instructions
Follow the steps below to make this easy puff pastry tart with ricotta and tomatoes. Full recipe with ingredient quantities can be found below.
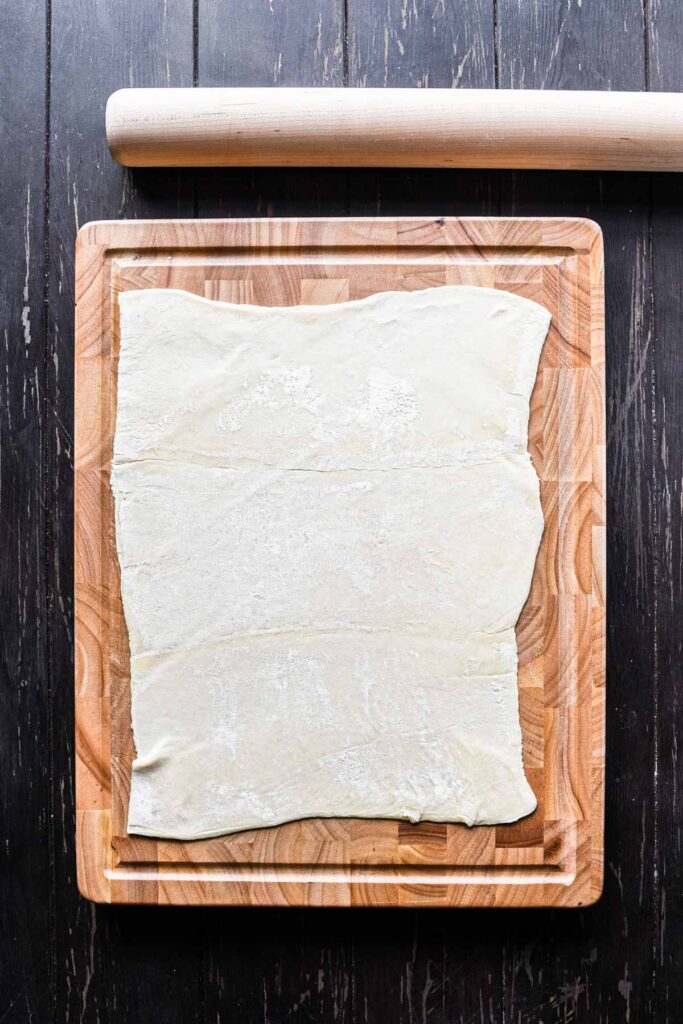
1. Roll out the puff pastry. Unfold / unwrap your defrosted puff pastry sheet. Lay it on a lightly floured surface and roll it out to ⅛ inch thin.
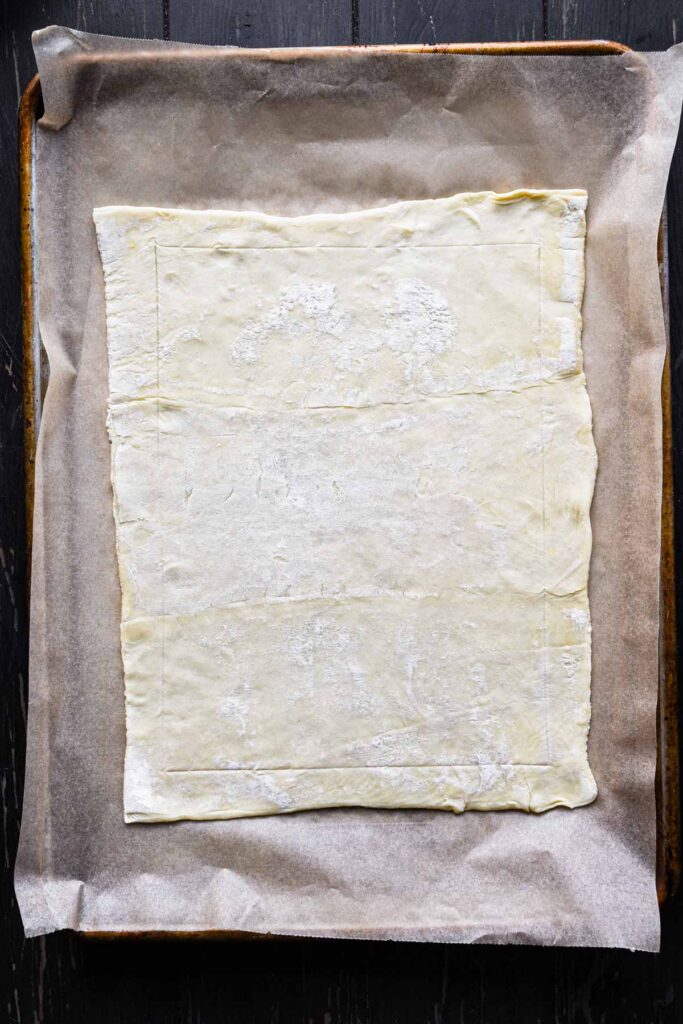
2. Score the puff pastry. Transfer the rolled out puff pastry to a large baking sheet lined with parchment paper. Using the tip of a sharp knife, score a 1 inch border around the edge.
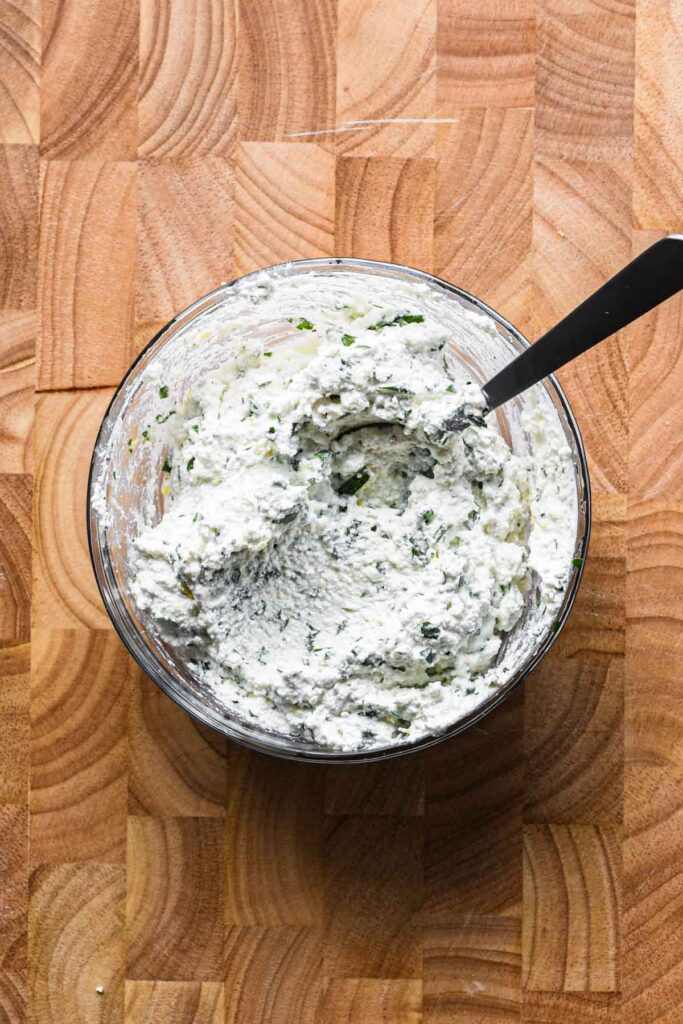
3. Make the ricotta mixture. In a medium bowl mix together the ricotta, lemon zest, parsley, salt, and black pepper.
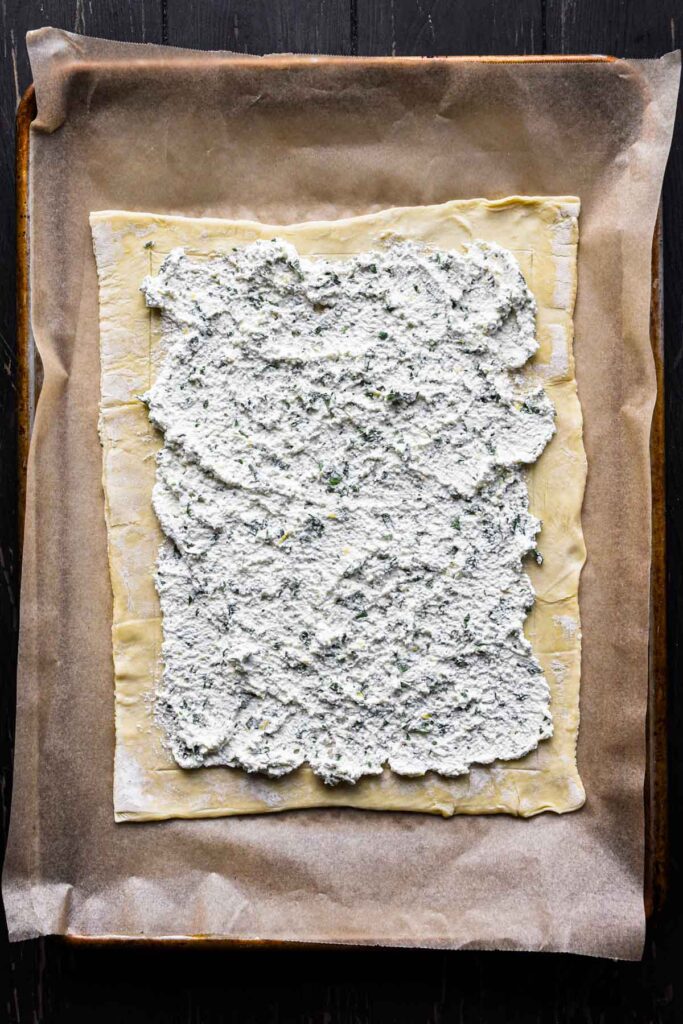
4. Add the ricotta. Spread the ricotta herb mixture on the center of the puff pastry within the border.
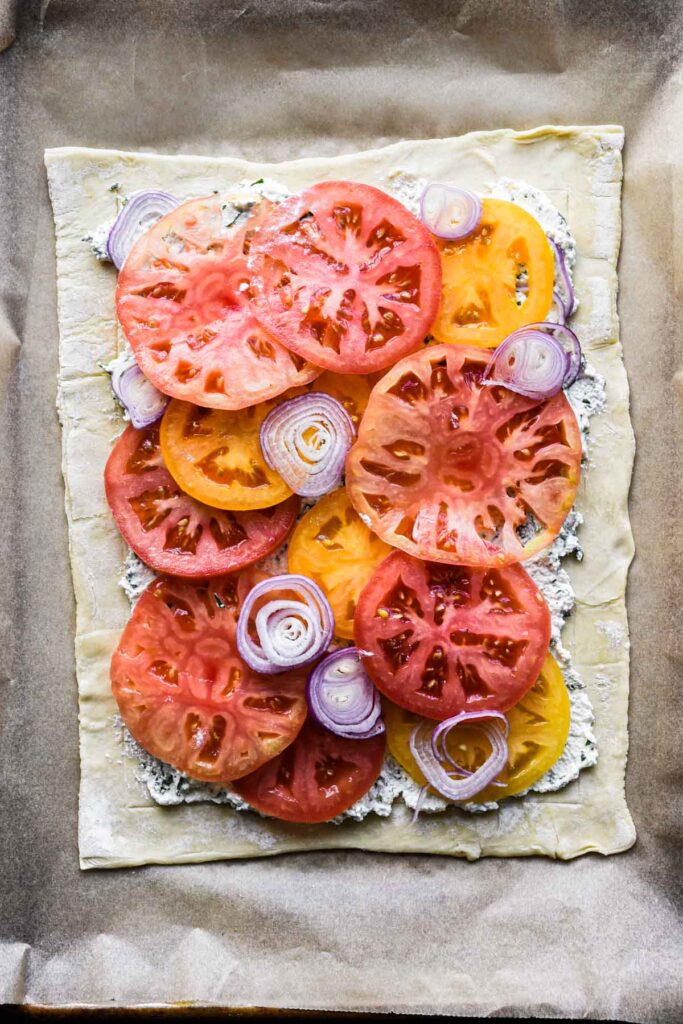
5. Add the tomatoes and shallots. Place the tomato slices in a single layer (a little overlap is okay to get good surface area), and spread the shallots around evenly.
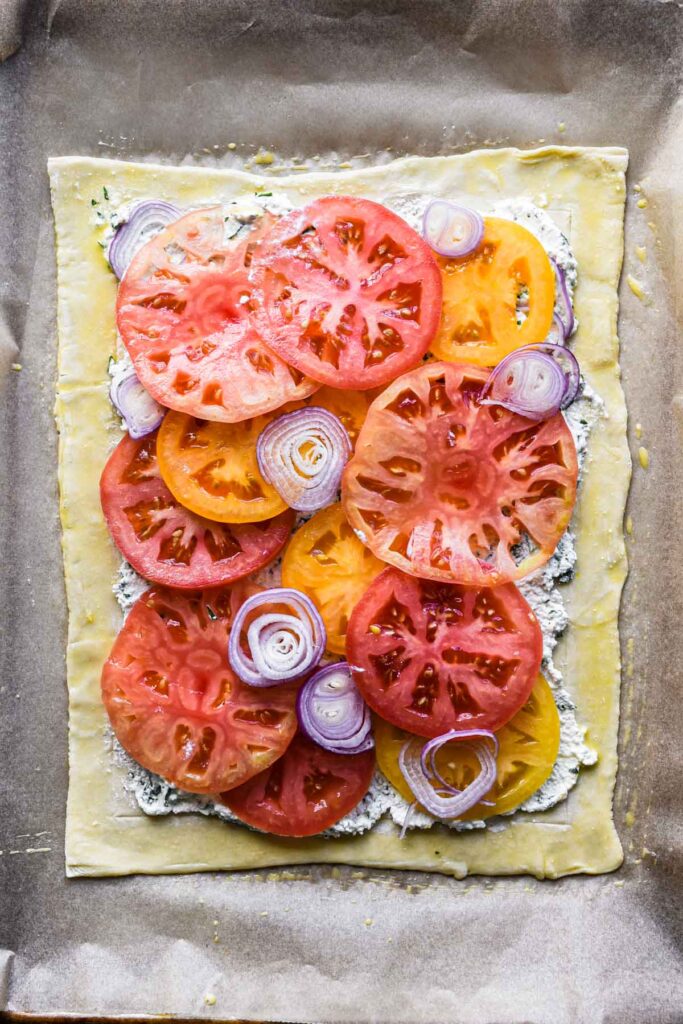
6. Egg wash. In a small bowl whisk together the egg. Using a pastry brush, brush the egg wash around the border.

7. Bake. Bake the tart in a preheated oven for 15-20 minutes until deeply golden. Serve with fresh basil leaves and grated parmesan cheese (optional).
Tips and tricks
This crispy puff pastry tomato tart is hopefully no-fail, but check out the tips and tricks below to help get through it with ease.
- How to pick the ripe tomatoes: regardless of which type of tomato you’ve chosen to use for this recipe, the best way to pick a good tomato in the market is to give it a gentle squeeze – it should have a little give, but be relatively firm.
- Scoring around the border of the puff pastry gives a nice even crust. To do this, take the tip of a knife and gently cut into the puff pastry, but not all the way through.
- Keep the puff pastry as cold as possible. This will ensure you get the most flaky pastry.
- Use a variety of tomatoes for color and shape versatility.
- Go the extra mile and make your own homemade puff pastry.
- Instead of sprinkling basil over top when it’s finished baking, try drizzling some basil pesto or balsamic glaze!
How to defrost frozen puff pastry dough
You have two options, an overnight method and a quicker room temperature method.
- Overnight (preferred): take the frozen puff pastry out of the freezer and put it in the fridge overnight. It will be defrosted and malleable by the morning. This method is preferred because the puff pastry stays cooler longer.
- Room temperature: leave the frozen puff pastry out on the counter to defrost for about 30 mins. This method is less preferred because puff pastry bakes up the flakiest when the butter is cold to help form air pockets. So bringing it to room temperature melts the butter a bit.
- Once defrosted the puff pastry can stay in the fridge for about 2 days.
Popular tomato varieties
Tomatoes are just one of the delicious bounties of fresh produce in the summer, and similar to other fruits (yes, tomatoes are a fruit!), there are many varieties! See below for a little run-down of the most common.
- Beefsteak tomatoes: these are the big round juicy ones; they’re most commonly used in uncooked applications (salsas, burgers, etc.). They are pretty liquidy on the inside, and milder in flavor.
- Heirloom tomatoes: these come in a range of colors and shapes (from round to a bit more wonky), they are just as delicious as they are gorgeous (heirloom is actually the overarching term, there are different varieties within "heirloom tomatoes"). They’re best eaten raw or lightly cooked due to their sweet yet mild and delicate flavor.
- Cherry tomatoes: usually the ones you’ll find still on the vine in the store – these are a vibrant red, perfectly circular, delicious tomato. They are incredibly versatile and great in cooked and fresh applications.
- Grape tomatoes: small, firm, and round or oblong in shape, grape tomatoes range from being sweeter (red) to a bit more tart (yellow), with orange falling in the middle.
- Roma tomatoes: as the name suggests, these are Italian in origin and perfect for Italian recipes (sauces, stews, sun-dried, etc.).
More on tomatoes here.
What to serve with this dish
If you want to serve this tomato tart for summer brunch, lunch, or al fresco dinner party, below are some ideas of what you can serve it with!
- Brunch: serve with a bowl of berries, some eggs, and crispy maple candied bacon.
- Lunch: serve with an arugula and parmesan salad, grilled shrimp, and slices of grilled zucchini.
- Dinner: serve with grilled lamb chops, corn and avocado salad, and charred broccoli.

Storage and reheating
- Storage: cut the tart into slices and store in an airtight container in the fridge for up to 3 days.
- Freezing: let it come to room temp, cut into slices, store in an airtight container in the fridge for up to 3 months. Thaw in the fridge overnight.
- Reheating: warm in the oven at 350°F for 10-15 minutes until warmed through.
This is a difficult one to make ahead, but what you can prep is the herbed ricotta up to 2 days in advance.
FAQs
A pastry made from laminated dough. When baked, it becomes thin crispy layers of flaky golden brown pastry.
A few things - make sure your oven is properly preheated, make sure your puff pastry is cold (so the butter melts properly and crisps up the dough), and bake it until it’s deeply golden. Given the nature of this recipe the crust will be the crispiest part, but the bottom shouldn’t be soggy and should be able to hold its own.
A fruit 🙂
Yes! Tomatoes are amazing to grow at home. However, they are best when grown outside as they need 8 hours of direct sunlight a day, with an average air temp of 70 degrees F. Learn how here.
It is possible to grow them indoors, just not as easy.
Tomatoes are low in calories and high in antioxidants. They improve heart health and help protect against sunburn. Source.
More tomato recipes


📖 Recipe

Puff Pastry Tomato Tart
Ingredients
- 1 sheet of puff pastry defrosted
- 2 heriloom tomatoes sliced ¼" thin
- 1 shallot thinly sliced
- 1 cup whole milk ricotta cheese
- ¼ cup fresh parsley chopped
- ½ teaspoon lemon zest from one lemon
- 1 tsp kosher salt
- ½ tsp black pepper
- 1 large egg
- 2 tablespoon fresh basil torn / sliced
- ¼ cup fresh grated parmesan cheese (optional)
Instructions
- Preheat your oven to 400℉
- Unfold / unwrap your defrosted puff pastry sheet. Lay it on a lightly floured surface and roll it out to ⅛ inch thin.
- Transfer the rolled out puff pastry to a large baking sheet lined with parchment paper. Using the tip of a sharp knife, score a 1 inch border around the edge.
- In a medium bowl mix together the ricotta, lemon zest, parsley, salt, and black pepper.
- Spread the ricotta herb mixture on the center of the puff pastry within the border.
- Place the tomato slices in a single layer (a little overlap is okay to get good surface area), and spread the shallots around evenly.
- In a small bowl whisk together the egg. Using a pastry brush, brush the egg wash around the border.
- Bake the tart in a preheated oven for 18-20 minutes until deeply golden. Serve with fresh basil and grated parmesan cheese (optional).


Leave a Reply