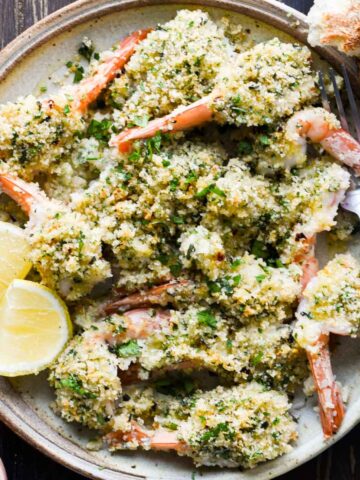
This Shrimp Oreganata recipe is one of my favorite shrimp dishes. Butterflied shrimp (more surface area!) baked in white wine and broth, topped with lemony, garlicky, herby breadcrumbs that get so golden and crispy. It's impressive enough for special occasions but simple enough for an everyday dinner.

Ingredients
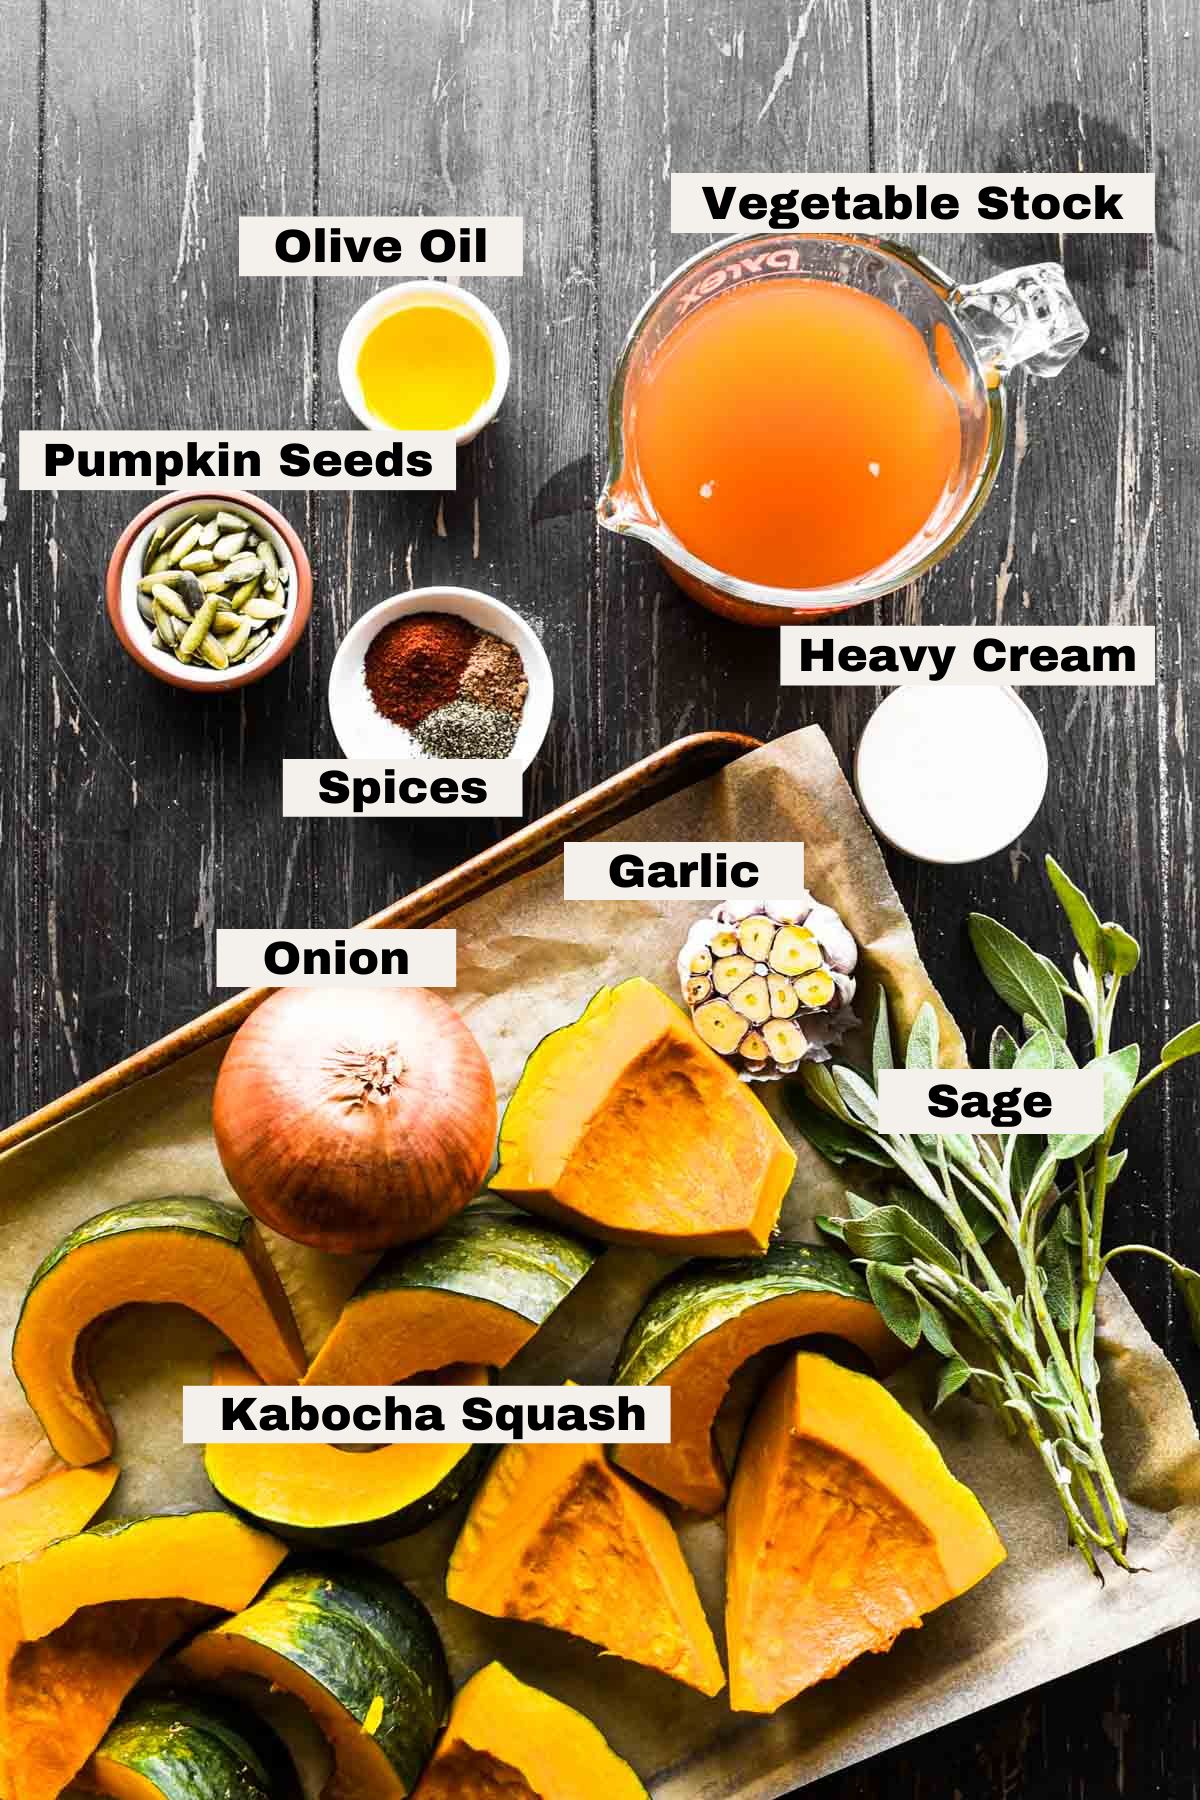
The ingredients for this Shrimp Oreganata recipe are pretty classic, with a few additions to freshen it up.

- Shrimp: frozen or fresh shrimp both work. If you can, buy deveined shrimp with the shell removed because it'll make your process quicker. I like the size 26-30 per lb. Note - cooking time will vary depending on the size of your shrimp; if they are bigger, add a minute or two, and if they are smaller, reduce it by a minute.
- Breadcrumbs: plain regular breadcrumbs are best for this recipe. You could also use panko breadcrumbs.
- Garlic: fresh garlic grated into the breadcrumbs so it melts in as it bakes vs. being chunks of garlic.
- Lemon zest: brings brightness and a hint of acidity to the breadcrumb mixture. Lemon and shrimp is such a good pairing.
- Fresh herbs: a combination of fresh parsley and fresh oregano are perfect in this recipe to bring the Italian flavors forward.
- Parmesan cheese: grated parmesan also is added into the breadcrumbs for some salty nuttiness. You could also use pecorino romano cheese.
- Red pepper flakes: totally optional, but for a little hint of spice you can add a pinch of red pepper flakes – I prefer it.
- Olive oil: Extra virgin olive oil; it acts as the binder for the breadcrumb mixture and also helps it get nice and golden. You could alternatively use melted unsalted butter.
- White wine: Gets poured over the shrimp prior to baking to help them stay nice and moist and infuse flavor. Any dry white wine is good such as Pinot Grigio or Sauvignon Blanc because they’re light and acidic. Avoid anything too sweet or full bodied.
- Chicken broth: Also gets poured over the shrimp before baking to balance out the wine. Chicken stock and vegetable stock / broth also works well.
- Salt and pepper: kosher salt and fresh black pepper as always.
What is oreganata style?
Oreganata style essentially is when an herbed breadcrumb mixture is baked on top of seafood. The breadcrumb mixture most traditionally includes oregano,, garlic, and lemon but often also includes ingredients like grated parmesan cheese and red pepper flakes. Another common preparation is clams oreganata.
Step by step instructions

1. Pat the shrimp dry with a paper towel and them cut-side up on a sheet pan (oven safe large skillet or baking dish) in a single layer.

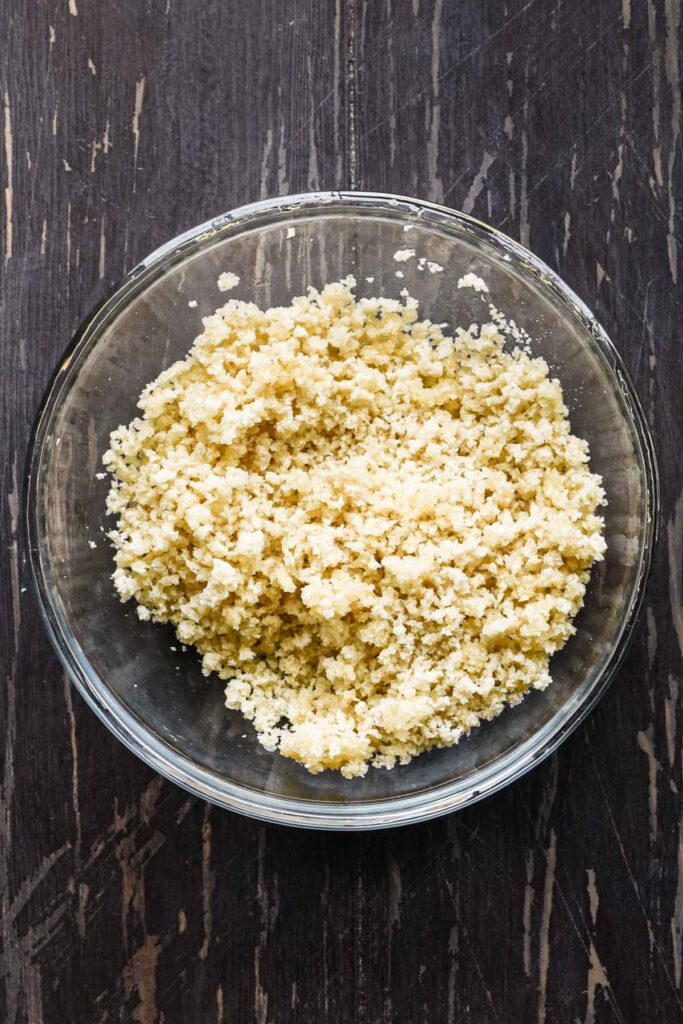
2. In a mixing bowl combine the breadcrumbs, grated garlic, lemon zest, parsley, oregano, parmesan, red pepper flakes, salt, and pepper. Pour over the olive oil and mix together until all the breadcrumbs are moistened.

3. Pour the wine and chicken broth around the shrimp then sprinkle the lemony breadcrumbs evenly on top of each shrimp, packing it on top ever so slightly.

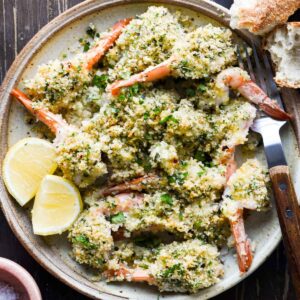
4. Bake at 425 for 10-12 minutes until golden brown. Serve with a squeeze of lemon juice and the fresh lemon wedges for presentation.
Tips and tricks
- How to defrost frozen shrimp: you have two options –
- If you have time, place the frozen shrimp in a zip top bag then on a plate and in the fridge overnight. By the morning they should be defrosted.
- If you’re in a time pinch, place the frozen shrimp in a zip top bag then in a large bowl. Fill the bowl with cool water and submerge the shrimp (place a heavy item on top if needed). Let them sit in the bag in the water for 30-45 minutes until defrosted. Half way through, rotate them and refresh the water.
- How to butterfly shrimp: Using a pairing knife, starting at the tail insert the knife about ¾ of the way into the shrimp, and slice following the curve of the shrimp all the way to the front.
- If you don’t want to butterfly the shrimp yourself, ask the fishmonger / person at the fish counter, they’re likely willing to do it for you.
- If you’re serving this as an appetizer, I’d recommend serving 2-3 shrimp per person. But if you’re serving it as a main, I’d recommend 7-8. If you're serving a crowd (say for Christmas Eve) it doubles and triples very well.
- Serve with crusty bread!! It's a must to sop up all the extra breadcrumbs.

FAQs
Often, fresh shrimp in the grocery store is pre-frozen, so you’re better off just buying it frozen and defrosting when you’re ready to make this dish. But if you go to a fishmonger where you know it’s freshly caught, then fresh is always best.
No, you can remove the tails. However, for presentation the tails look nice and leaving the tail on infuses more flavor.
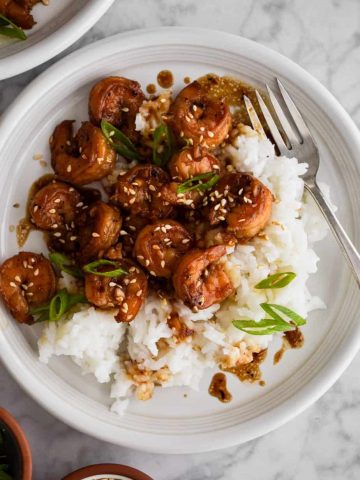
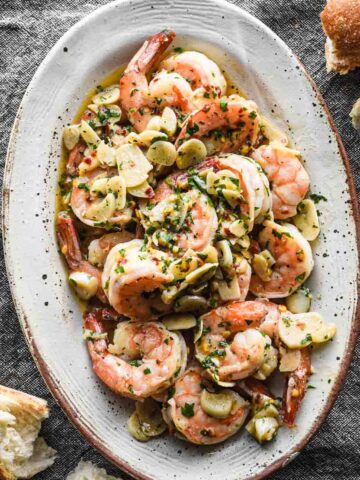
More shrimp recipes


Did you make this recipe? Leave a rating and review below and tag me on social!
📖 Recipe
Shrimp Oreganata
Ingredients
- 1 lb raw shrimp size 26-30 per lb
- ½ cup breadcrumbs
- 1 clove garlic grated
- ½ teaspoon lemon zest
- 2 tablespoon fresh chopped parsley
- 1 tablespoon fresh chopped oregano
- 2 tablespoon grated parmesan cheese
- ¼ teaspoon red pepper flakes
- ½ teaspoon kosher salt
- ½ teaspoon black pepper
- 2 tablespoon extra virgin olive oil
- ¼ cup dry white wine
- ¼ cup chicken broth
Instructions
- Preheat the oven to 425°F.
- Pat the shrimp dry with a paper towel and them cut-side up on a sheet pan (oven safe large skillet or baking dish) in a single layer.
- In a mixing bowl combine the breadcrumbs, grated garlic, lemon zest, parsley, oregano, parmesan, red pepper flakes, salt, and pepper. Pour over the olive oil and mix together until all the breadcrumbs are moistened.
- Pour the wine and chicken broth around the shrimp then sprinkle the lemony breadcrumbs evenly on top of each shrimp, packing it on top ever so slightly.
- Bake at 425 for 10-12 minutes until golden brown. Serve with a squeeze of lemon juice and the fresh lemon wedges for presentation.
Notes
- How to defrost frozen shrimp: you have two options –
- If you have time, place the frozen shrimp in a zip top bag then on a plate and in the fridge overnight. By the morning they should be defrosted.
- If you’re in a time pinch, place the frozen shrimp in a zip top bag then in a large bowl. Fill the bowl with cool water and submerge the shrimp (place a heavy item on top if needed). Let them sit in the bag in the water for 30-45 minutes until defrosted. Half way through, rotate them and refresh the water.
- How to butterfly shrimp: Using a pairing knife, starting at the tail insert the knife about ¾ of the way into the shrimp, and slice following the curve of the shrimp all the way to the front.
- If you don’t want to butterfly the shrimp yourself, ask the fishmonger / person at the fish counter, they’re likely willing to do it for you.
- If you’re serving this as an appetizer, I’d recommend serving 2-3 shrimp per person. But if you’re serving it as a main, I’d recommend 7-8. If you're serving a crowd (say for Christmas Eve) it doubles and triples very well.
- Serve with crusty bread!! It's a must to sop up all the extra breadcrumbs.