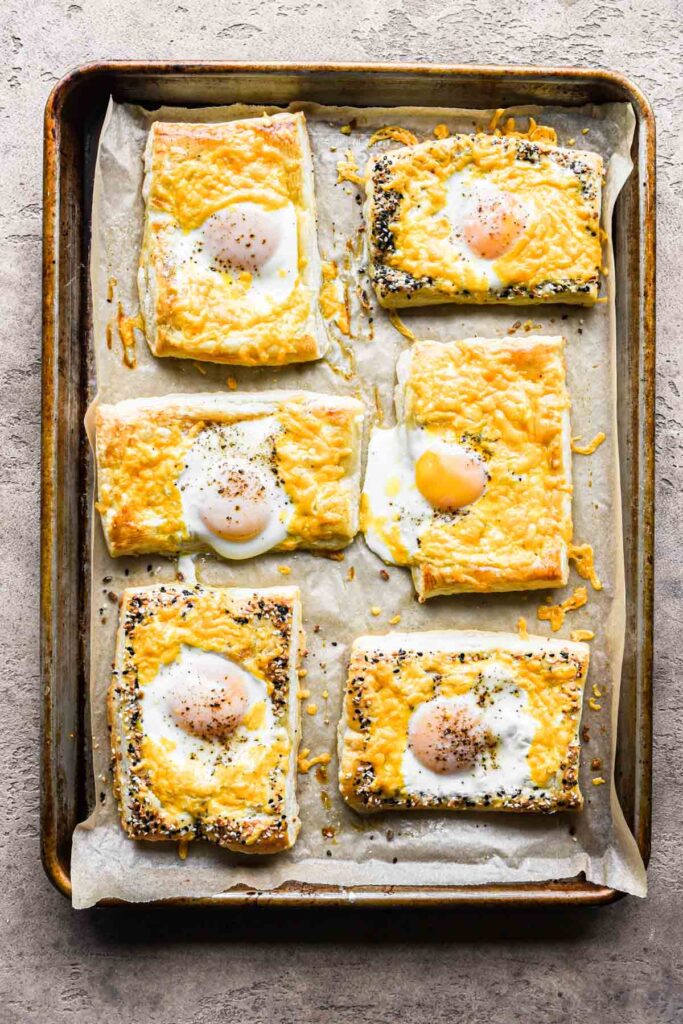
These Puff Pastry Breakfast Egg Tarts are a fun and unique way to enjoy a classic egg and bacon breakfast. You have flaky puff pastry with a jammy egg baked right in the center, topped with cheese, crispy bacon, and chives. You can even crust your puff pastry with everything but the bagel seasoning. Perfect for any weekend breakfast or fun Sunday brunch.

Ingredients
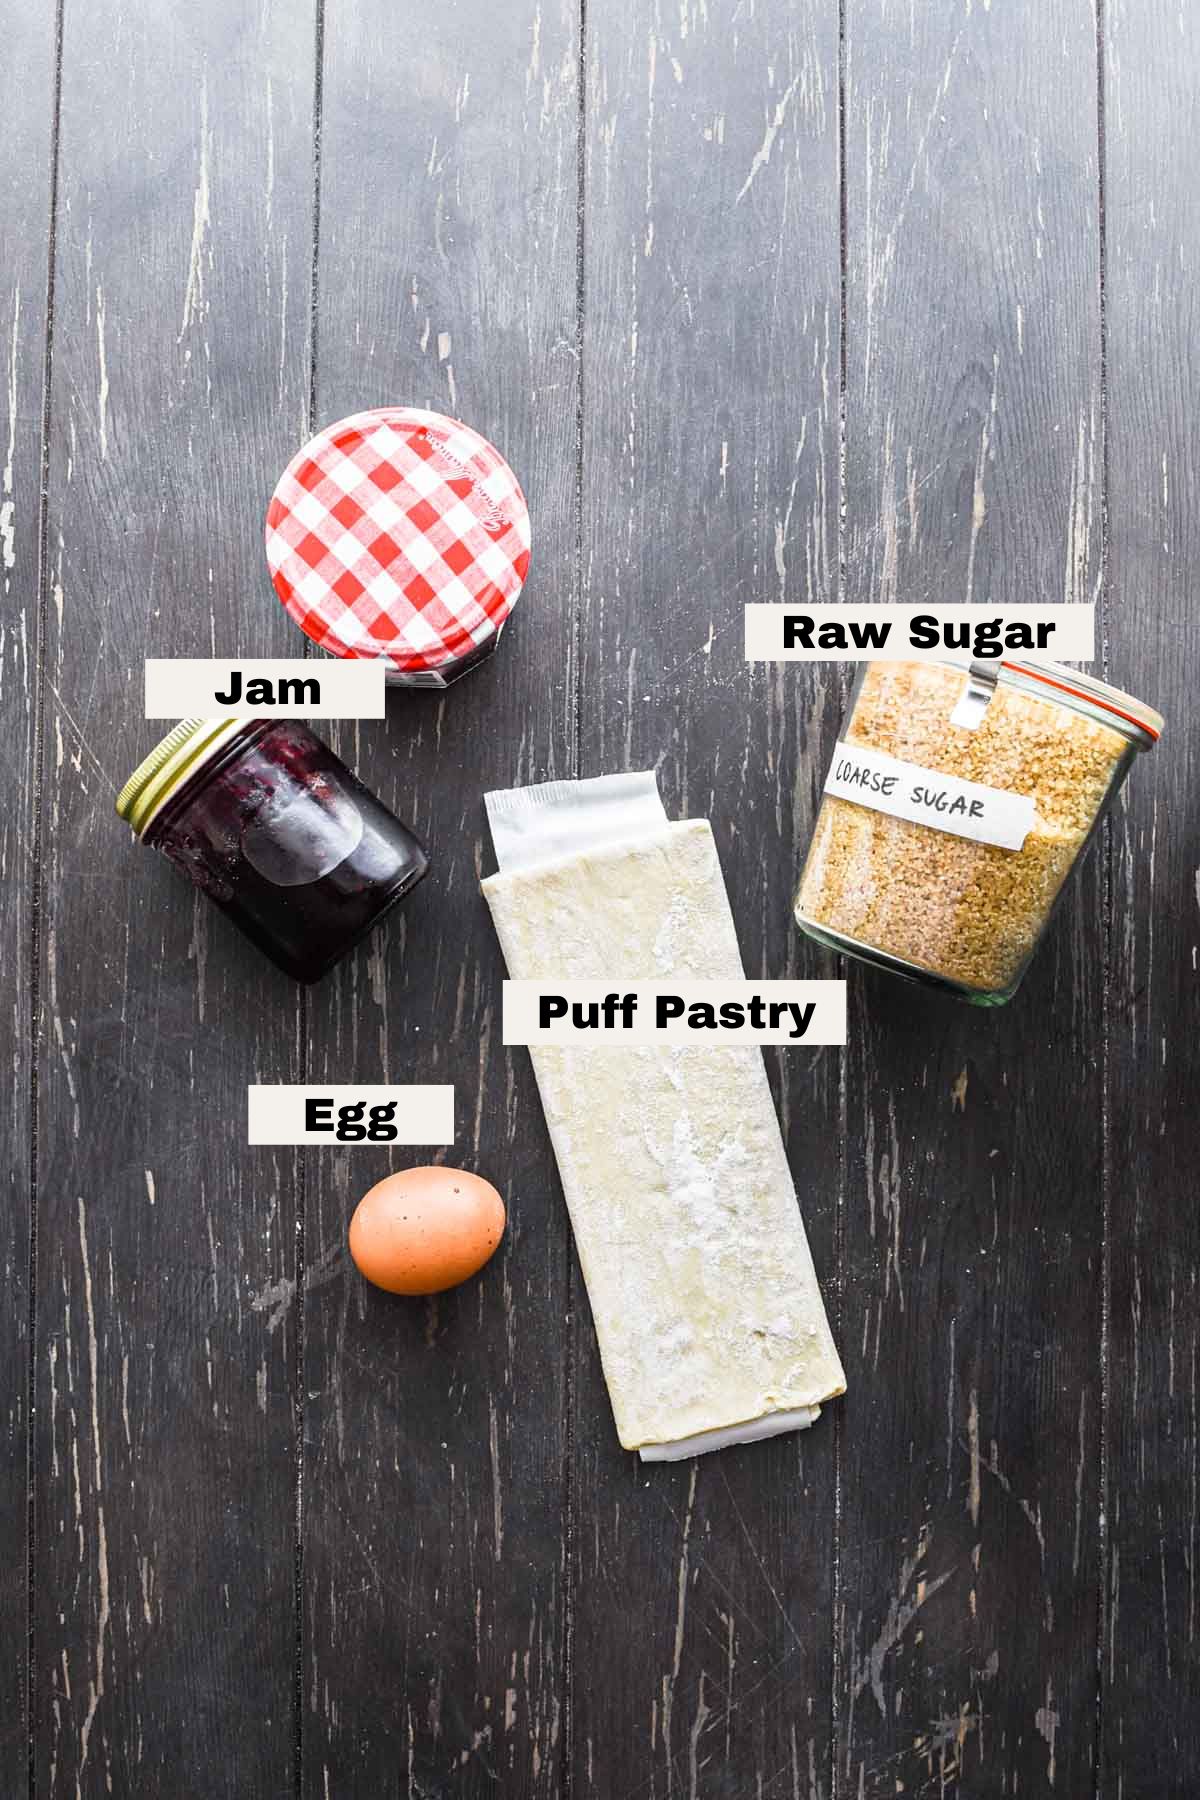
This puff pastry breakfast egg tarts recipe calls for relatively standard breakfast ingredients that you should be able to find with no problem at your local store, or better yet, may have on hand!
- Puff pastry: store-bought puff pastry (frozen) works great here, but feel free to make your own if you’d like! Pepperidge Farm (uses shortening) and DuFour (uses all butter) are my favorite brands.
- Eggs: Medium sized eggs are best here, but large are also fine. There’s a lot of information out there these days about which eggs are best to buy – I like to buy organic pasture raised. This means the chickens eat organic, and are able to roam on a pasture freely, so they get the most nutrients.
- Free range means at some point they have some kind of access to the outdoors, though still might be a very small plot of land. And cage free means they are still kept indoors, likely in not so great and tight conditions. So net-net, pasture raised will produce the most nutrient-dense eggs.
- Bacon: 5 strips of bacon is all that’s needed, whichever cut you prefer. Turkey bacon is also perfectly fine.
- Cheese: I like cheddar cheese, but you can use whichever you prefer on your typical egg sandwich. American, pepper jack, swiss, provolone, gruyere, etc. Even goat cheese would be great.
- Chives: Chives are for sprinkling on the breakfast pastries when they’re done baking to give a little fresh flavor. You can use green onions / scallions instead.
- Everything bagel seasoning: Optional, but you can sprinkle some everything bagel seasoning on the rim of the tarts.
- Salt & pepper: kosher salt and black pepper.
Step by step instructions
This recipe is pretty intuitive, but the order in which everything happens matters. See below for an overview, and the full recipe can be found in the recipe card at the end of this post.
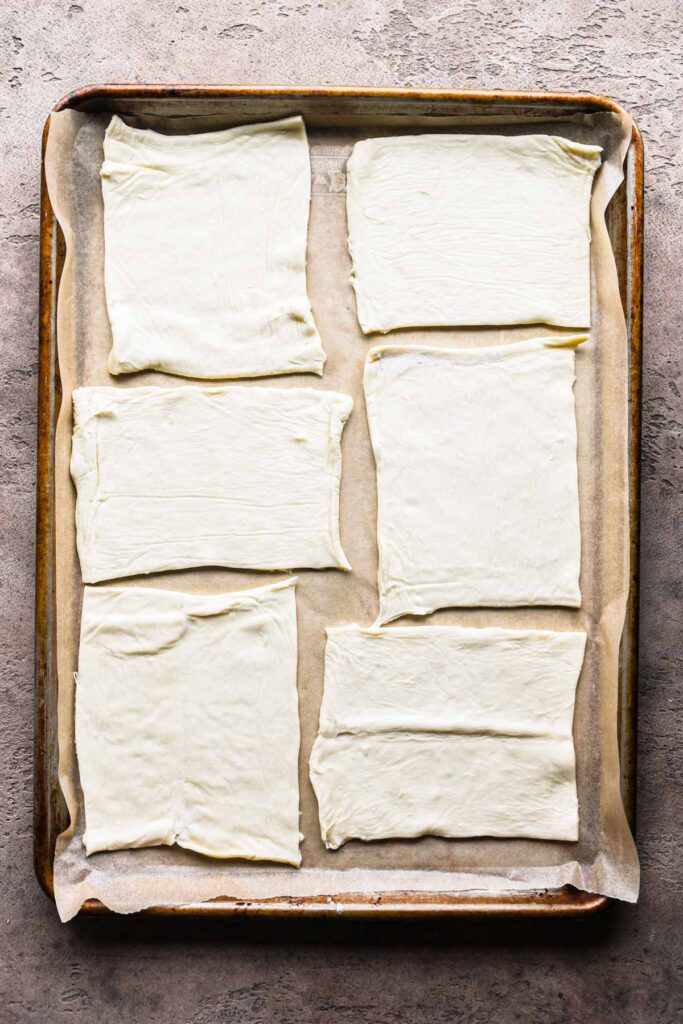
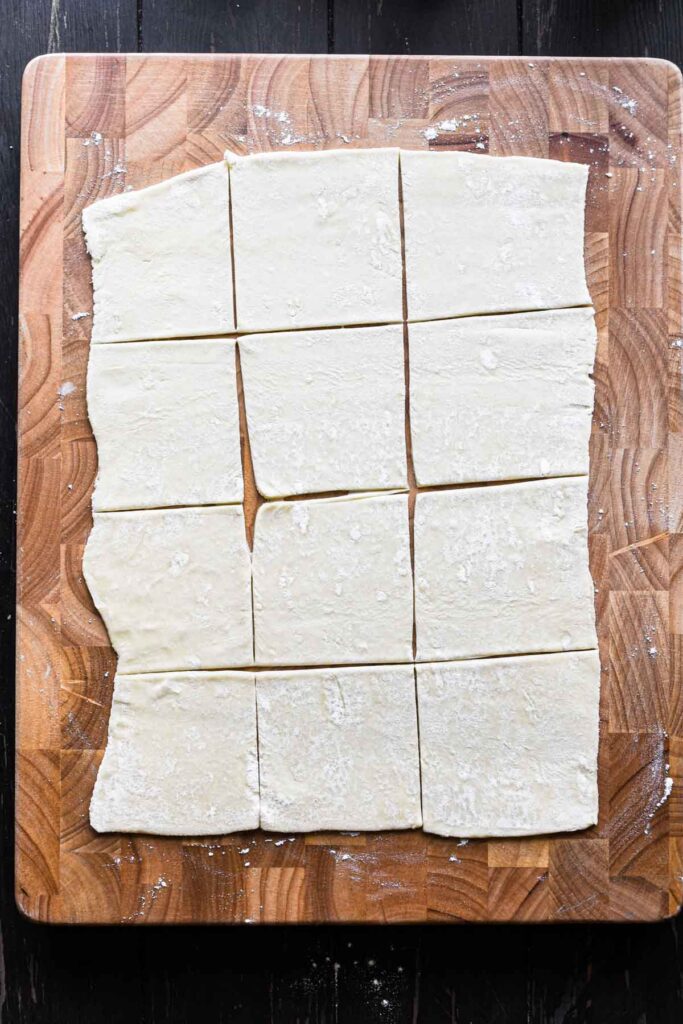
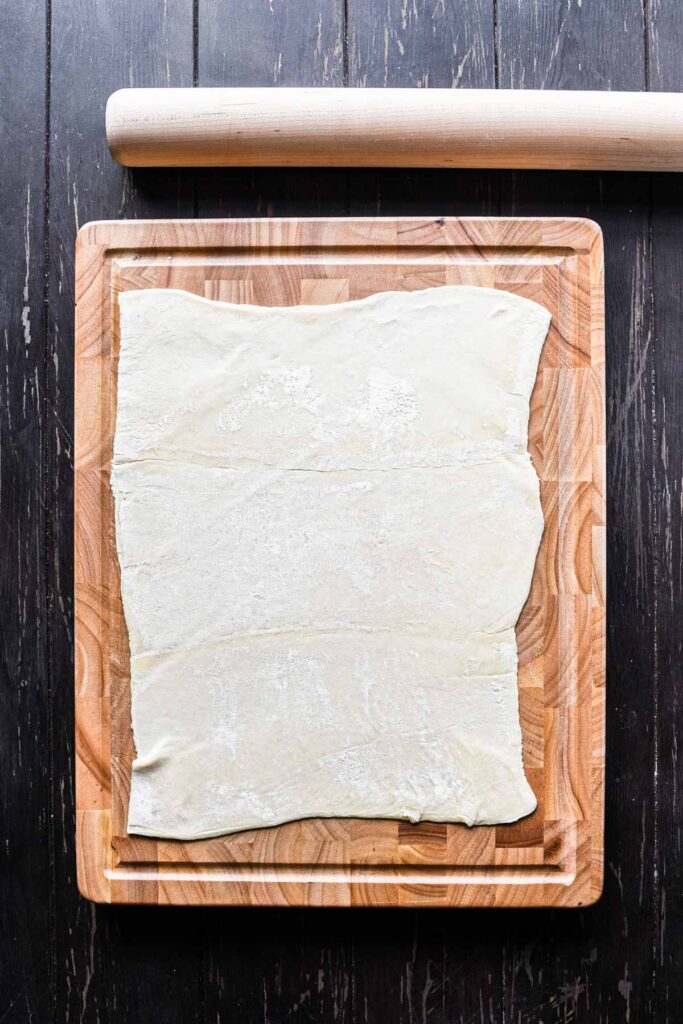
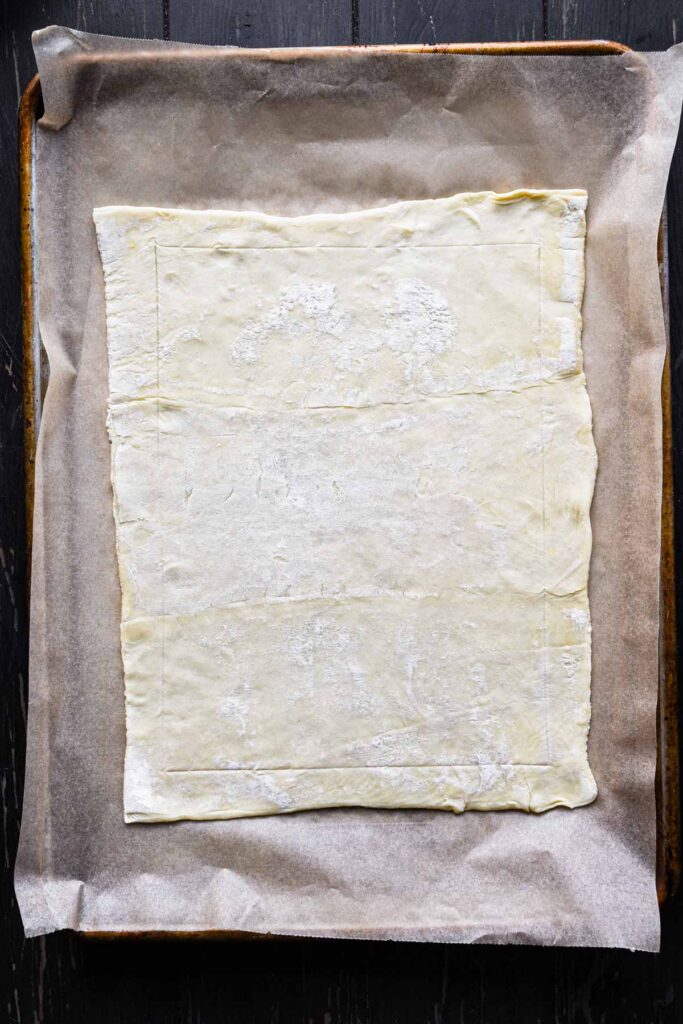
1. Cut the pastry. Unroll your sheet of puff pastry and slide it into 6 equal squares / rectangles. Transfer the puff pastry squares to a parchment paper lined baking sheet.
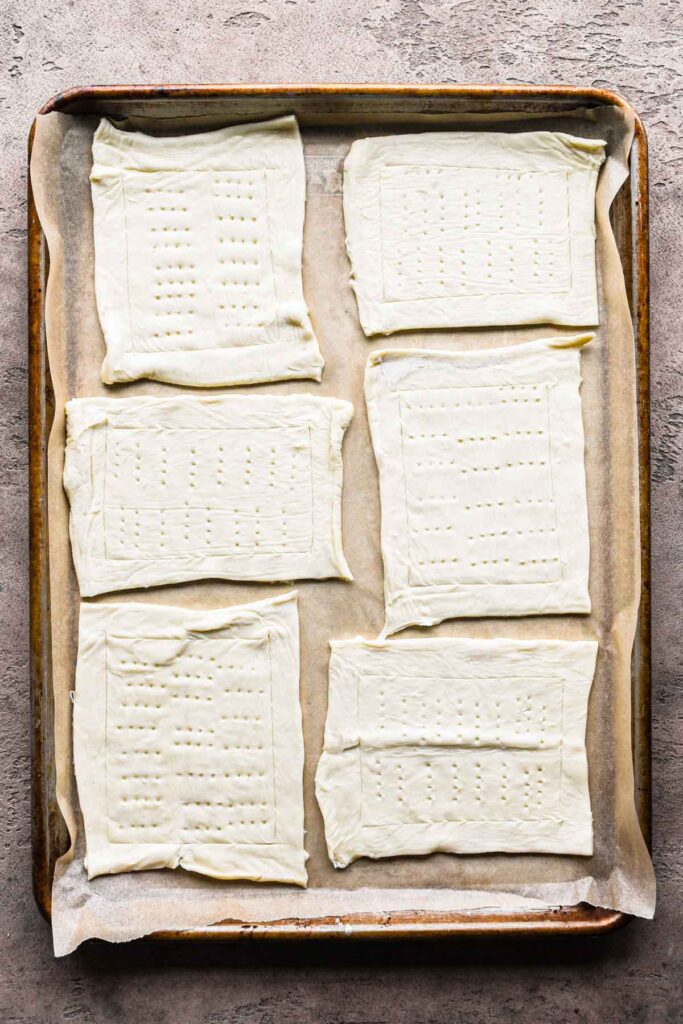
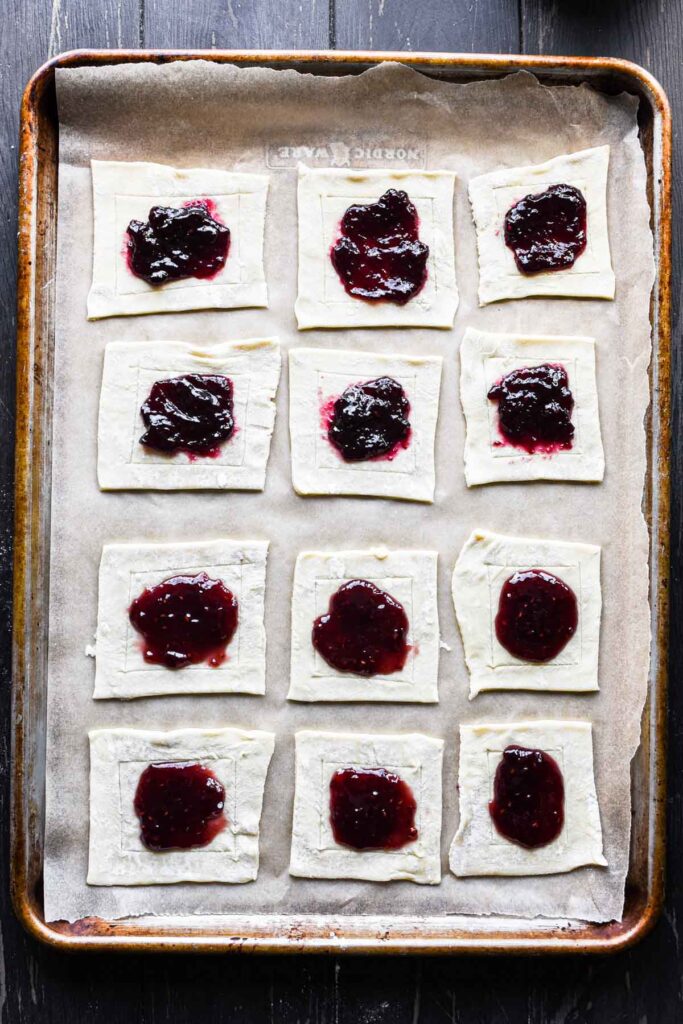
2. Score and dock the pastry. Using a sharp knife, score a 1-inch border around the edge of the puff pastry, and dock it with a fork (by poking within the border with a fork).
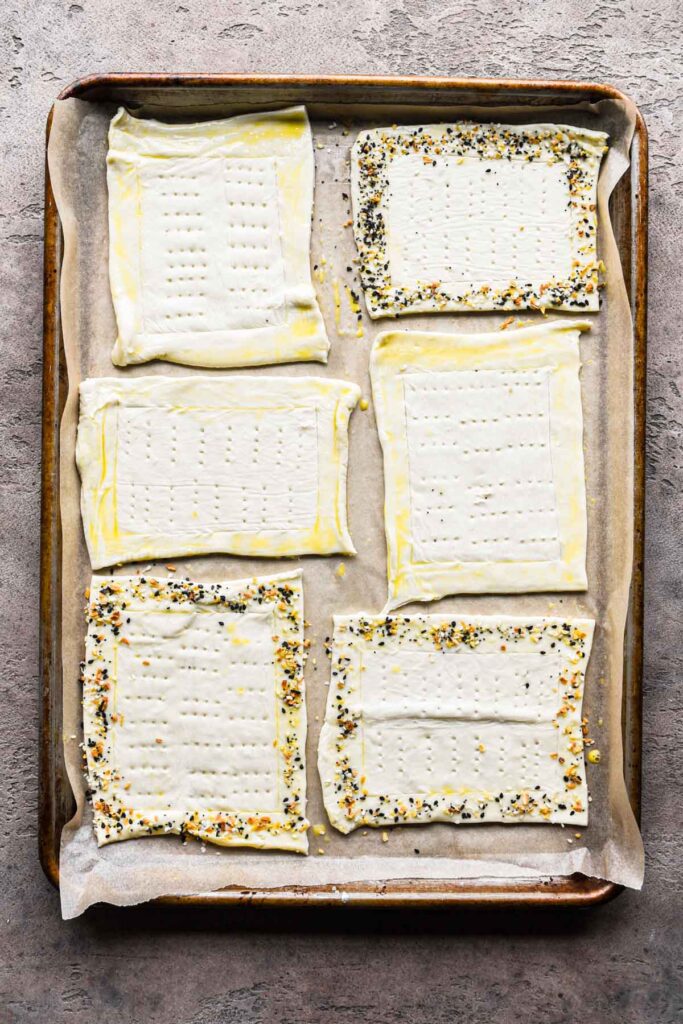
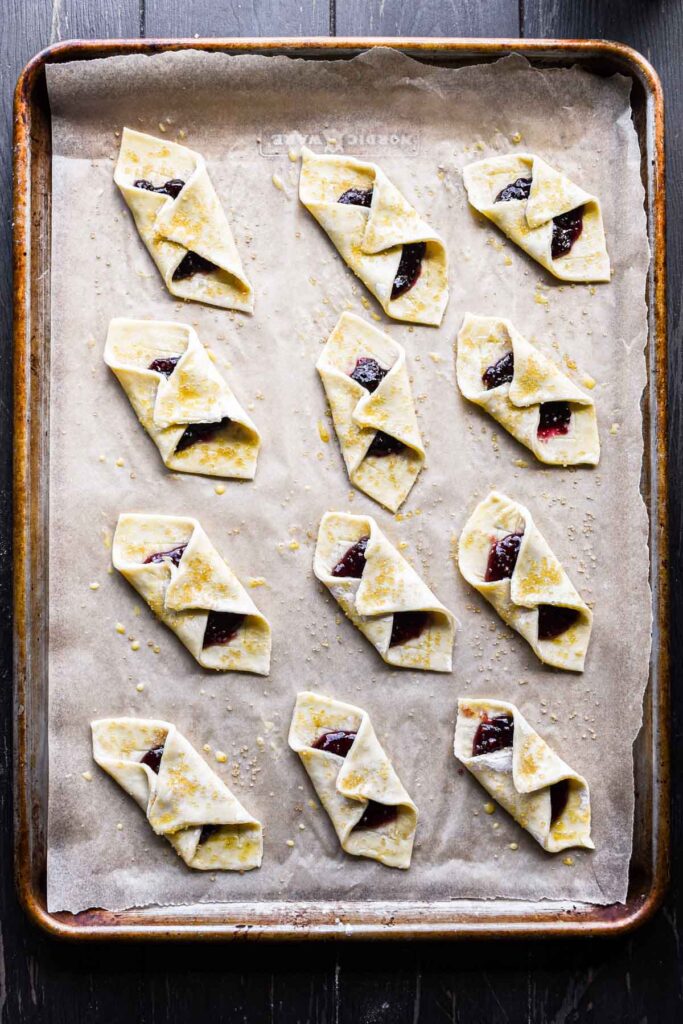
3. Egg wash. In a small bowl, whisk one egg with a dash of water to make the egg wash. Then brush the beaten egg wash around the border of the puff pastry. Sprinkle the border with everything but the bagel seasoning if desired.
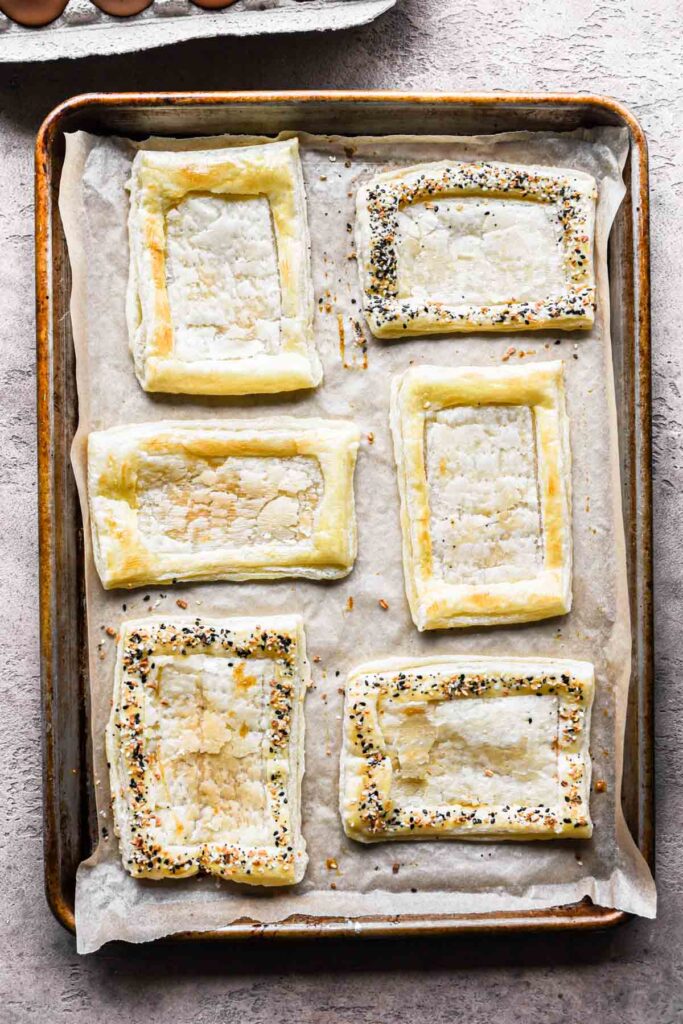
4. Pre-Bake & de-puff. Pre bake the puff pastry base for 10 minutes. Take the pre-baked puff pastry out of the oven, and using the back of a spoon deflate the center.

5. Add the eggs and cheese. Crack an egg into the center of each deflated puff pastry piece. Top with cheese, and sprinkle with salt and pepper.
7. Finish baking. Put the tarts back into the oven for another 10 minutes to finish baking. You can cook them 2 mins longer for a set yolk.

8. Finish with toppings. Sprinkle the crumbled bacon and chives over top, then enjoy.
Tips and tricks
These egg puff pastry tarts are hopefully easy enough to put together, but the below tips and tricks should help!
- How to defrost frozen puff pastry: the best method to defrost frozen puff pastry is to put it in the fridge overnight. If you’re on more of a time-crunch, leave it out at room temperature for 30 minutes.
- Be very careful when cracking the eggs onto the puff pastry. You want to be careful so the yolk doesn’t break, and so the whites don’t overflow.
- If you want a very runny egg yolk, bake the tart until the egg whites are set – about 8-9 minutes. Every minute after that the yolks will start to set and go from jammy to then fully cooked.
- Two easy ways to cook bacon: my two preferred methods are in a skillet and in the oven.
- Skillet: place the pieces of bacon in the skillet, then turn on the heat to medium. Cook the bacon, flipping halfway through, until cooked to your desired crispness. This way, while easy, will splatter on your stovetop, likely requiring some more cleanup.
- Oven: preheat your oven to 375°F. Line a baking sheet with aluminum foil, then top with a wire rack. Spray the wire rack with non-stick spray, then lay out the pieces of bacon. Bake for about 15 minutes, or until at your desired crispness.
- You could skip the wire rack, but the bacon won’t be as crispy.
- Line your baking sheet with parchment paper to ensure the puff doesn't stick.
- If you don't have an extra egg for egg wash, you can use heavy cream in place.
Recipe substitutions
I love these puff pastry breakfast egg tarts as is, but below are some swaps and additions you can make if you prefer, or if you just want to switch it up!
- Instead of bacon, you can use cooked breakfast sausage or chorizo
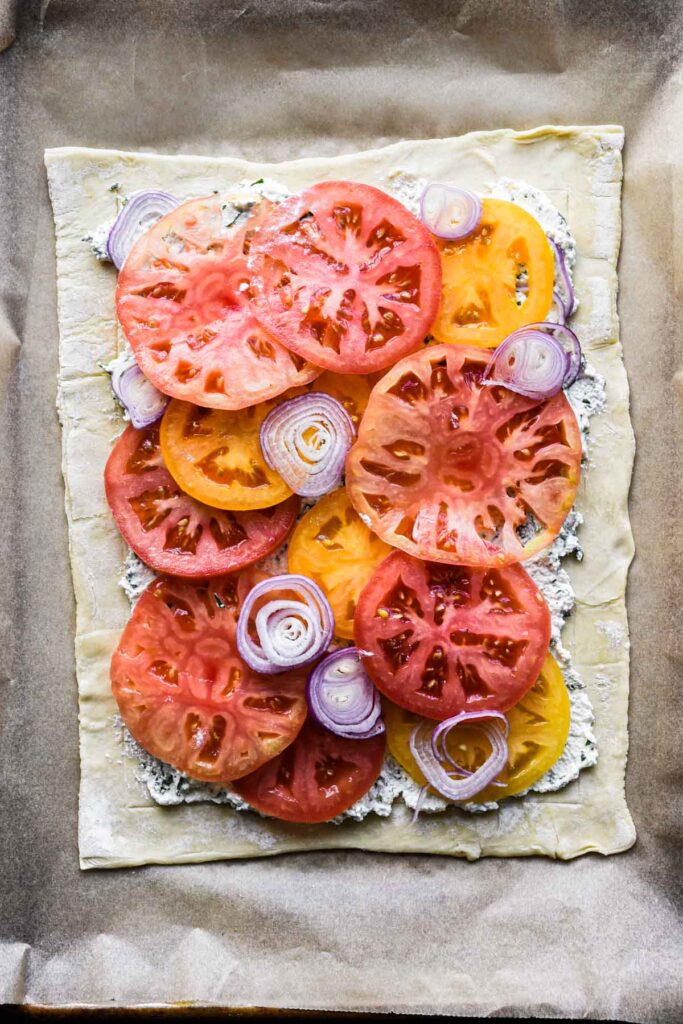
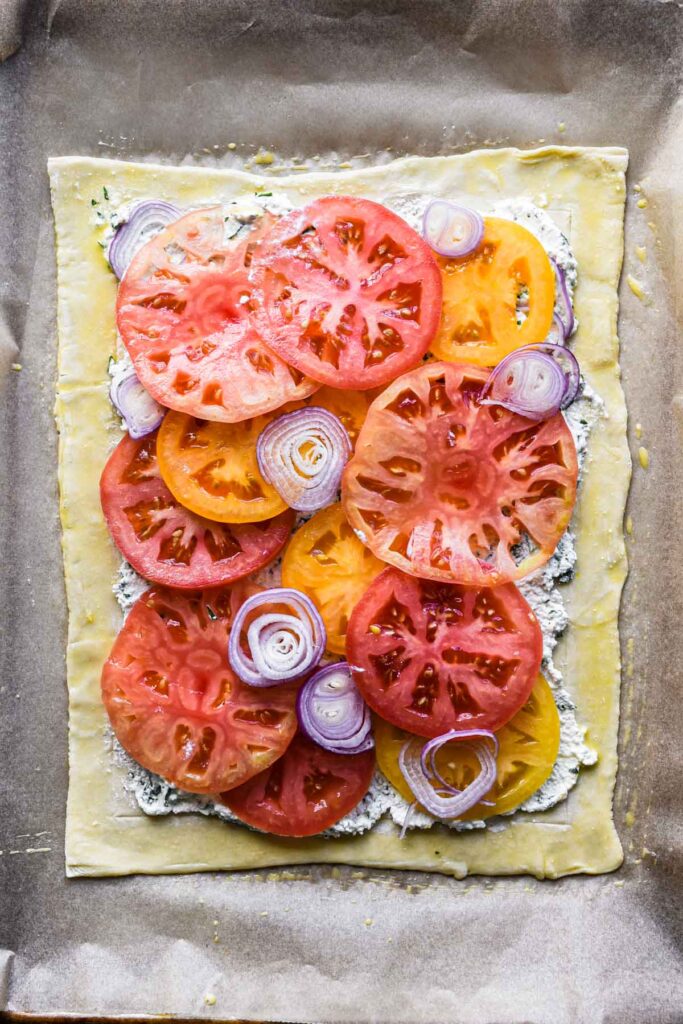
- Add diced tomatoes on top
- Add sautéd onions, mushrooms, or bell peppers on top
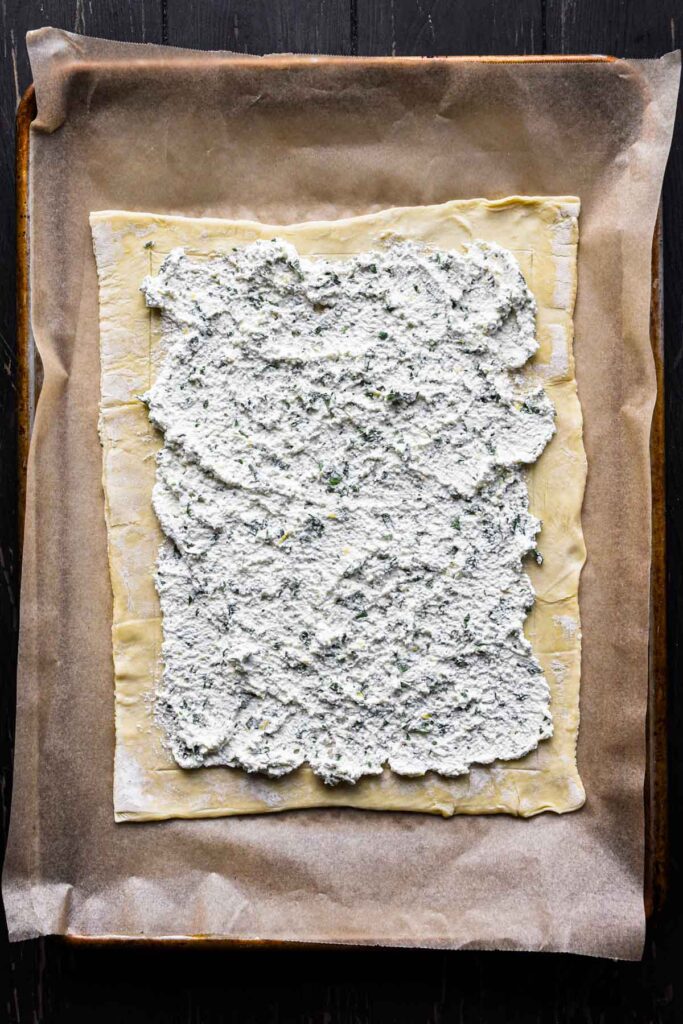
- Instead of shredded cheese on top, try spreading some Boursin or cream cheese on the bottom of the par-baked pastry

Storage and reheating
- Storage: store in an airtight container in the fridge for up to 3 days.
- Reheating: warm in the oven at 350°F for 10 minutes until warmed through.
Note: upon reheating, the yolk will cook further and therefore will not be jammy or runny.
FAQs
Yes, otherwise it won’t cook through fully by the time the egg is finished cooking.
Yes, just skip the bacon!
It's preferred – doing so is what helps the edges get nice and golden brown.
You can! In the pre-bake add an extra 2 minutes to help the center cook.
Standard puff pastry is not, but stores sell gluten free options. You can alternatively make your own following this recipe here.
More egg breakfast recipes


Did you make this recipe? Leave a rating and review below and tag me on social!
📖 Recipe

Puff Pastry Breakfast Egg Tarts
Ingredients
- 1 sheet of puff pastry
- 7 large eggs
- 1 teaspoon kosher salt
- ½ teaspoon black pepper
- 1 cup shredded cheese
- 5 strips of cooked bacon crumbled
- 2 tablespoon chives chopped
- 1 tablespoon everything bagel seasoning optional
Instructions
- Preheat the oven to 425°F.
- Unroll your sheet of puff pastry and slide it into 6 equal squares / rectangles. Transfer the puff pastry squares to a parchment paper lined baking sheet.
- Using a sharp knife, score a 1-inch border around the edge of the puff pastry, and dock it with a fork (by poking within the border with a fork).
- In a small bowl, whisk one egg with a dash of water to make the egg wash. Then brush the beaten egg wash around the border of the puff pastry. Sprinkle the border with everything but the bagel seasoning if desired.
- Pre bake the puff pastry base for 10 minutes. Then take the pre-baked puff pastry out of the oven, and using the back of a spoon deflate the center.
- Carefully crack one egg into the center of each deflated puff pastry piece. Top with cheese, and sprinkle with salt and pepper.
- Put the tarts back into the oven for another 10 minutes to finish baking (you should have a runny yolk with this timing).
- To finish, sprinkle the crumbled bacon and chives over top.
Video
Notes
- How to defrost frozen puff pastry: the best method to defrost frozen puff pastry is to put it in the fridge overnight. If you’re on more of a time-crunch, leave it out at room temperature for 30 minutes.
- Be very careful when cracking the eggs onto the puff pastry. You want to be careful so the yolk doesn’t break, and so the whites don’t overflow.
- If you want a very runny egg yolk, bake the tart until the egg whites are set – about 8-9 minutes. Every minute after that the yolks will start to set and go from jammy to then fully cooked.
-
Two easy ways to cook bacon: my two preferred methods are in a skillet and in the oven.
- Skillet: place the pieces of bacon in the skillet, then turn on the heat to medium. Cook the bacon, flipping halfway through, until cooked to your desired crispness. This way, while easy, will splatter on your stovetop, likely requiring some more cleanup.
-
Oven: preheat your oven to 375°F. Line a baking sheet with aluminum foil, then top with a wire rack. Spray the wire rack with non-stick spray, then lay out the pieces of bacon. Bake for about 15 minutes, or until at your desired crispness.
- You could skip the wire rack, but the bacon won’t be as crispy.
- Line your baking sheet with parchment paper to ensure the puff doesn't stick.
- If you don't have an extra egg for egg wash, you can use heavy cream in place.