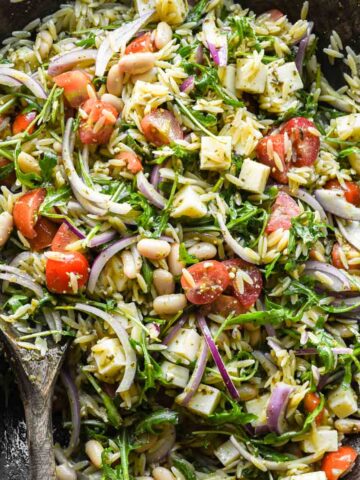
This Pesto Orzo Pasta Salad is a beautiful welcome to warmer weather. If you use store bought pesto it’s super simple, but if you use homemade it really makes it something special. Just toss a handful of simple ingredients together with a pesto vinaigrette and you’re set. It's a great side dish for a summer bbq or a delicious vegetarian main.

Ingredients

- Orzo: a small rice-shaped pasta (but it's pasta, I promise!).
- Tomatoes: fresh tomatoes, either cherry or grape, quartered.
- Cannellini beans: a can of beans rinsed and drained for some protein and creaminess.
- Red onion: sliced super thin for a nice bite.
- Fontina cheese: a perfectly flavored cheese for this recipe, mild but still holds its own.
- Arugula: a nice leafy green that’s a bit bitter to balance the flavors.
- Pesto: store-bought pesto or homemade pesto are both great! Rao's and Seggiano are my favorite brands for store-bought.
- Extra virgin olive oil: to mix with the pesto to make the vinaigrette.
- Red wine vinegar: add a bit of acidity to the vinaigrette.
- Salt: kosher salt to bring out all the flavor. Not table salt, it is saltier.
Ingredient substitutions
- Any other small pasta shape such as macaroni, fusilli, etc. can be substituted.
- Garbanzo beans instead of cannellini beans.
- Rather than fontina cheese try mozzarella, provolone, or gouda.
- Instead of arugula you can use baby spinach.
- Some additions beyond what I have included in the recipe if you want to add extra flavor: sun-dried tomatoes, olives, green bell peppers, artichoke hearts, toasted nuts, the list goes on!
Step by step instructions
For the full instructions and ingredient quantities for this orzo pesto pasta salad see the recipe card at the end of this post.
Cook the pasta

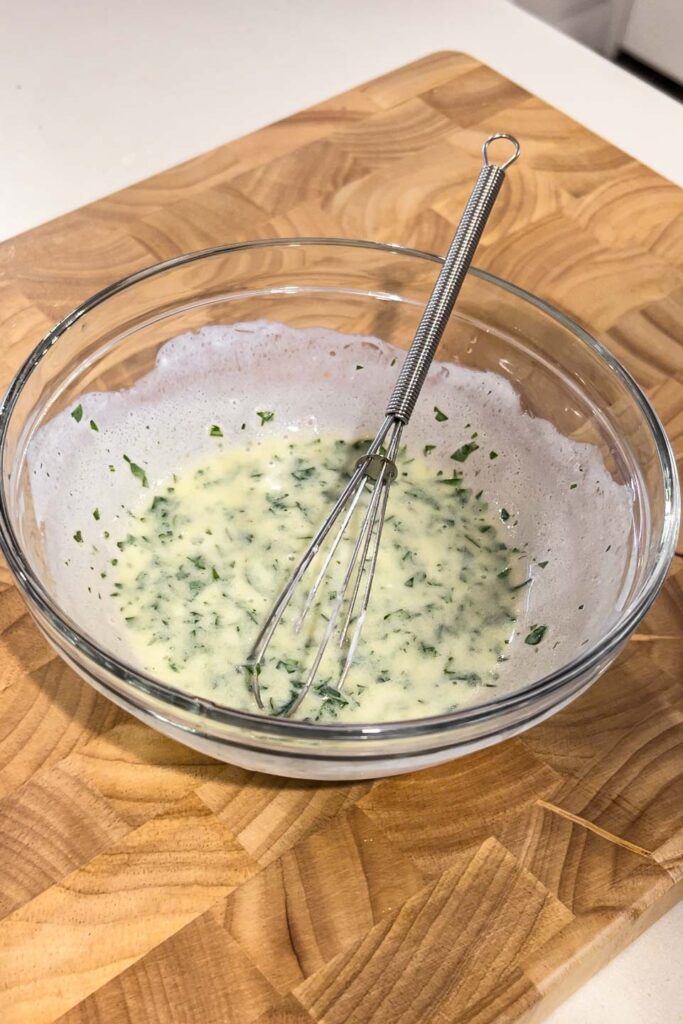
Make the pesto vinaigrette (pesto dressing)

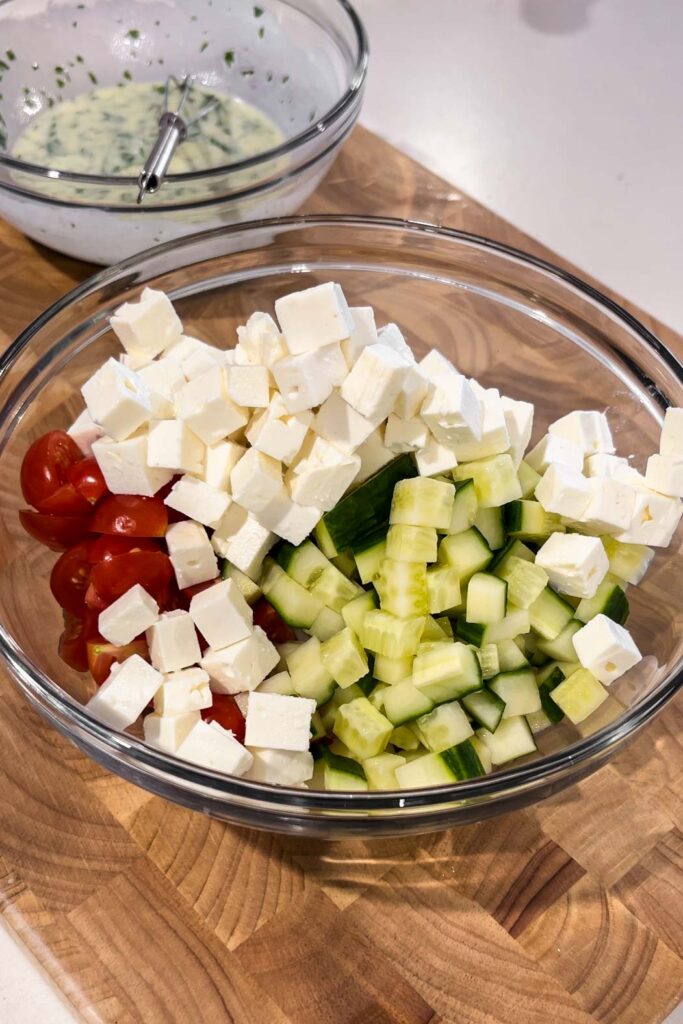
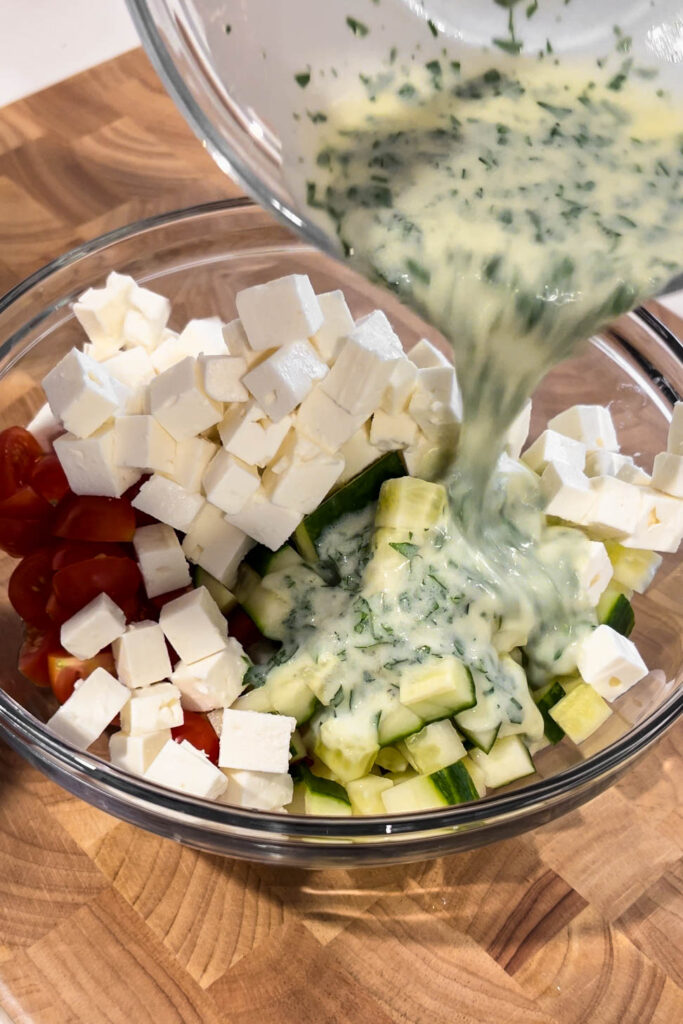
Combine all ingredients in a large bowl.
Tips and tricks
- Use a bigger mixing bowl than you think, it's easier to mix together and minimizes overflow.
- Test your pasta as it’s cooking to ensure you cook it to al dente. It's best to start testing it 1-2 minutes before the package instructions say it'll be done.
- Cherry or grape tomatoes can be easily sliced in half by placing them between two plates and slicing through. Then slice each again (not between two plates) quarter them.
- If the dressing isn’t coming together (or if you want to avoid whisking) add all ingredients to a jar and shake vigorously to emulsify.
- Try to cut all the mix-ins into bite-sized pieces so you get a bit of everything in every bite.
- Salt your pasta water!
- For serving you can tear some fresh basil leaves on top for pretty presentation.
Storage and reheating
- Storage: keep in an airtight container in the fridge for up to 3-4 days (makes it great for meal prep for lunches!).
- Reheating: this pesto orzo pasta salad is best eaten at room temperature, so just take it out of the fridge 30 minutes before you plan to eat it.

What to serve with pasta salad
Picture this: it’s 5:30pm on a warm 76°F June evening, you’re at a table outside with loved ones, and you have this pasta salad on deck along with:
- Grilled skirt steak and shrimp
- Potato salad
- Grilled zucchini
- Corn on the cob
FAQs
Cherry tomatoes are more perfect circles and sweeter, grape tomatoes are oval and a little more mild.
WIn a classic pesto, it’s just fresh basil, extra virgin olive oil, parmesan cheese, pine nuts, fresh garlic, salt, and pepper. You could customize and use arugula instead of basil, or any other nut instead of pine nuts. Here’s a great recipe if you’d like to make it homemade. A food processor makes it super simple. hat’s in pesto?
I haven’t tried it, but if you have a good gluten free option that you love I suggest trying it!
Did you make this recipe? Leave a rating and review below and tag me on social!
📖 Recipe

Pesto Orzo Pasta Salad
Ingredients
- 1 ½ cups orzo
- 1 pint cherry tomatoes quartered
- 16 oz cannellini beans drained and rinsed
- ½ red onion thinly sliced
- 8 oz fontina cheese cubed
- 2 cups baby arugula
- ⅓ cup extra virgin olive oil
- 2 tablespoon red wine vinegar
- ½ cup basil pesto
- 1 teaspoon kosher salt
Instructions
- Cook the pasta. Bring a large pot of salted water to a boil and cook the orzo to al-dente (usually a minute or two shy of package directions). Drain and rinse with cold water to cool it down and stop the cooking.
- Make the pesto vinaigrette. In a medium sized bowl, whisk together the pesto, red wine vinegar, and kosher salt. Then, while whisking constantly, pour in the extra virgin olive oil in a slow steady stream until emulsified.
- Combine all ingredients in a large bowl. Add the orzo, tomatoes, beans, onion, cheese, and arugula to a big mixing bowl. Pour over the pesto vinaigrette and toss to combine.