Tomato Confit Whipped Ricotta Toasts are the easiest vegetarian appetizer that is full of so much flavor. Confit tomatoes really makes these something special with such minimal effort, and is so delicious on top of silky whipped ricotta.

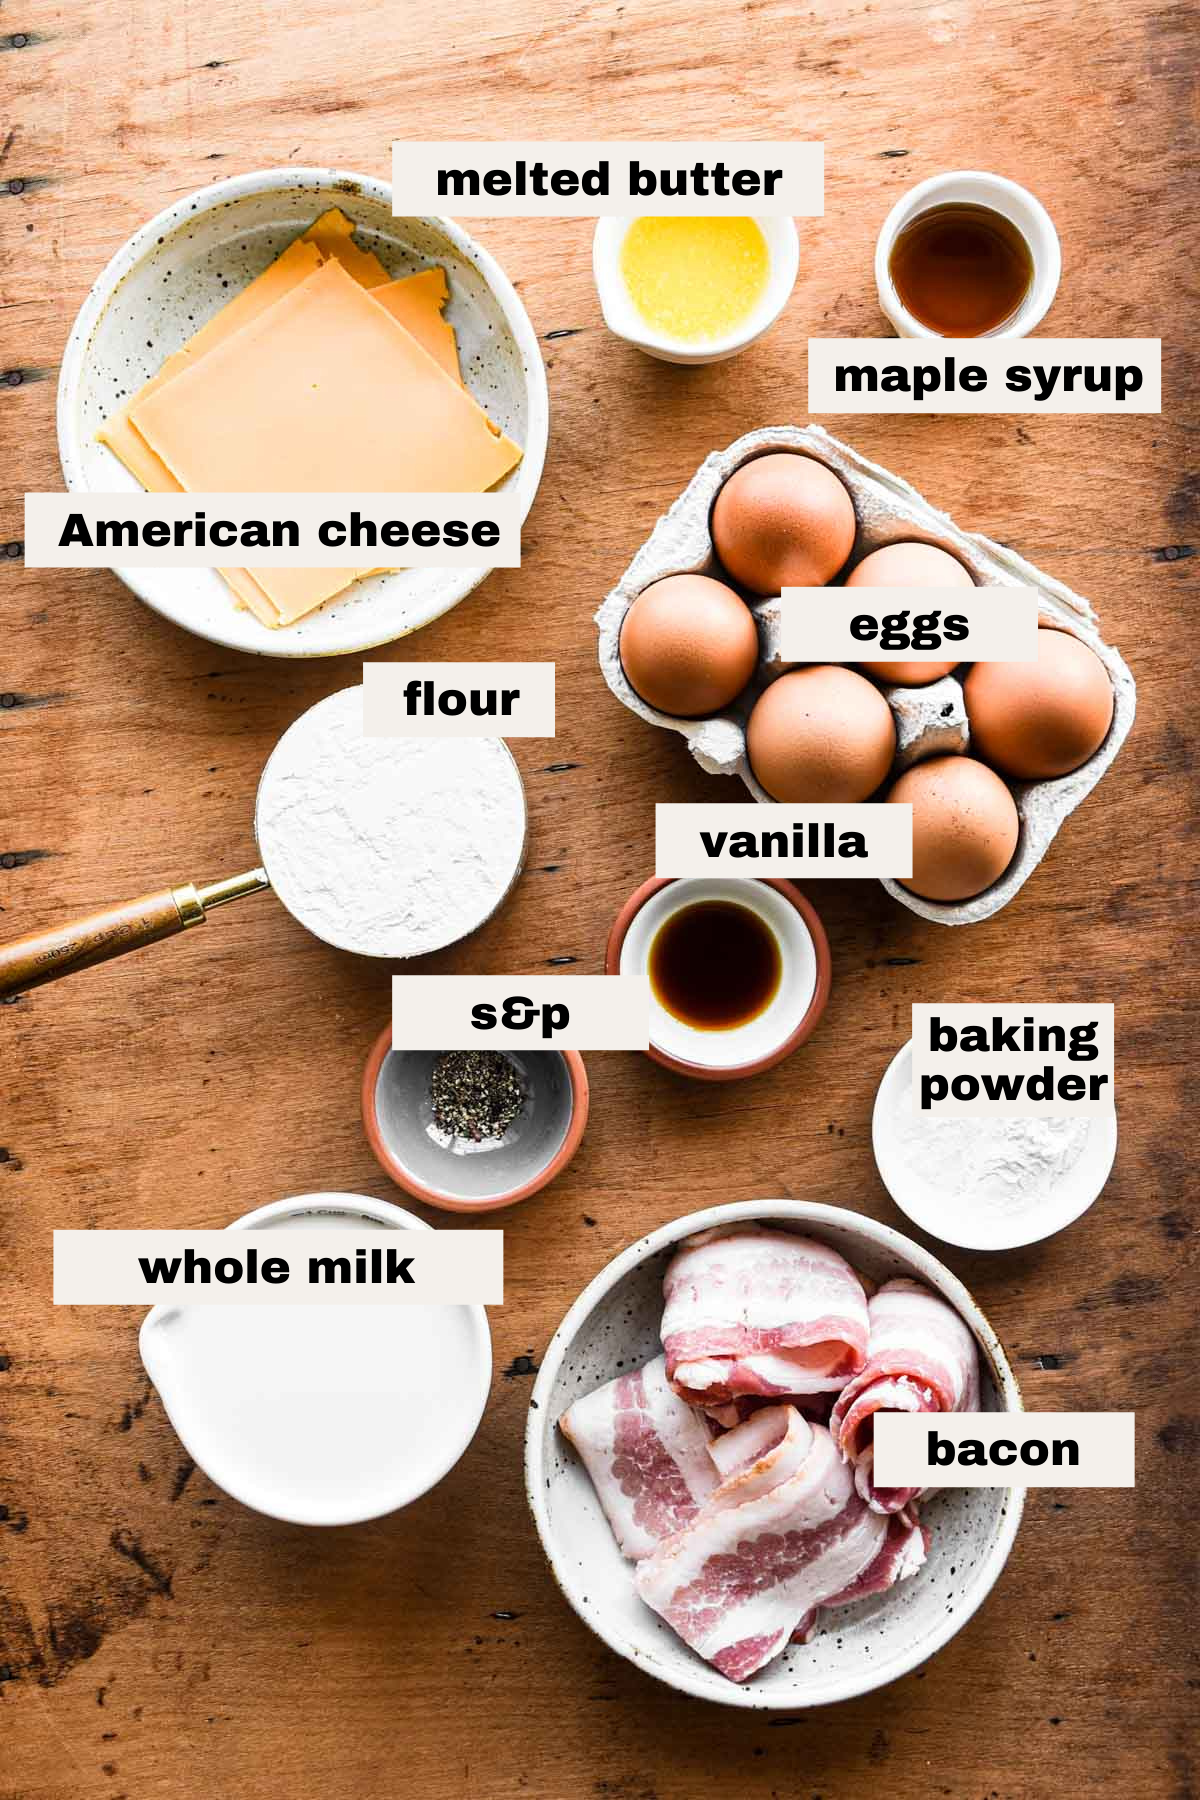
Ingredients
Tomato ricotta toasts use minimal ingredients really allowing all of them to shine.

- Cherry tomatoes: Little cherry tomatoes for tomato confit is the best because they burst ever so slightly and are the best pop of flavor. You can also use grape tomatoes.
- Garlic: Adding a few cloves of garlic to the confit adds so much flavor. You can add the garlic cloves onto the toast too and it's fantastic.
- Extra virgin olive oil: Since the tomatoes are slow roasted in olive oil you want to be using a good extra virgin olive oil with great flavor. It's baked low and slow so you don't need to worry about the olive oil burning.
- Ricotta cheese: Whole milk ricotta cheese is key to fluffy whipped ricotta! Having the full fat helps it whip really smoothly.
- Sourdough bread: I love using sourdough bread for this recipe but really you can use any bread that you can get a good slice out of. Italian bread or a baguette would be great options.
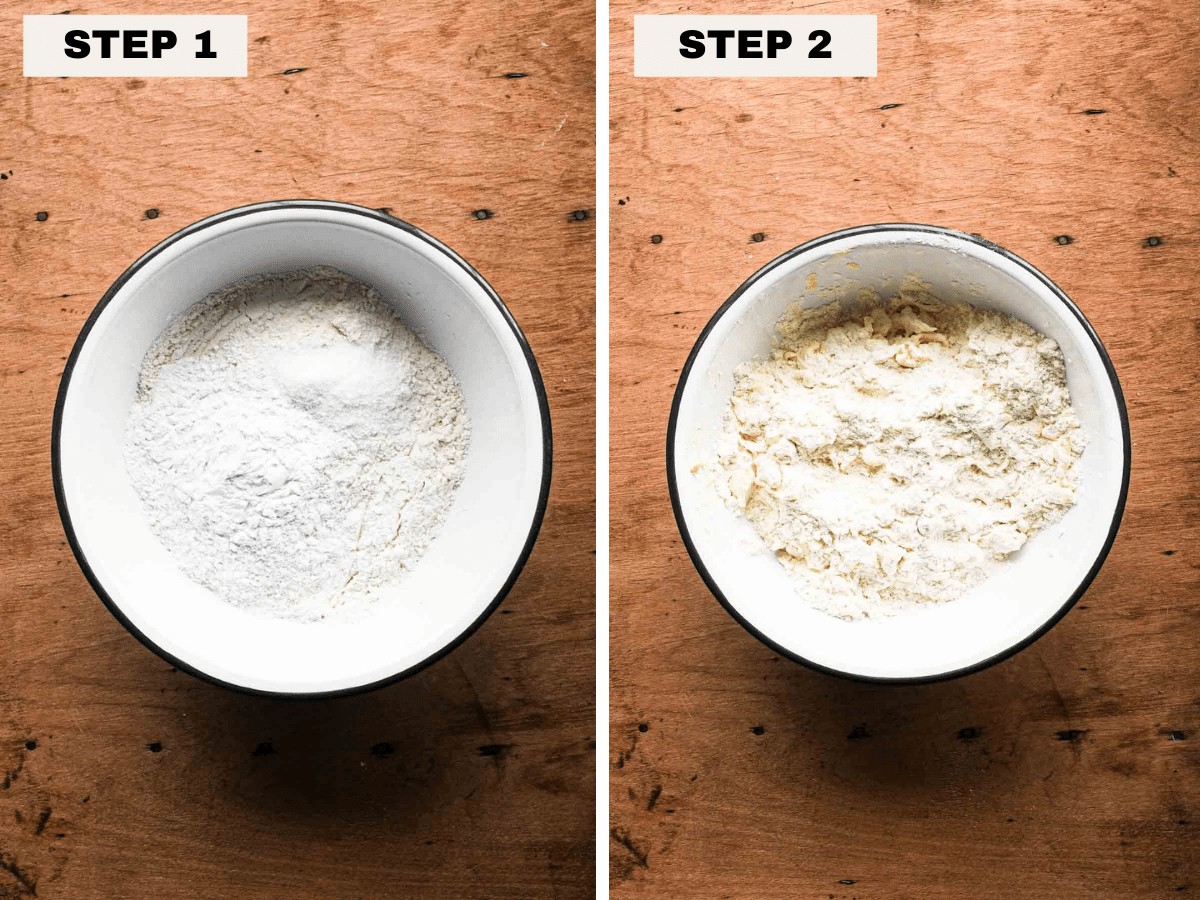
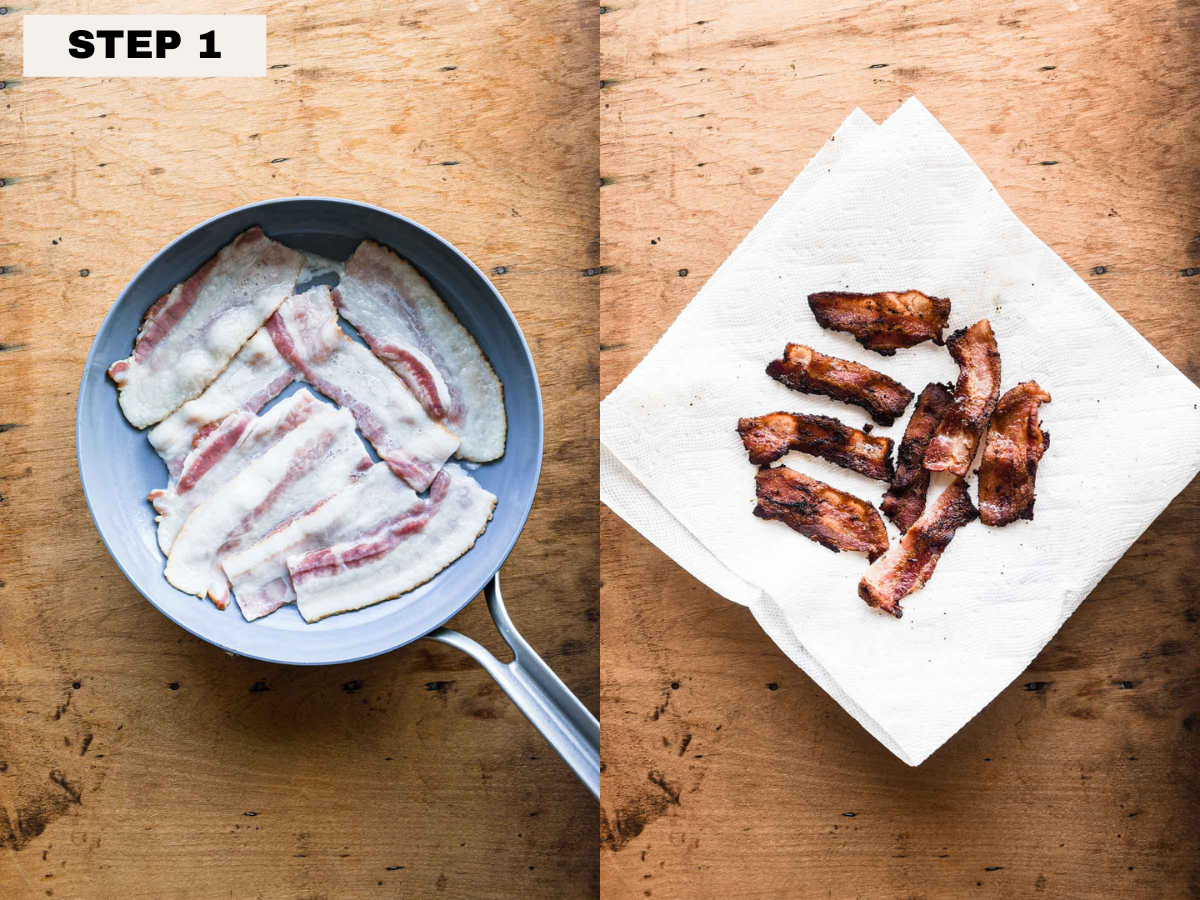
Step by step instructions
This whipped ricotta toast with confit tomatoes truly is so easy to make, just a few steps:
1. Roast the tomatoes. Add the olive oil, tomatoes, garlic, salt, and pepper to a baking dish. Bake at 300℉ for 50 minutes.
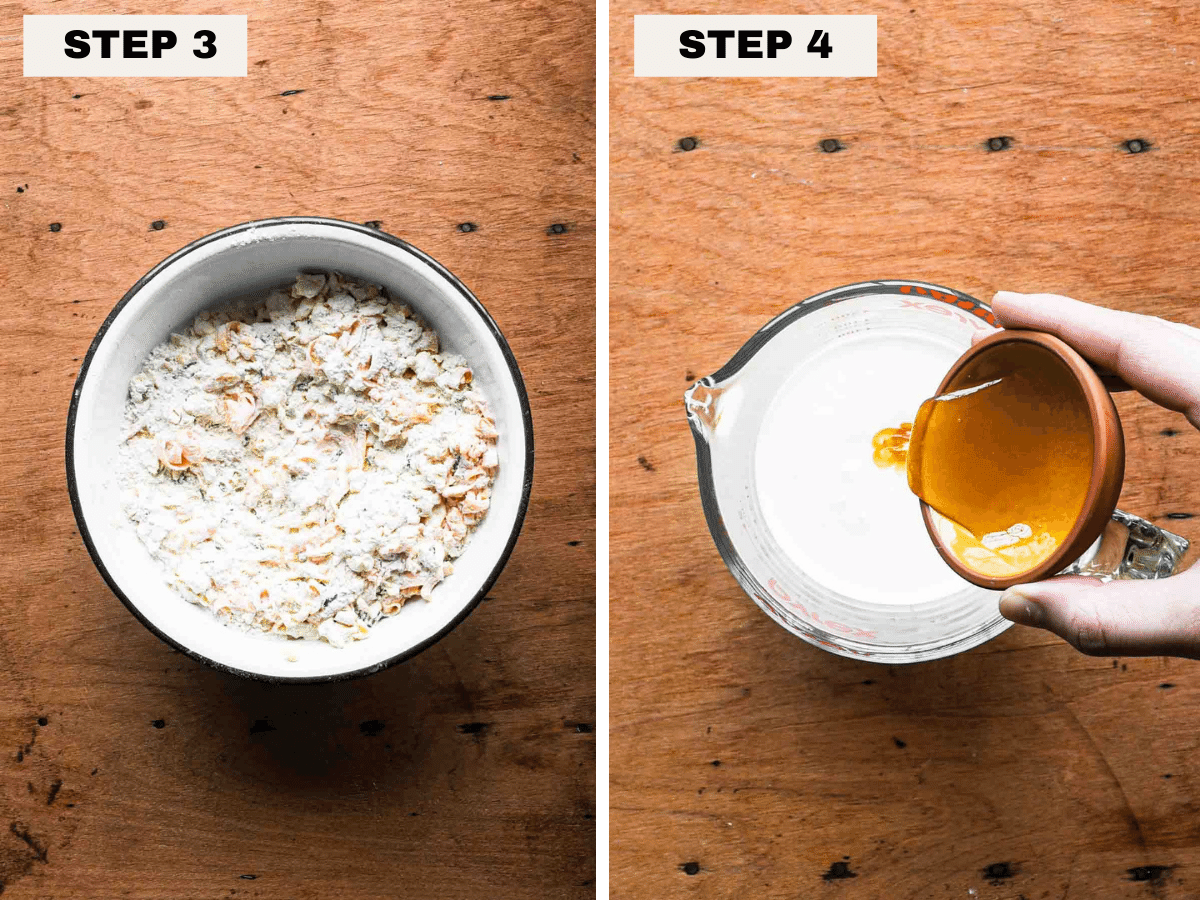
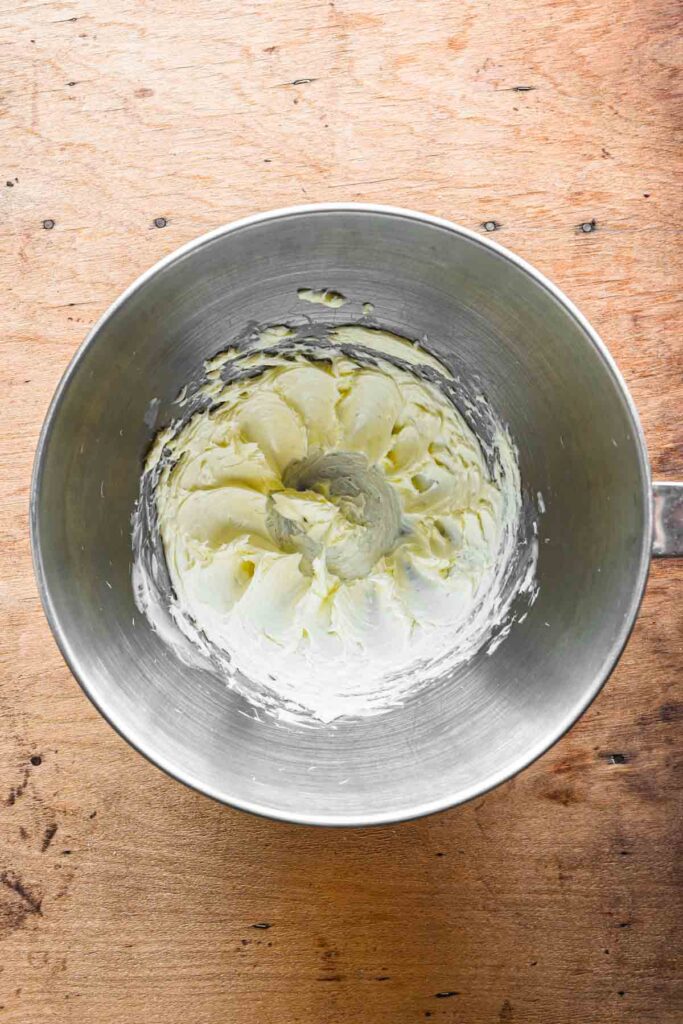
2. Whip the ricotta in the food processor. To a food processor, add the ricotta, olive oil, salt, and pepper. Whip for 3-5 minutes until really smooth and fluffy.

3. Toast the bread. Drizzle the bread with olive oil and toast in the oven until golden brown.
4. Assemble. Slather a good amount of whipped ricotta on each piece of bread, then top carefully with the warm confit tomatoes and some of their drippings. Serve immediately!

Tips and tricks
While these confit tomato whipped ricotta toasts are crazy easy, there are still a few things that can really help guarantee success and navigate the recipe.
- Whole milk ricotta for whipped ricotta is a must!
- Don't skip salting the cheese, ricotta cheese is very mild in flavor and salting it just adds that little extra spark it needs.
- Using the food processor makes the ricotta really nice and smooth and fluffy, make sure you do it for the specified time!
- You technically could whip the ricotta by hand with a whisk, but it won't be as fluffy
- When adding olive oil to the tomatoes before baking it's going to seem like a lot, but it's supposed to be!
- Add more garlic to the confit tomatoes if you want! The more the merrier
- The garlic can be added right onto the toasts with the tomatoes, or you can separately spread it on some toast and it is DELICIOUS
- Add a drizzle of spicy honey once you've assembled the toasts, it's delicious.
- If you use all the tomatoes, save the olive oil! It's great for salad dressings.
- If you have leftover tomatoes and olive oil, you can add it to some cooked pasta and dollop any leftover whipped ricotta on top - yum.
- If you love confit tomatoes, check out more you can confit here.
FAQs
Store all the elements separately. Whipped ricotta in one container, confit tomatoes in another. If you have leftover that are assembled, store them in an air tight container in the fridge for up to 2 days. Eat cold or at room temp.
Put the entire confit tomato mixture in an air tight container - make sure the olive oil covers the tomatoes entirely. Add more olive oil if needed to achieve this.
If you've stored them correctly, they should last in the fridge for up to 1 month. It's likely the olive oil will solidify (which is completely fine), so bring it to room temp before eating.
More toast recipes
📖 Recipe

Tomato Confit Whipped Ricotta Toasts
Ingredients
Confit tomatoes
- 15 oz cherry tomatoes
- 5 whole garlic cloves peeled
- ½ cup extra virgin olive oil
- 1 teaspoon kosher salt
- ½ teaspoon black pepper
Whipped ricotta
- 16 oz whole milk ricotta cheese
- 1 teaspoon kosher salt
- ½ teaspoon black pepper
- 1 tablespoon extra virgin olive oil
Toasted bread
- 4 slices of sourdough bread halved
- 1 tbsp extra virgin olive oil
Instructions
- Preheat your oven to 300℉.
- Confit tomatoes: Preheat your oven to 300℉. Add the olive oil, tomatoes, garlic, salt, and pepper to a baking dish. Bake for 50 minutes.
- Whipped ricotta: To a food processor, add the ricotta, olive oil, salt, and pepper. Whip for 3-5 minutes until really smooth and fluffy.
- Toasted bread: Drizzle the bread with olive oil and toast in the oven until golden brown.
- Assembly: Slather a good amount of whipped ricotta on each piece of bread, then top carefully with the warm confit tomatoes and some of their drippings. Serve immediately!