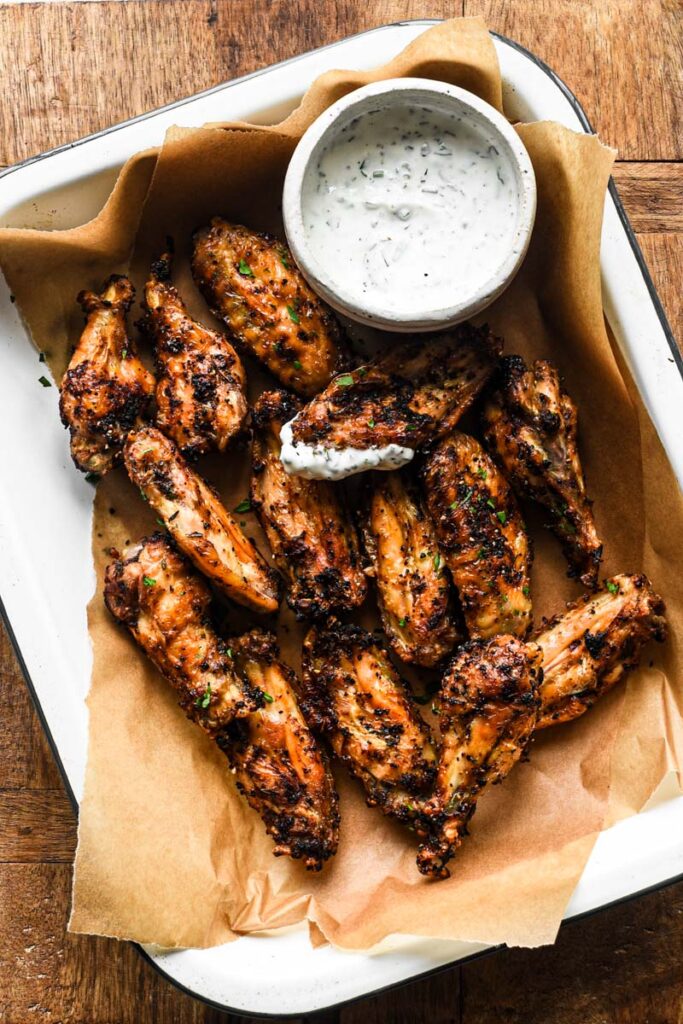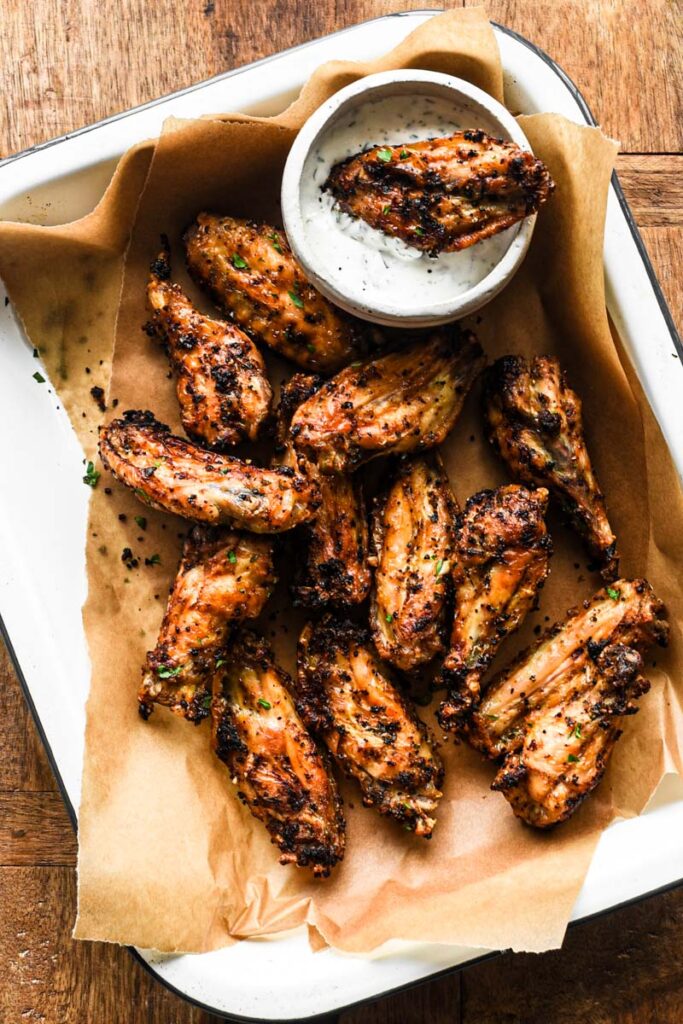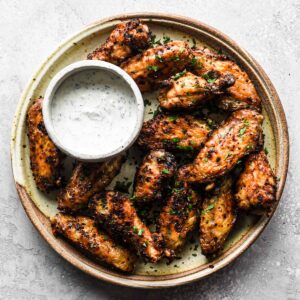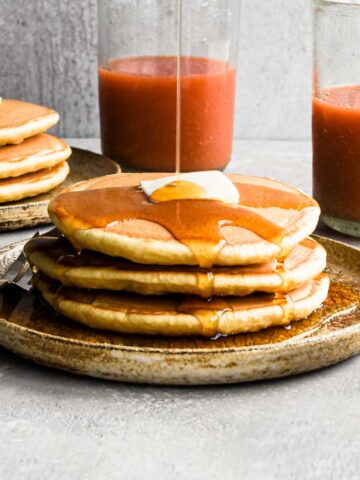
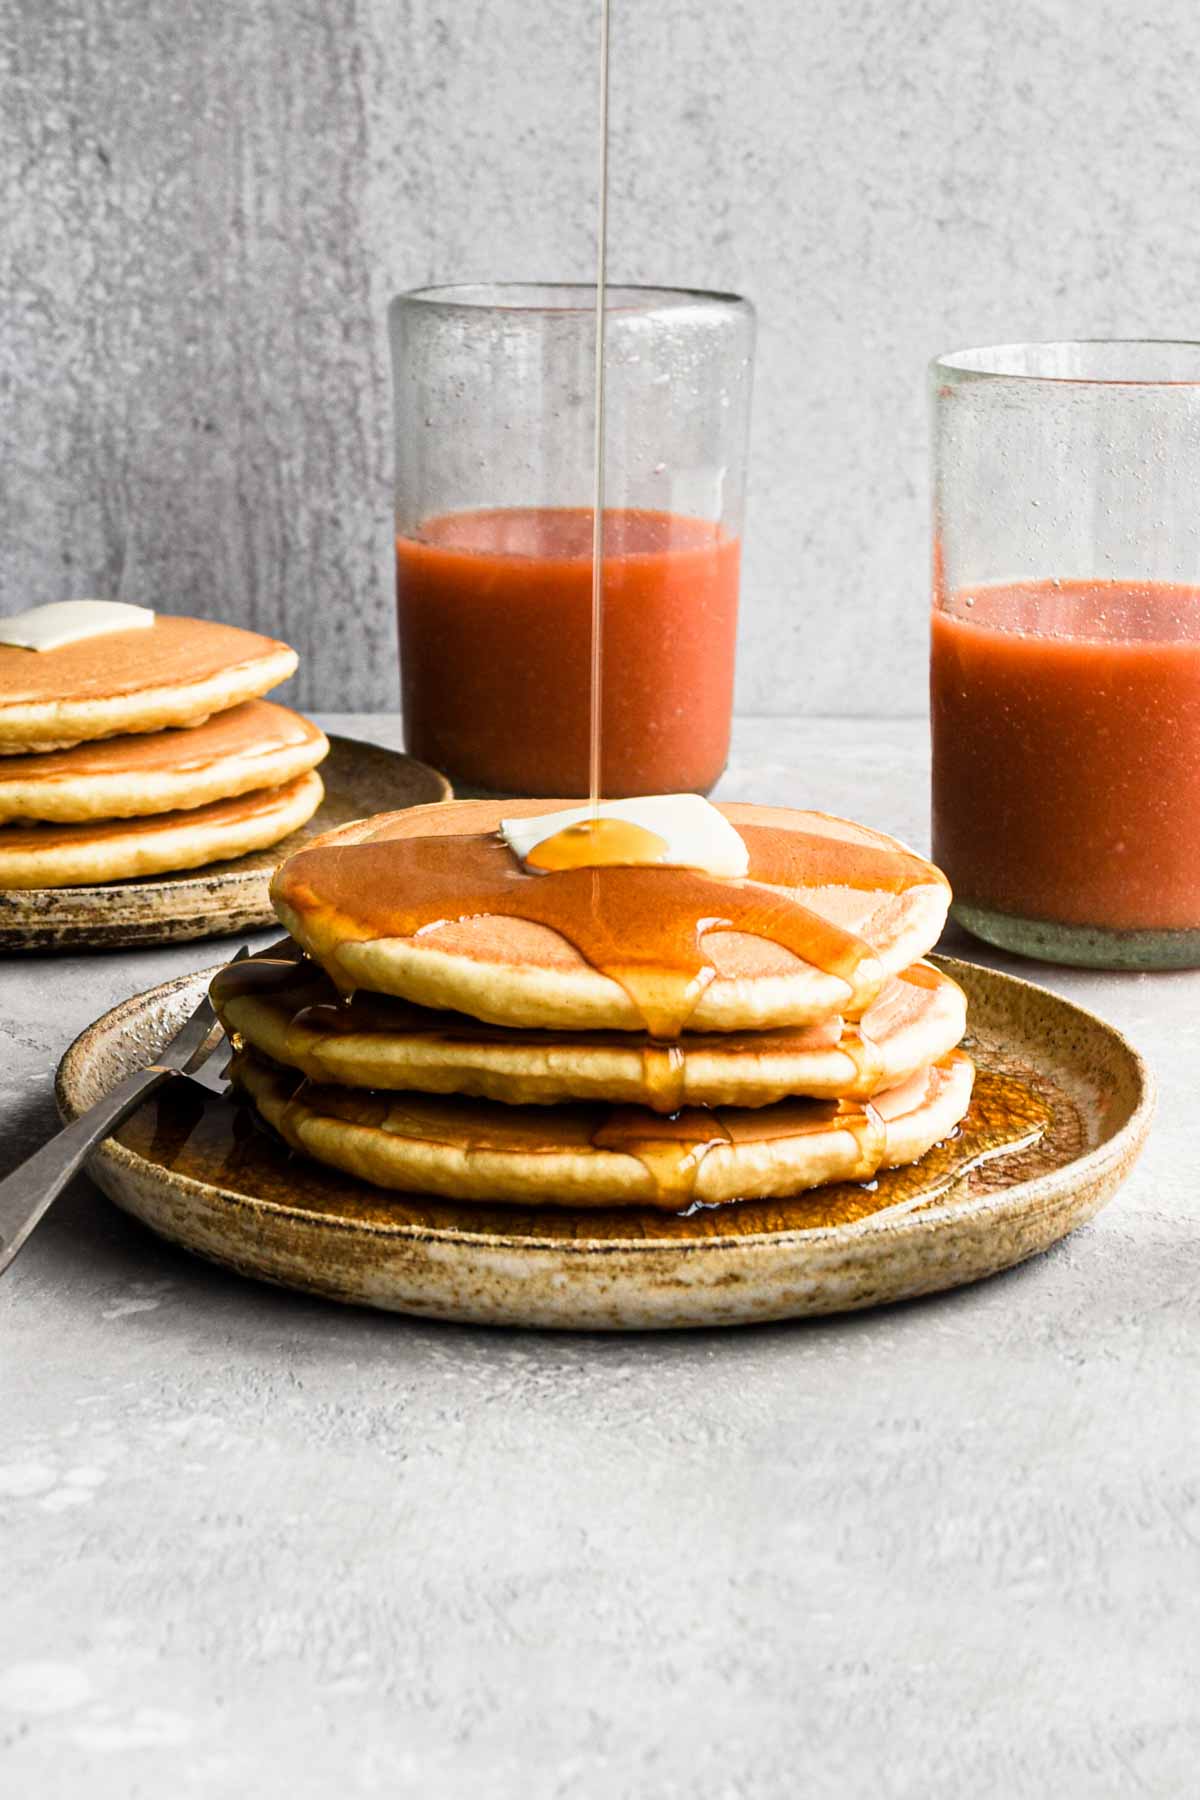
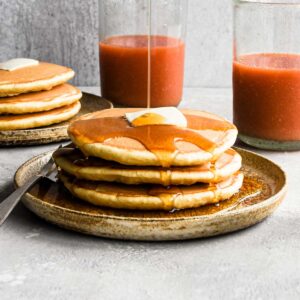
These dairy free fluffy almond milk pancakes are absolutely addicting and the perfect easy breakfast recipe. Making homemade pancakes is so much better than buying the pre-made stuff and it is just about as quick. Enjoy these for an easy dairy free breakfast!
Ingredients
Just a few simple pantry ingredients needed to make these dairy-free pancakes.
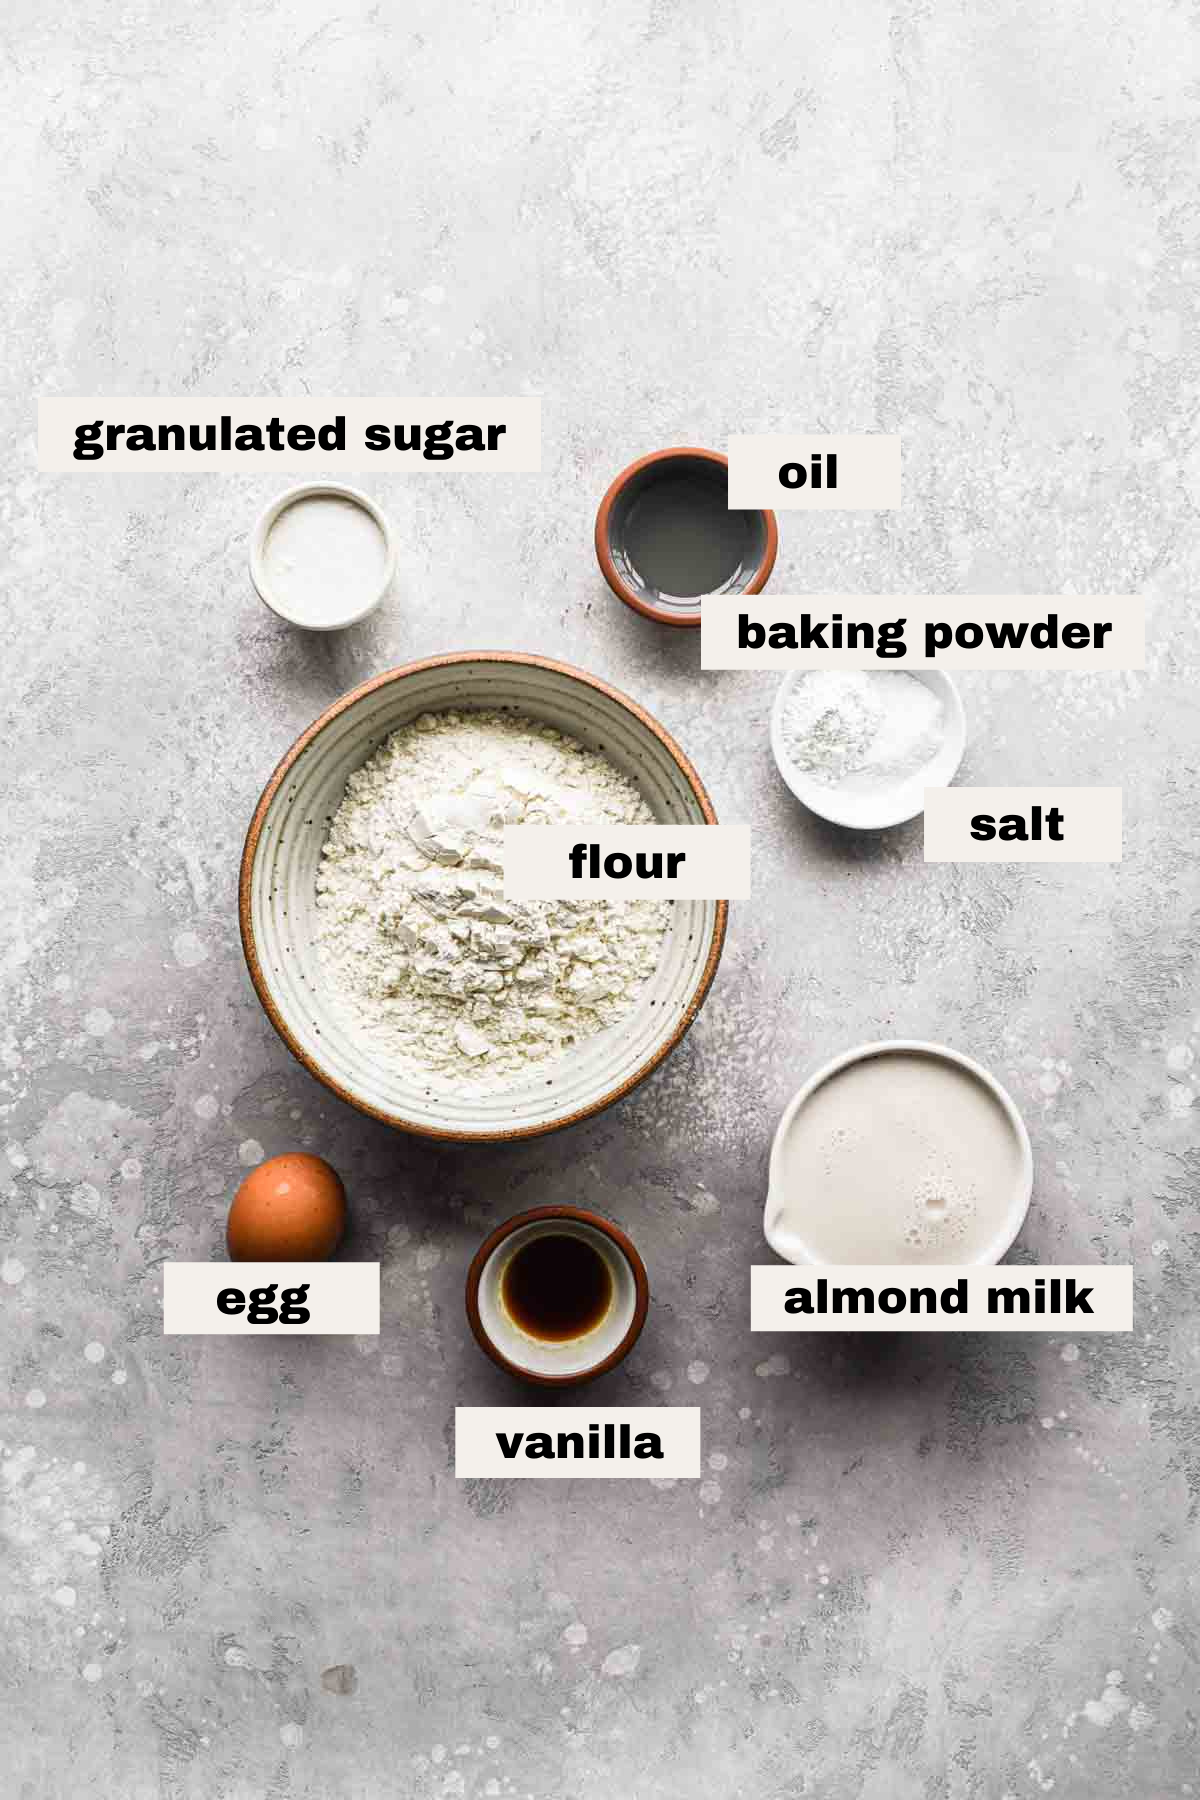
- All purpose flour: Of course need flour to make the batter!
- Baking powder: This gives the batter all of its rise. Gotta make sure they are fluffy.
- Granulated sugar: Barely noticeable, but adds a perfect touch.
- Almond milk: The base liquid - unsweetened almond milk is preferred. If you use sweetened, I'd adjust the amount of granulated sugar (or maybe omit).
- Vanilla extract: I refuse to make pancakes without vanilla extract. I love the flavor it adds!
- Egg: Helps bind the pancakes together and of course adds flavor/color. Eggs are not considered dairy!
- Canola oil: This takes the place of what would traditionally be butter, but of course with dairy free pancakes we want to avoid butter.
- Salt: Balances all the flavors out.
Ingredient substitutions
- All purpose flour: use 1:1 gluten free flour or whole wheat flour
- Almond milk:
- Use another plant-based milk instead of almond milk (such as oat milk, soy milk, or coconut milk)
- Use dairy milk if you're not adverse to dairy products
- Use vanilla almond milk for some added flavor - just go lighter on the vanilla extract
- Vanilla extract: use vanilla bean paste
- Eggs: use flax eggs
- Canola oil: use vegetable oil or coconut oil
Step by step instructions
Check out the steps below to make these easy almond milk pancakes and grab the full recipe in the recipe card.
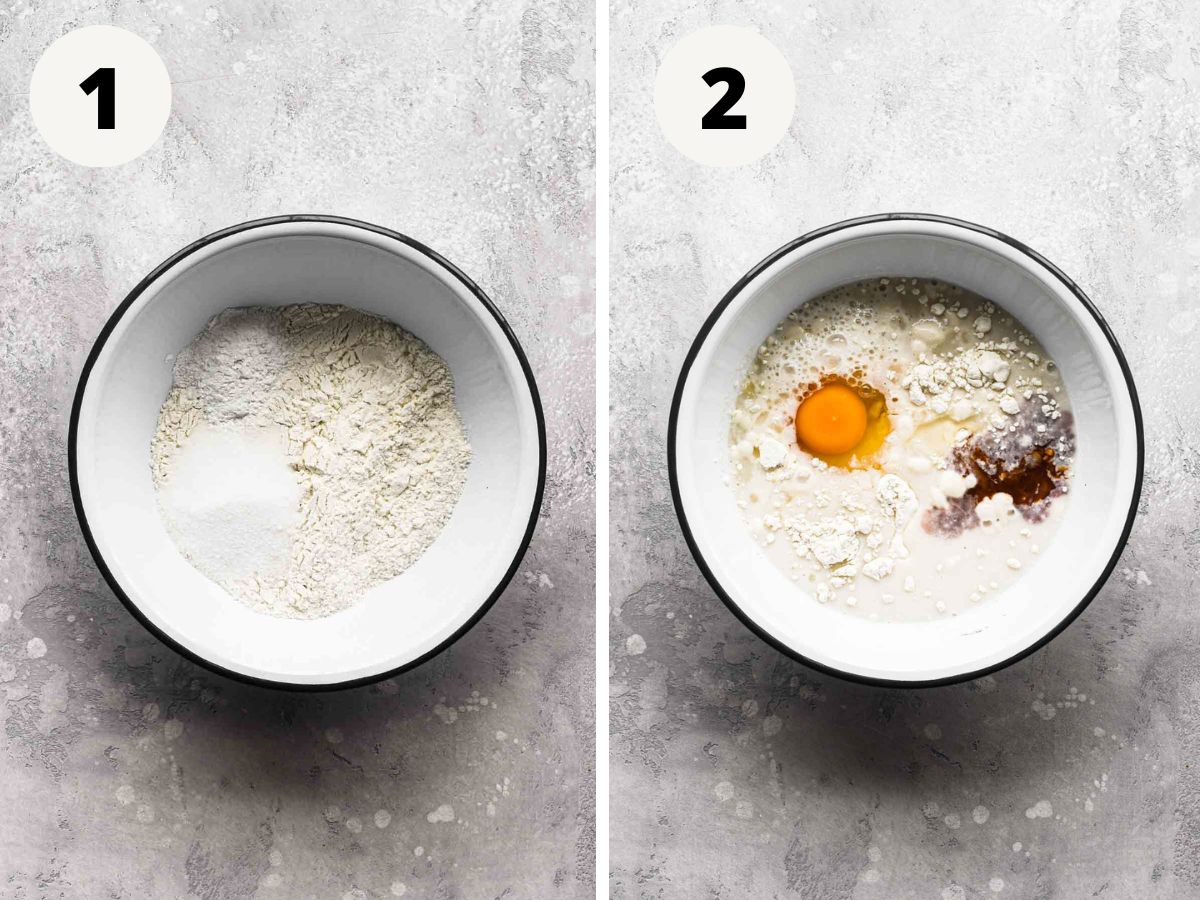
1. Whisk the dry ingredients together. In a small bowl, add the flour, baking soda, granulated sugar, and salt. Give it a quick whisk to combine.
2. Whisk in the wet ingredients. To the same mixing bowl with the dry ingredients, add the almond milk, vanilla extract, egg, and canola oil. Whisk until everything is just combined. Set it aside to rest while the skillet comes to temperature.
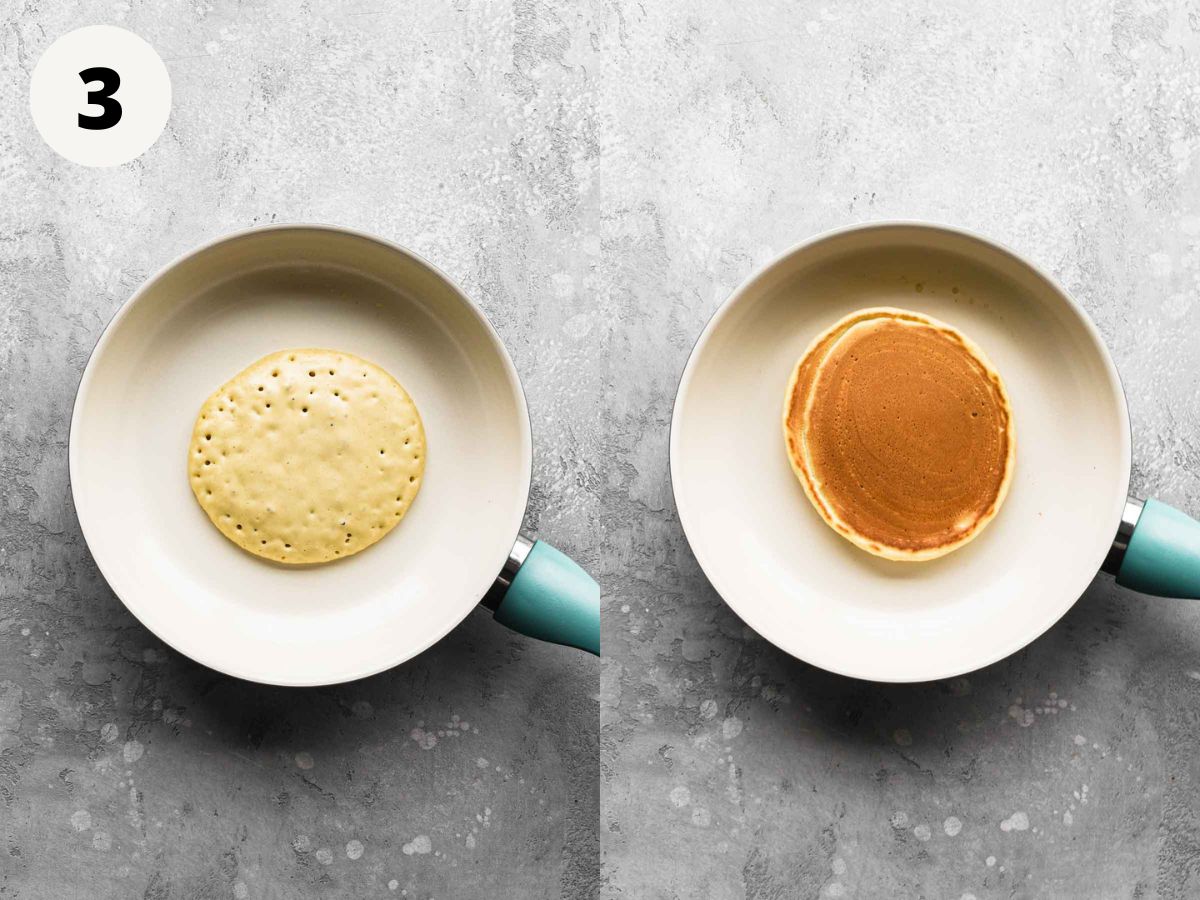
3. Cook the pancakes. Heat a large non-stick skillet on medium heat. Once heated, add ¼ cup batter (as many as can fit) for each pancake. Cook for 2-3 minutes per side until golden brown on both sides.
Tips and tricks
While this is a pretty easy pancake recipe, the below tips and tricks will help you nail it.
- Don't over mix. If you over mix the batter it'll become too tough and your pancakes won't be as fluffy.
- Make sure you let the pancake batter rest. When the batter rests the ingredients have a moment to meld together and you get even better flavor and texture.
- Use a large nonstick skillet. The nonstick will help make sure the pancakes flip and release with ease!
- Heat the non-stick pan fully before you add the batter. To check that the skillet is adequately warmed, I lightly wet my fingers and flick it onto the skillet. If it sizzles considerably, then it's likely heated enough.
- Pancakes are usually ready to flip when the side that is face-up has some air pocket bubbles around the edges and a few through the middle.
- Add some butter to the pan (can use dairy free butter or vegan butter). The melted butter will make the edges of the pancakes a little crispy and will give them a nice nutty flavor.
- Keep an eye out on the temperature of the pan as you cook. You want to make sure the pan isn't getting too hot as you're cooking because you could then cook the outside more quickly than the inside cooks. If it seems to be getting too hot just lower the temperature a smidge.
- To keep the cooked pancakes warm while you finish cooking off the batter, place the cooked pancakes on a sheet tray in the oven at 200℉.
Pancake toppings and add-ins
There are a TON of things you can top or put in these fluffy almond milk pancakes to make them even more delicious (if that's even possible). A few of my favorites:
- Fresh fruit: I personally love bananas, strawberries, or blueberries either on top once cooked, or even cooked inside.
- To put them inside, once you pour some batter into your skillet, dot the face-up side with your fruit of choice.
- Chocolate: dairy free chocolate would be a great addition such as chocolate chips.
- Cooked fruit: compotes/jams/etc. such as this peach compote are great on top after cooking.
- Sweetener: such as maple syrup or powdered sugar can be poured or sprinkled on top after cooking.
- Butter: to keep these dairy free, use a dairy free butter.
- Spices: cinnamon, cardamom, or even something like pumpkin spice would be great mixed into the batter. About ¼ - ½ teaspoon based on preference.
Storage
Store pancake batter in a covered bowl in the fridge for up to 2 days.
Store cooked pancakes in an airtight container in the fridge for up to 3 days.
FAQs
Yes, if eating within a few hours keep warm in the oven at 200℉. If not, put in the fridge then reheat in the oven at 200℉.
Nope! Eggs actually aren't considered dairy so these pancakes are not vegan, just dairy free. More on this here!
Sure! Freeze first on a baking sheet in an even layer for a few hours, then transfer to an air-tight bag or container and freeze for up to 3 months. Reheat in the oven at 300℉ until warmed through.
📖 Recipe
Fluffy Dairy Free Pancakes
Ingredients
- 1 ½ cup all purpose flour
- 2 teaspoon baking powder
- 2 tablespoon granulated sugar
- ½ teaspoon kosher salt
- 1 cup unsweetened plain almond milk
- 1 large egg
- 1 teaspoon vanilla extract
- 1 tablespoon canola oil
Instructions
- In a mixing bowl, add the flour, baking soda, granulated sugar, and salt. Give it a quick whisk to combine.
- To the same mixing bowl, add the almond milk, vanilla extract, egg, and canola oil. Whisk until everything is just combined - don't over mix! Set aside to rest while the skillet comes to temperature.
- Heat a non-stick skillet on medium heat. Once heated, add ¼ cup batter (as many as can fit). Cook for 2-3 minutes per side until golden brown on both sides.