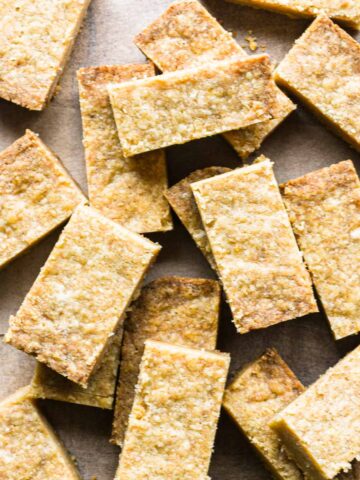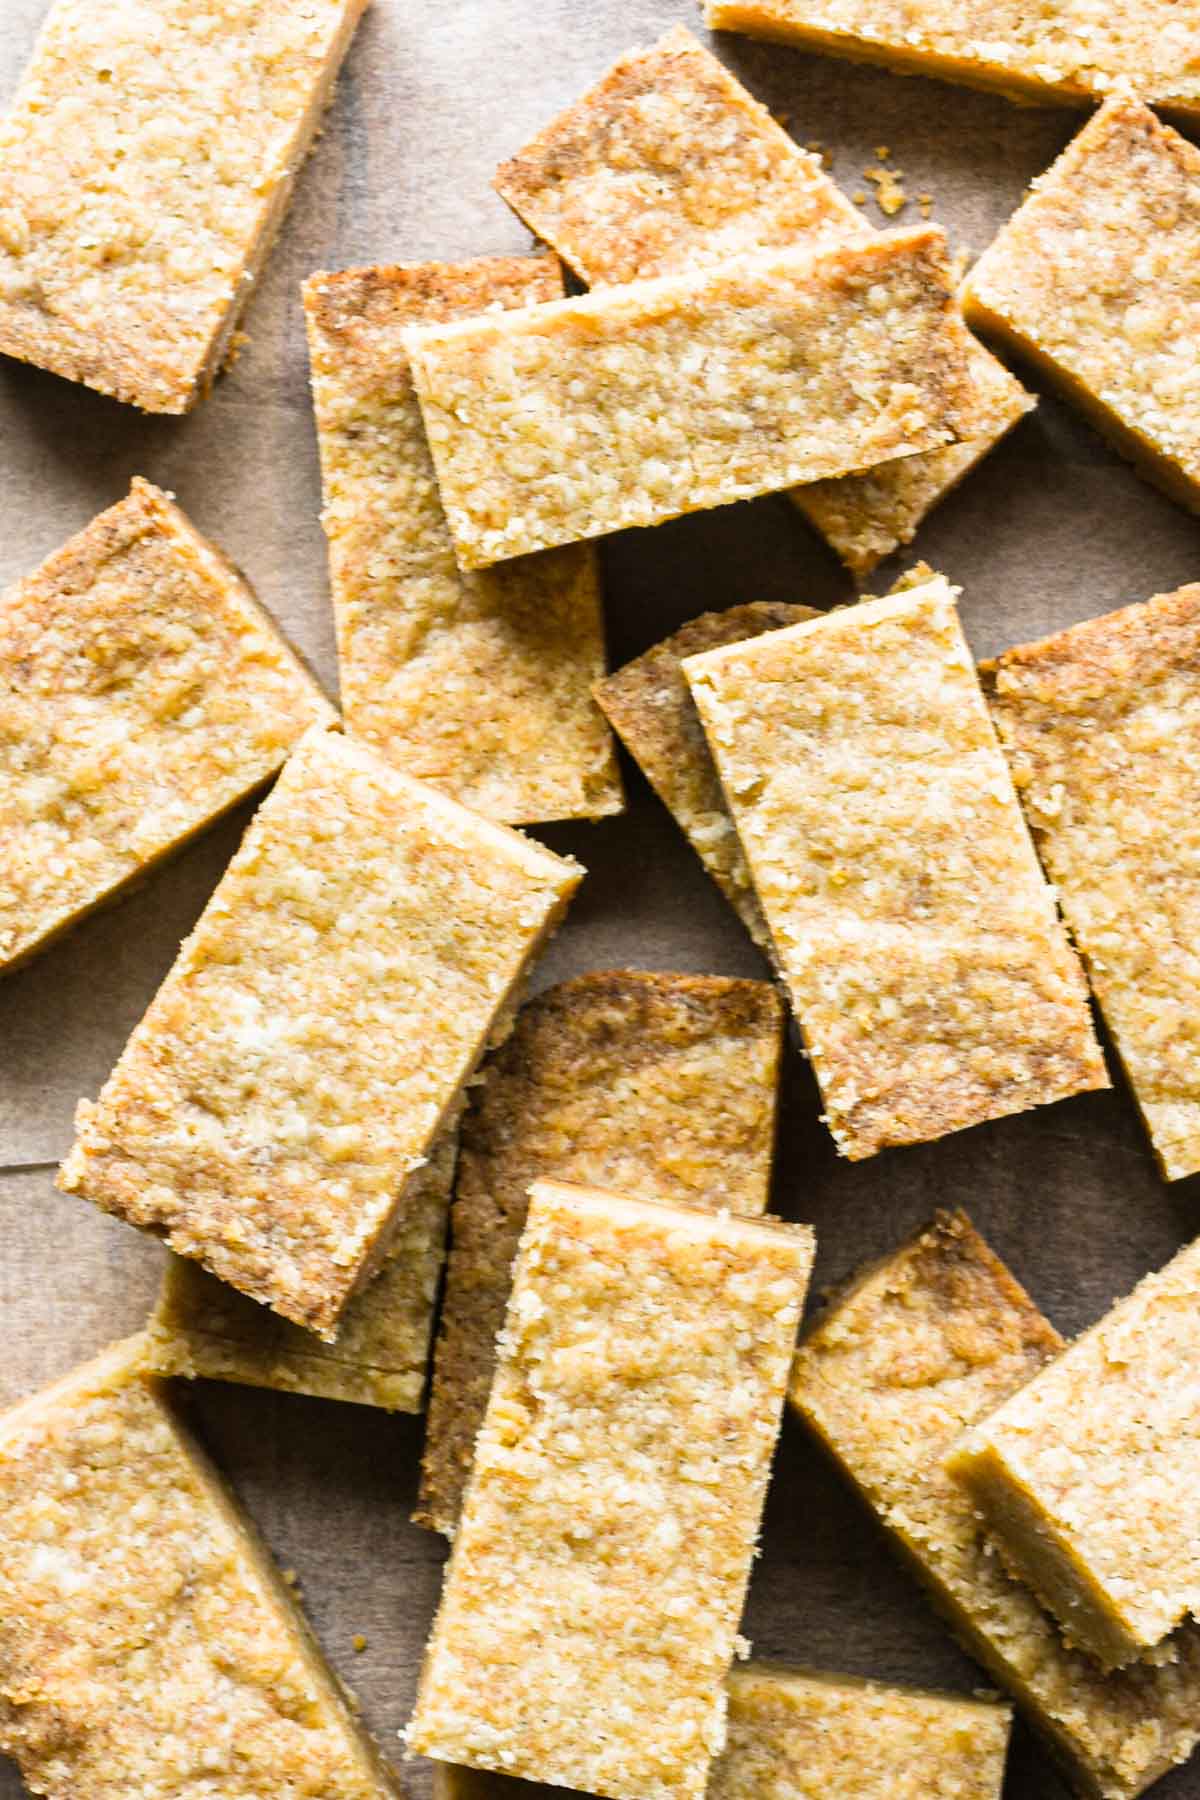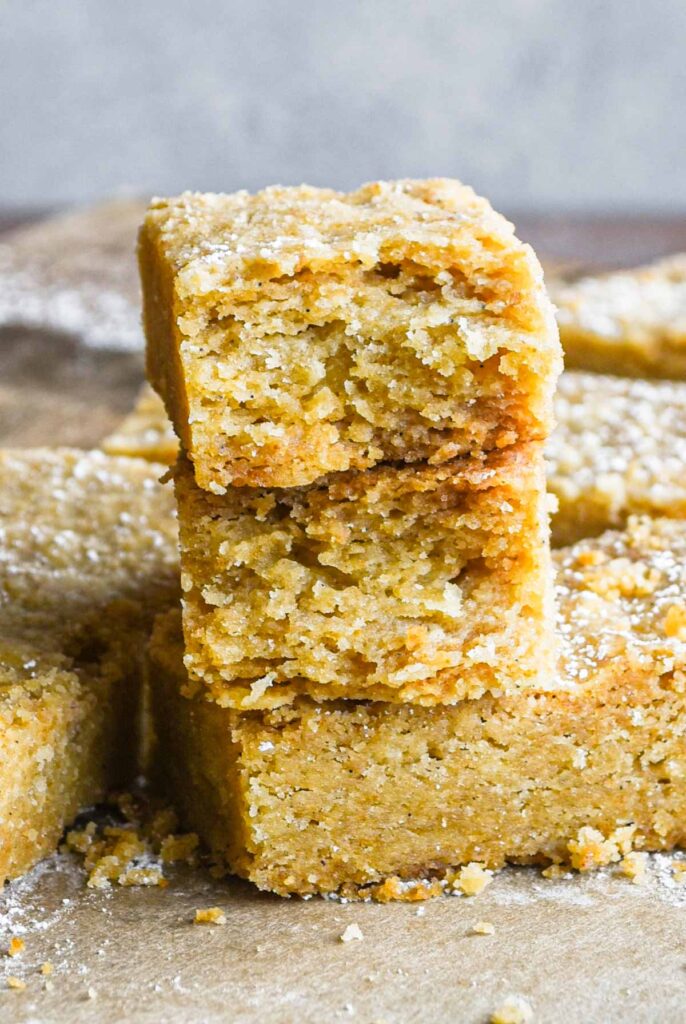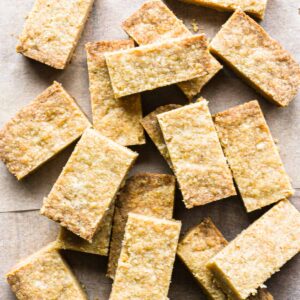
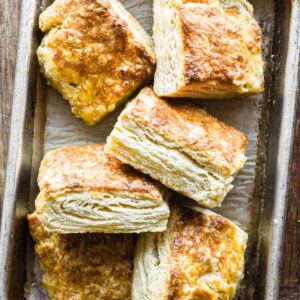
These Ricotta Biscuits are so incredibly flaky and tender with a very mild ricotta flavor. They’re a perfect savory biscuit that's still versatile and would make a great addition on any breakfast table.
Ingredients
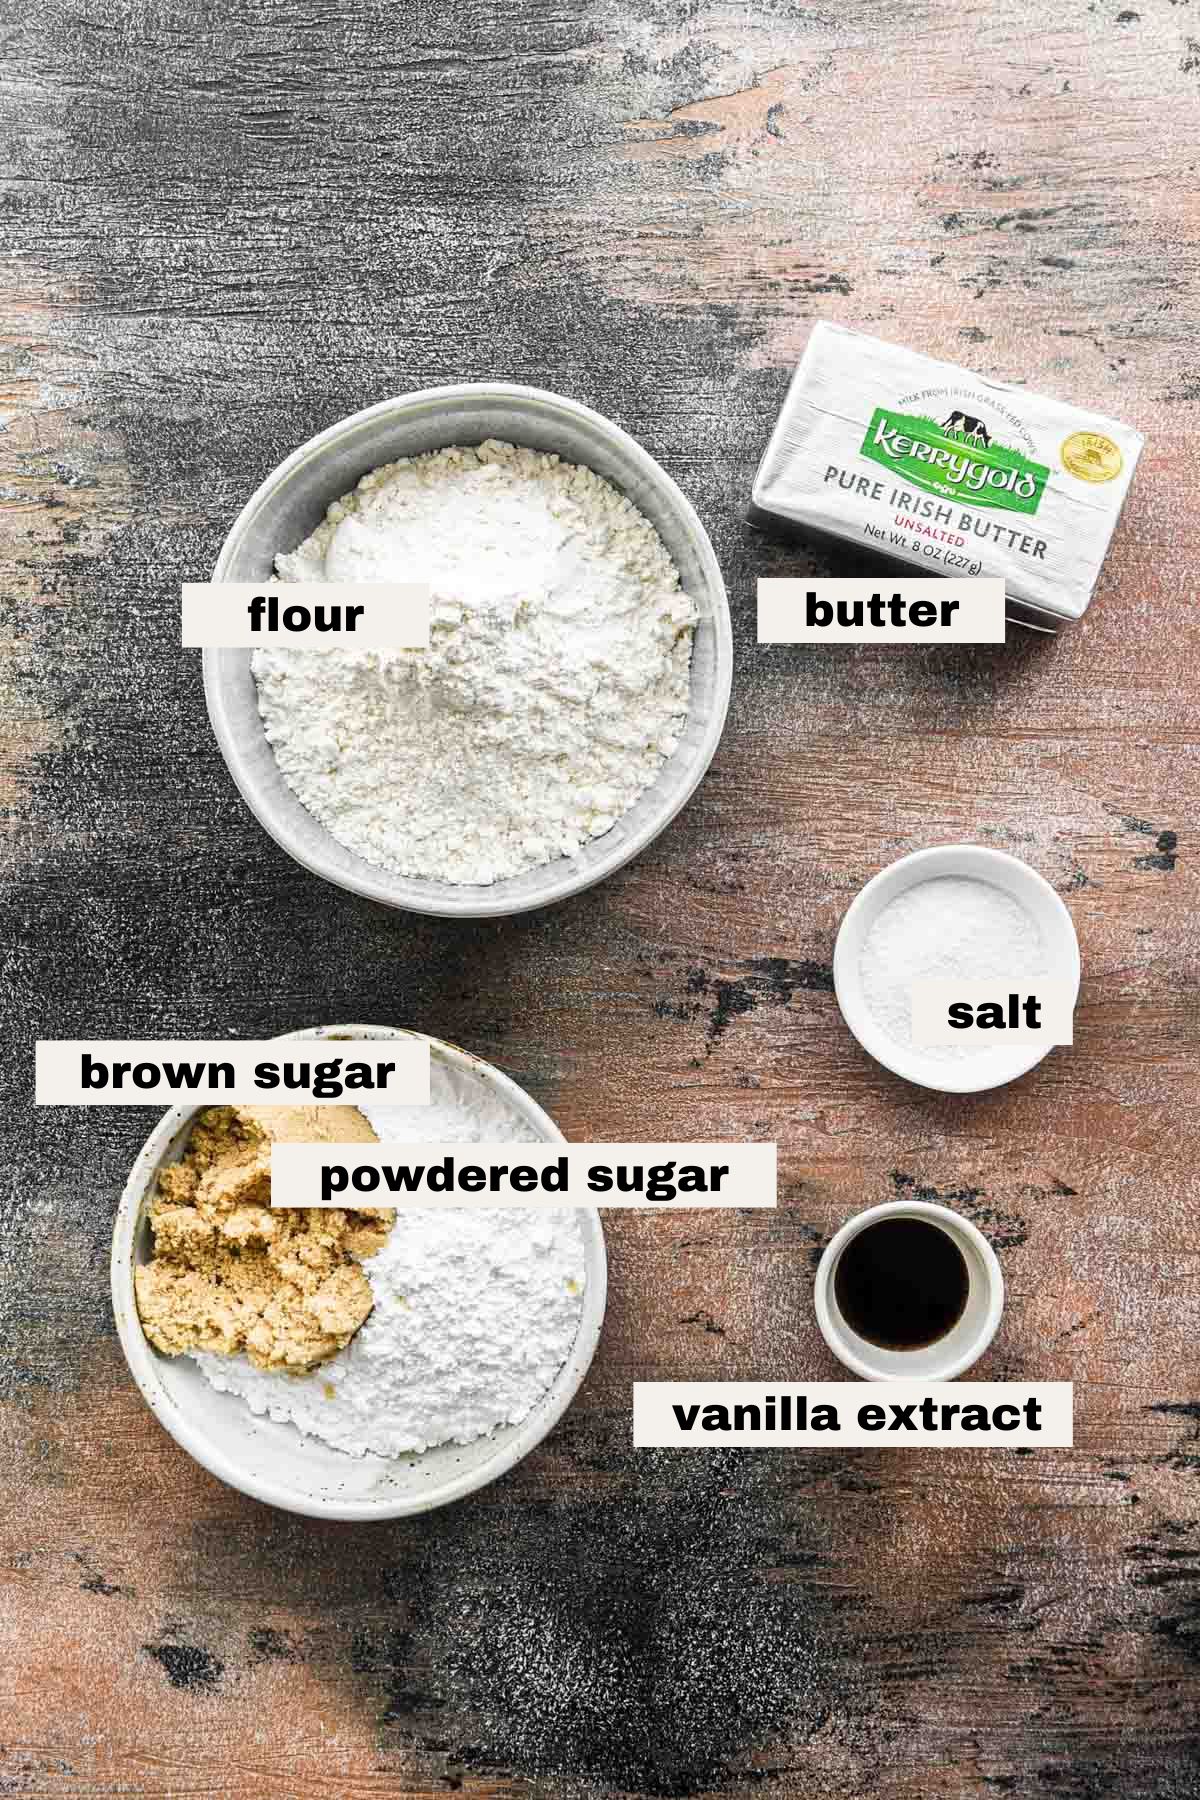
These homemade ricotta cheese biscuits take just a few ingredients, many of which you likely have in your kitchen already. This recipe uses no buttermilk and is perfect to make for weekend brunch.
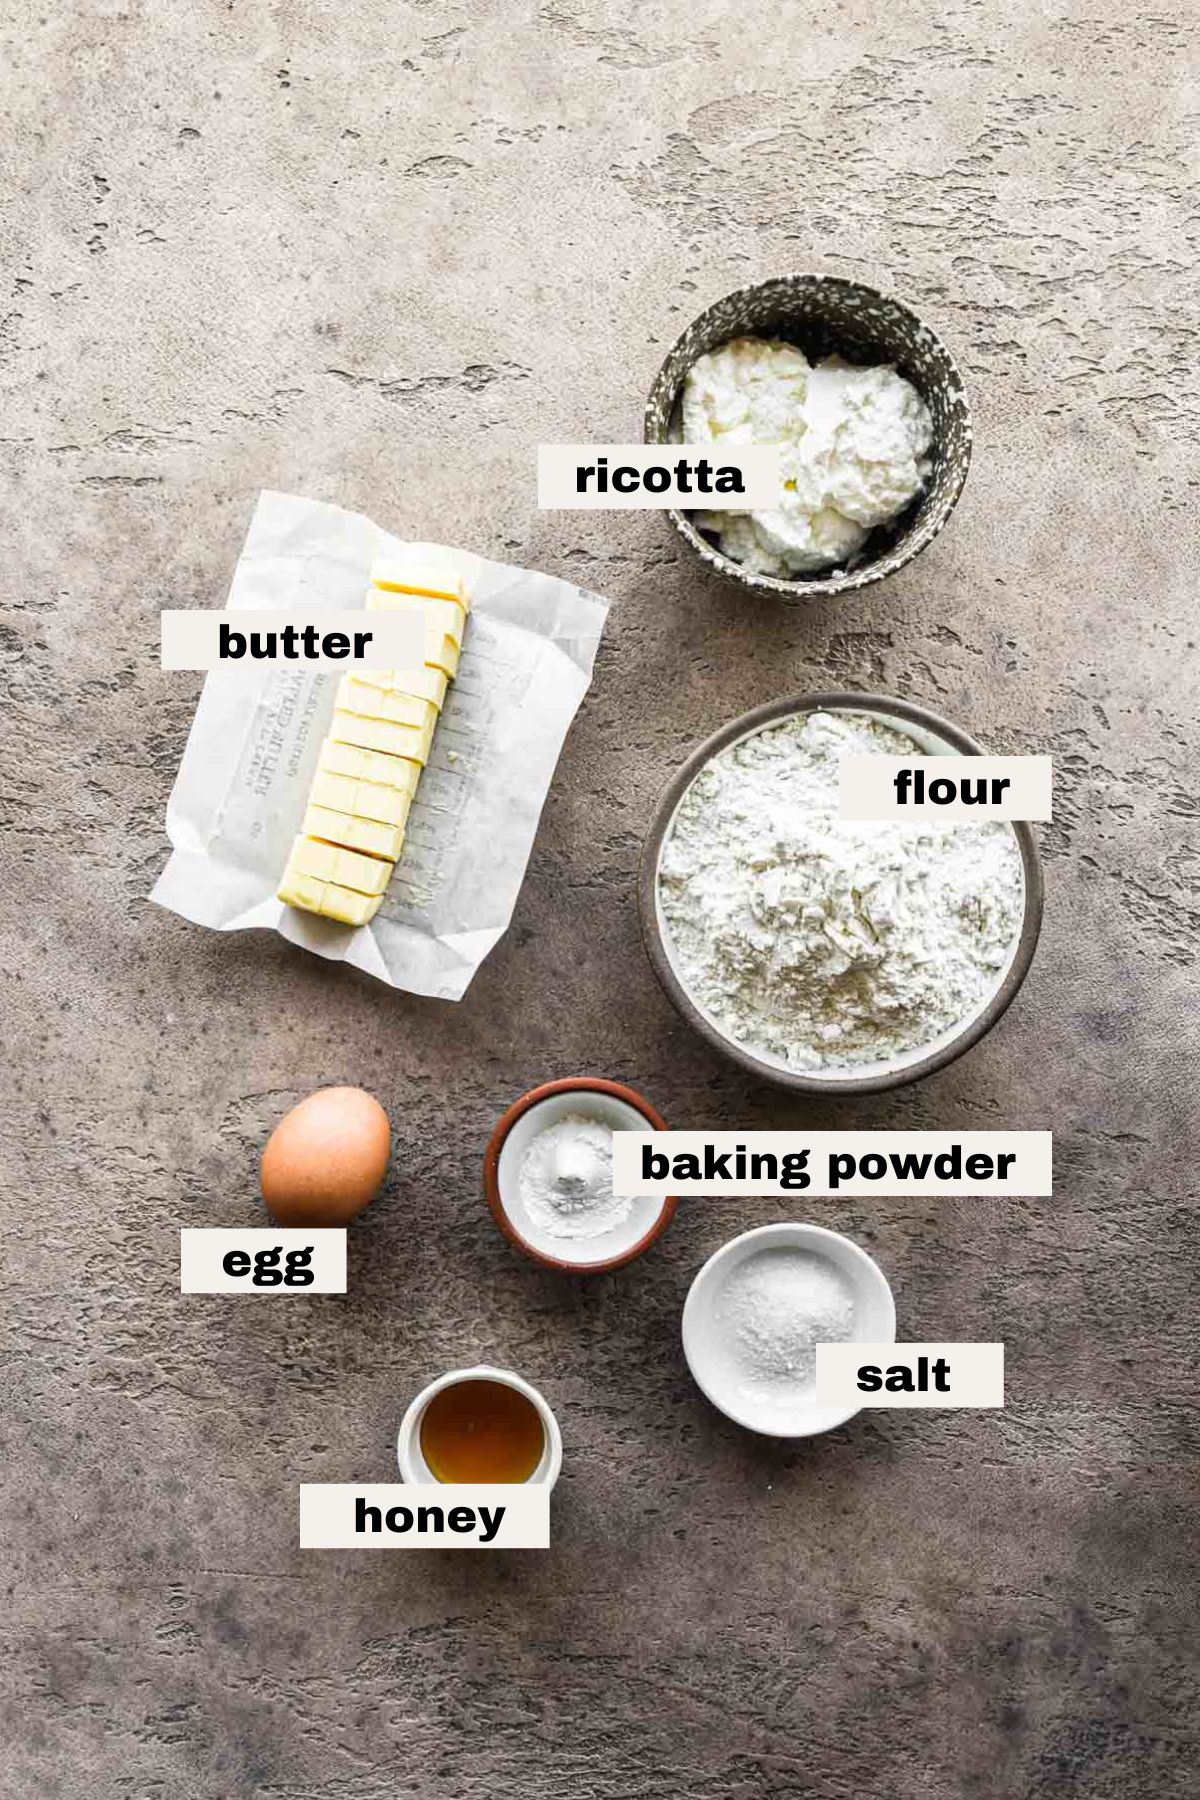
- All purpose flour: Standard baking flour. When you measure, make sure you fluff the flour, then spoon into the measuring cup and level off so it’s flat. If you have too much flour your biscuits will be dry (and we don’t want that!!).
- Baking powder: Baking powder gives these a nice rise. Baking powder contains an acid, so it's ideal to use since there is no added acidic ingredient in this biscuit (for example, buttermilk).
- Unsalted butter: Cold unsalted butter is preferred so you can control the salt content (different brands have different levels of salt). If you have only salted butter it’s fine, just pull back on the added salt. The higher the quality of the butter, the richer and more flavorful the biscuits will be. I recommend something like Kerrigold or Vermont Creamery.
- Ricotta cheese: Whole milk ricotta cheese! We want all the fat to add to the moist and crumbly texture.
- Honey: Adding honey does not make these sweet, but it balances the saltiness and simply adds to the great flavor of these biscuits.
- Salt: Kosher salt!
- Egg + water: Whisking together an egg with a dash of water for an egg wash that gets brushed on the top of the biscuits before baking to give them a nice golden brown color.
Step by step instructions
Homemade biscuits may seem intimidating to make, but it's truly a pretty easy recipe! The yield is these delicious buttery biscuits that are so tender with a little salty sweet flavor.
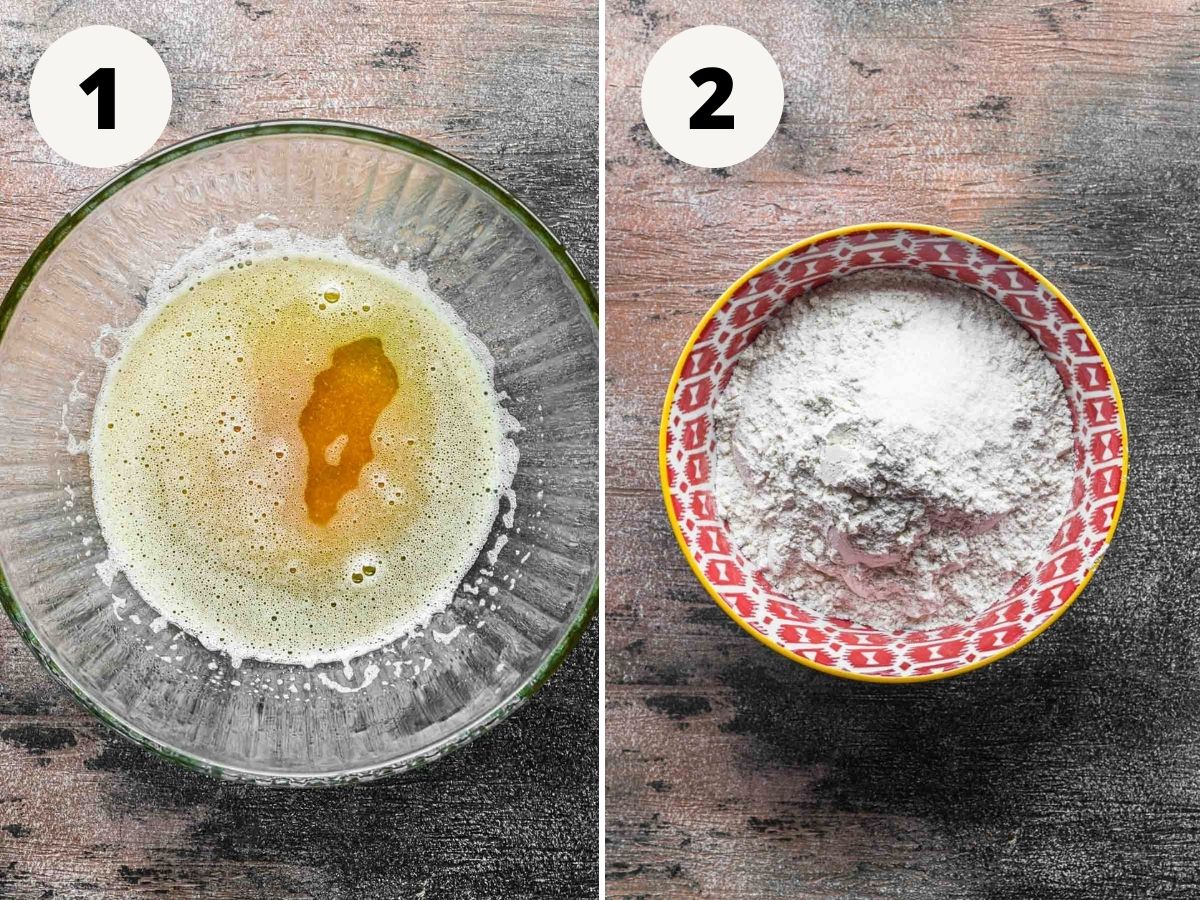
1. Combine the dry ingredients. In a large mixing bowl, combine the flour, baking powder, and salt.
2. Add the butter. Into the same mixing bowl with the dry mixture, add the butter pieces. Using your fingers or a pastry cutter, crumble the butter in with the flour until it’s the size of coarse sand.

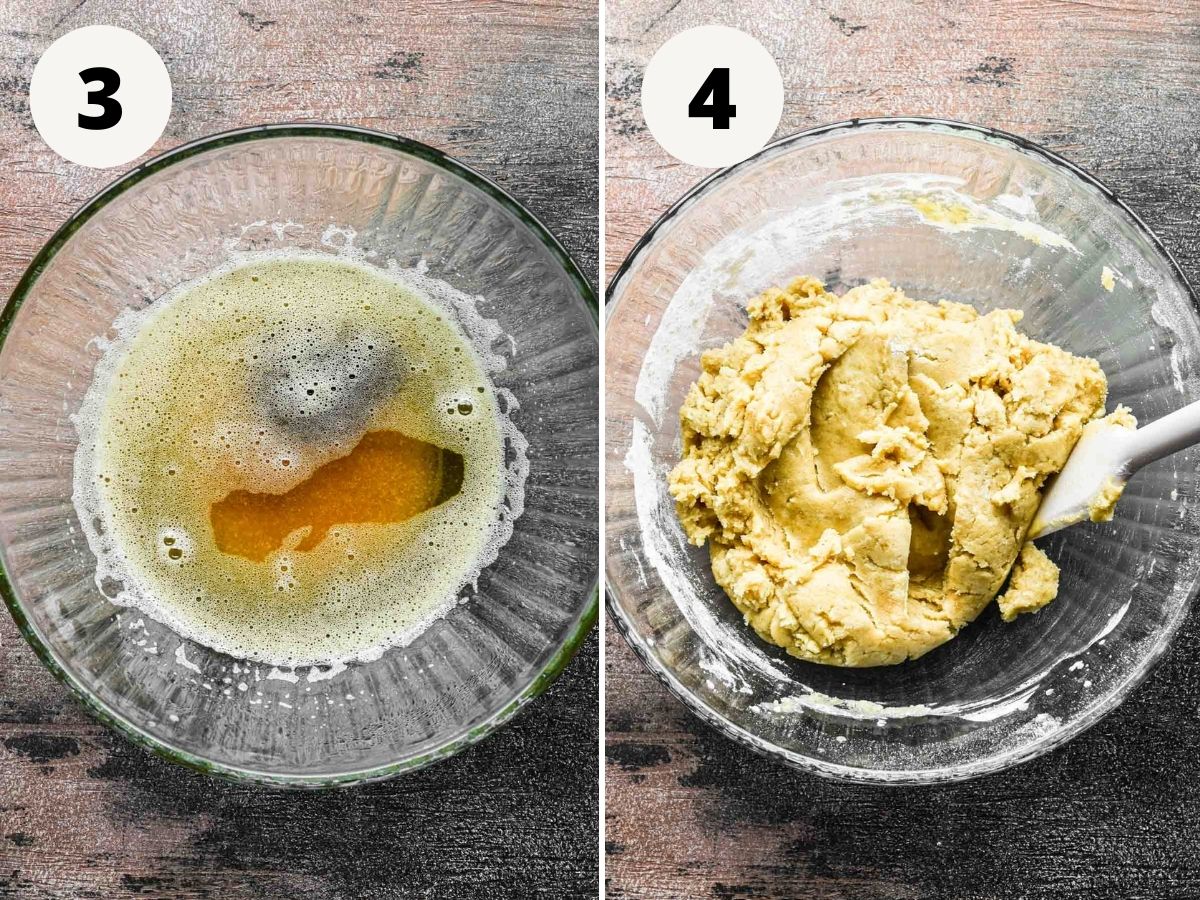
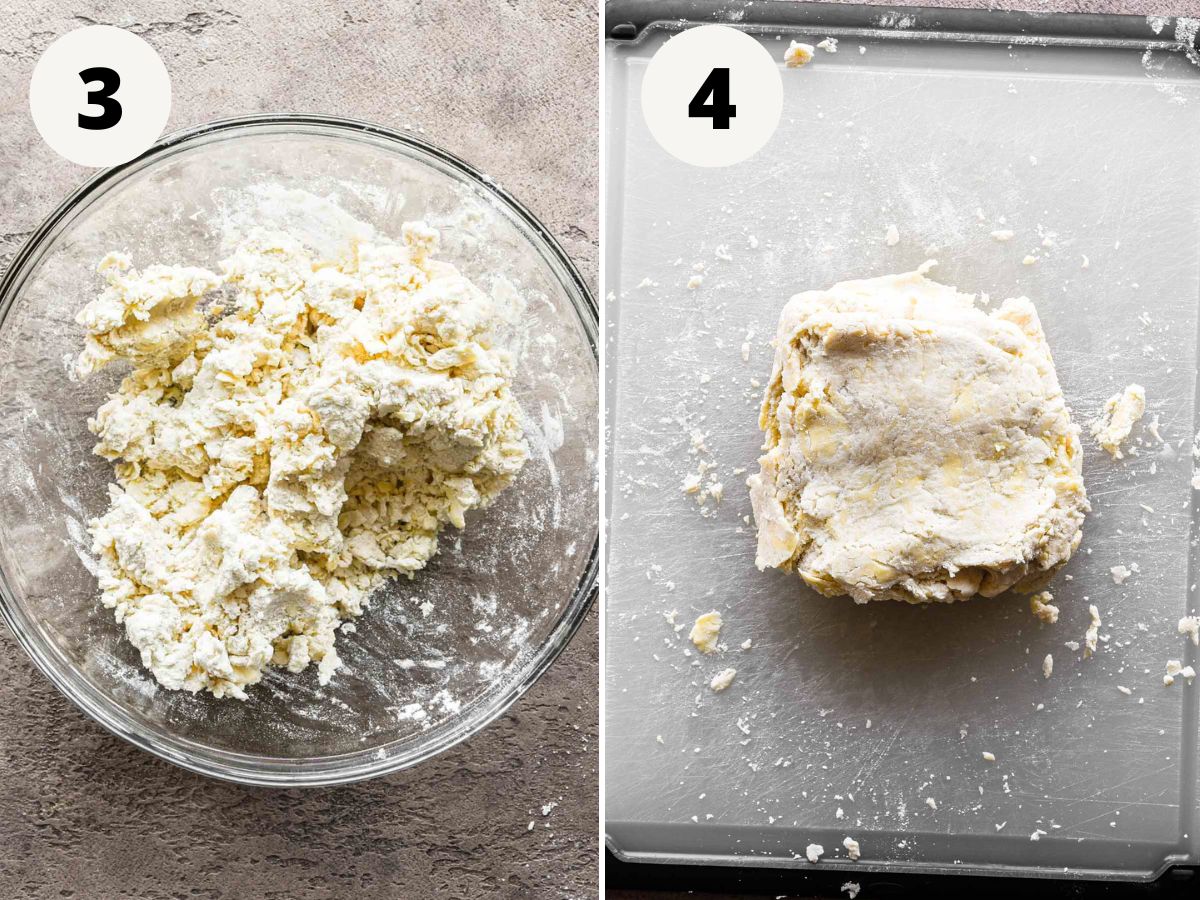
3. Add the wet ingredients. Add the ricotta and honey to the center of the flour mixture and combine with a wood spoon until a shaggy dough forms.
4. Knead and fold. Carefully dump the shaggy dough mixture onto a lightly floured surface. Using your hands work it together into a thick rectangle. Push the dough down with the palms of your hands until it’s 1 inch thick, then fold it on top of itself twice to form a square. Repeat this 2 more times (so you will have done the folding step 3 times).
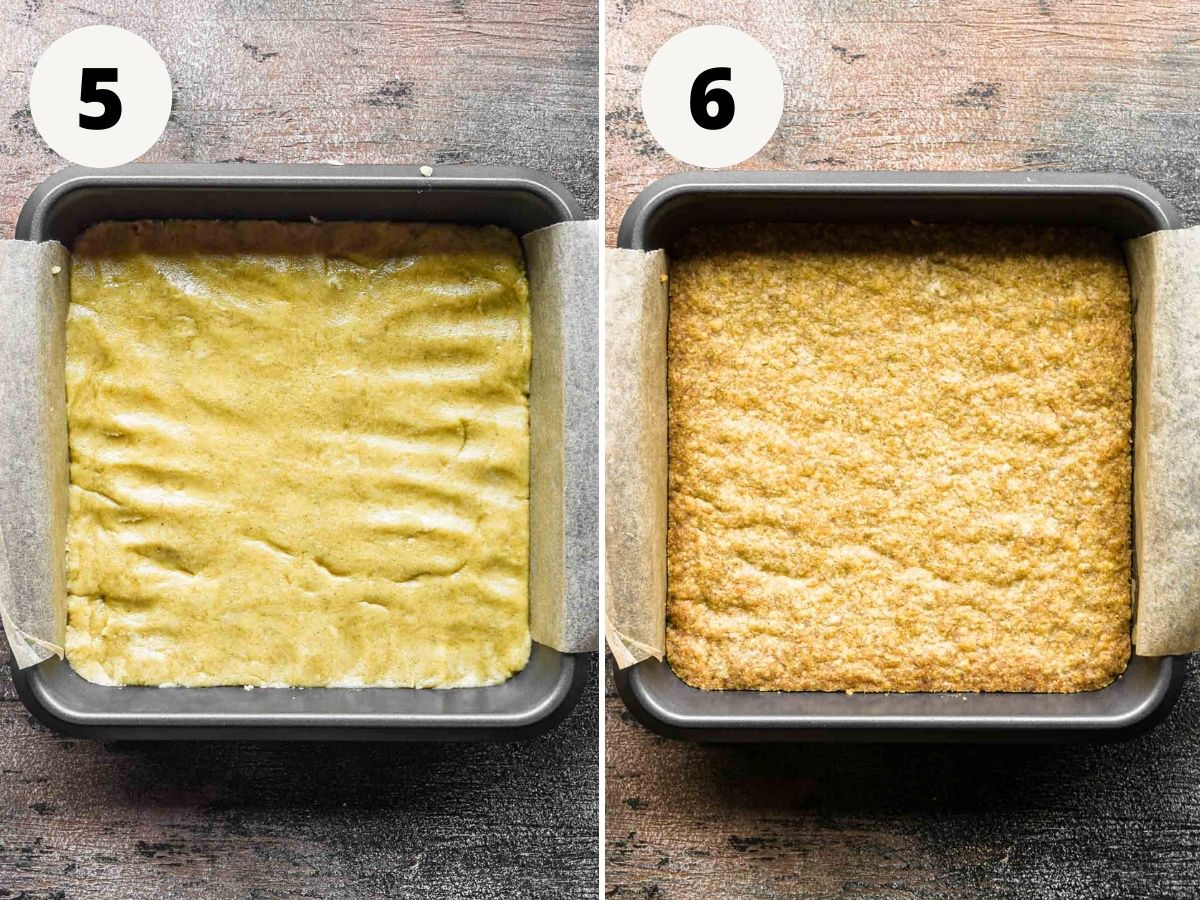
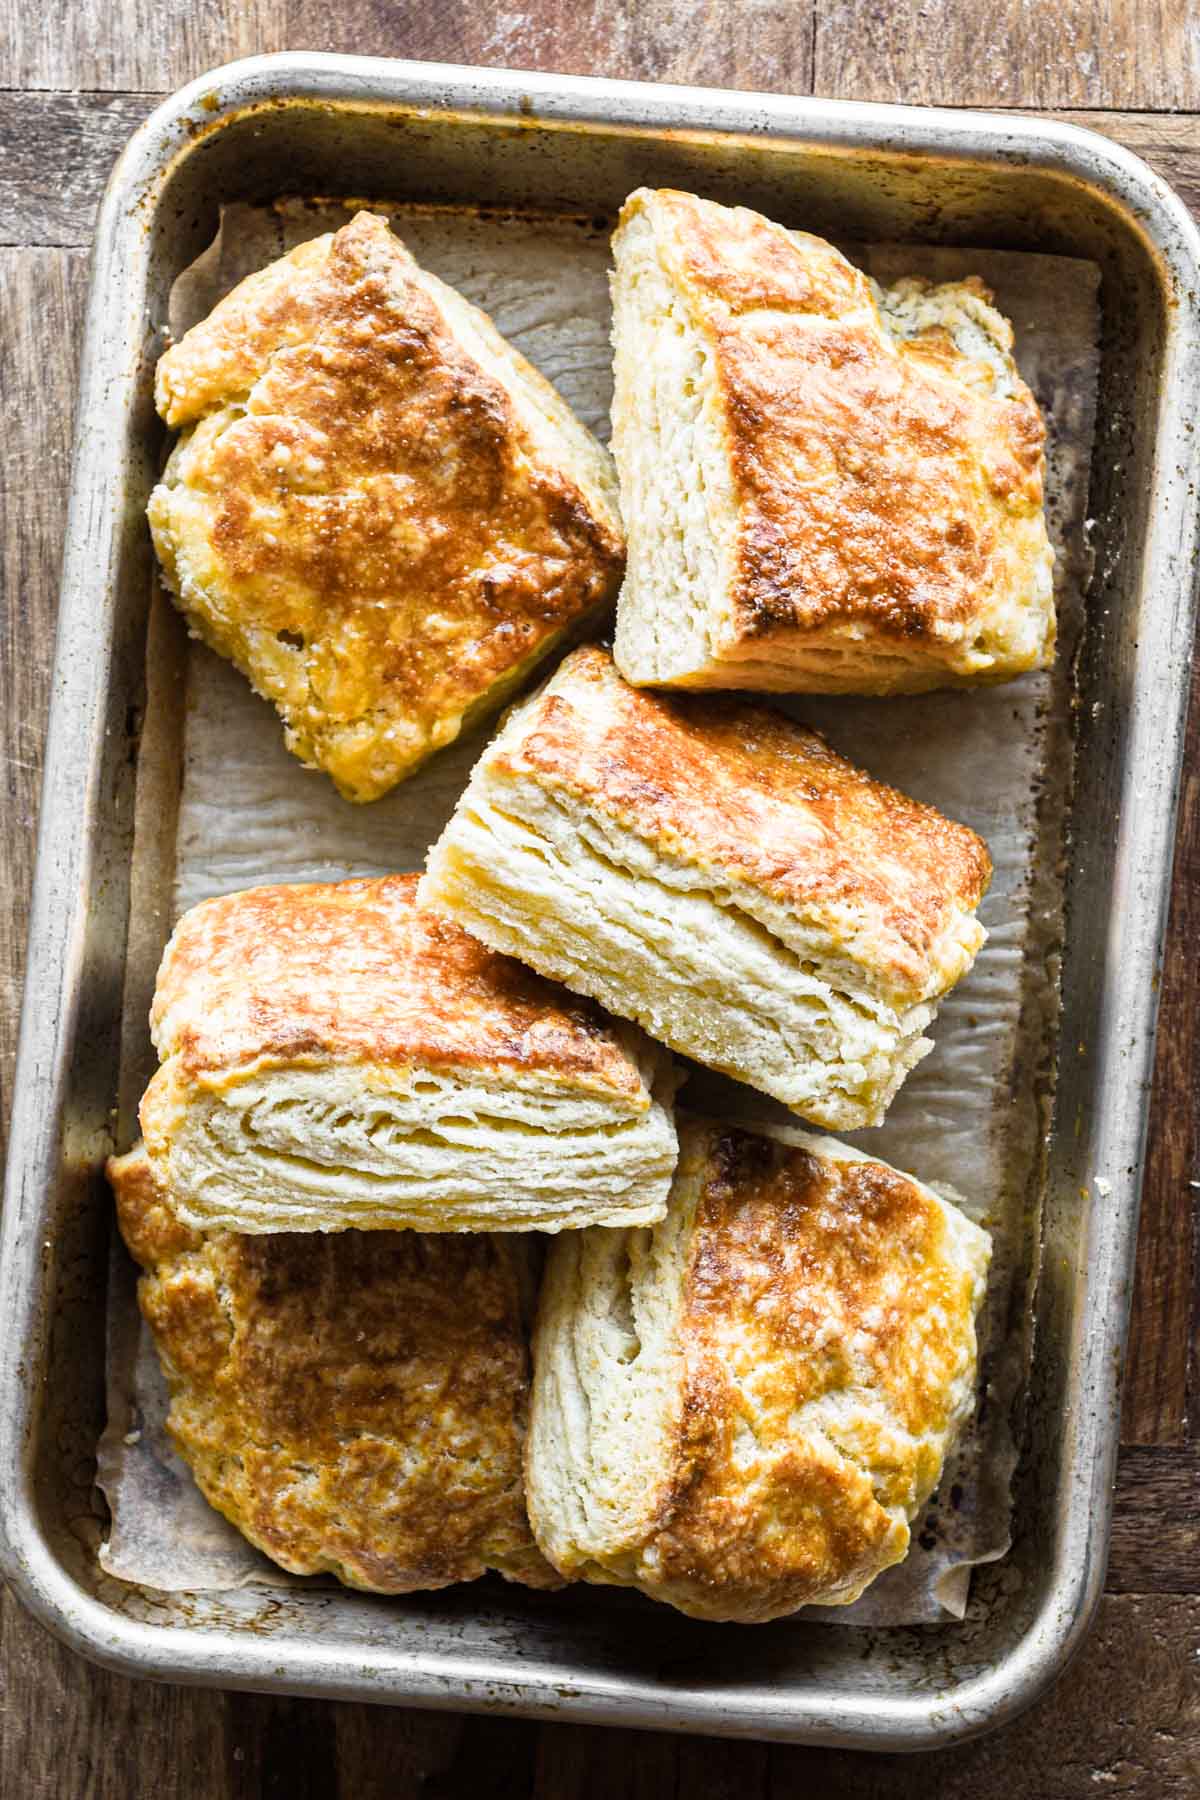
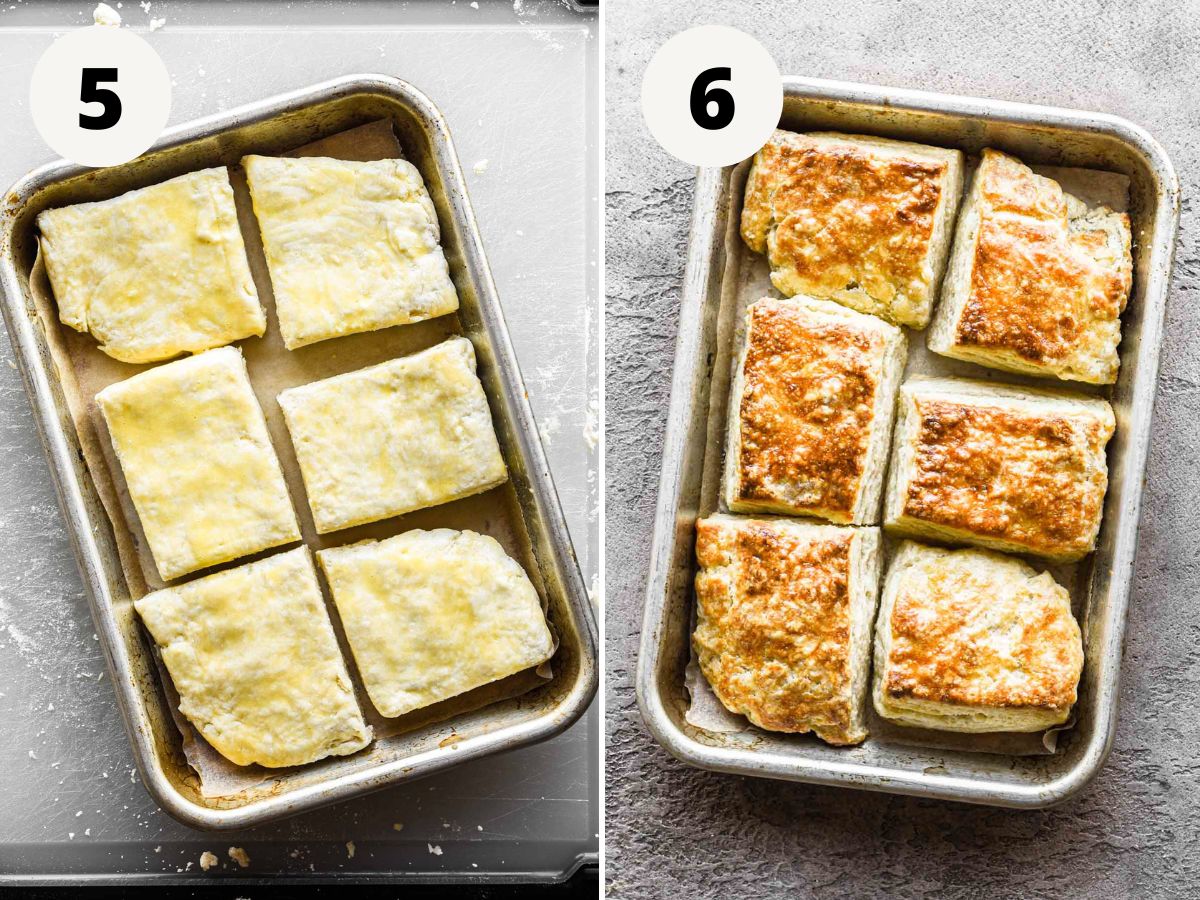
5. Cut into biscuits and brush with egg wash. After your last fold and the biscuit dough is in a square, push it down one last time to be one inch thick. Using a bench scraper or sharp knife cut 6 individual biscuits. Transfer the 6 biscuits to a parchment paper lined rimmed baking sheet and arrange them in a single layer. Brush with egg wash (whisk together the 1 egg and a dash of water).
6. Bake. Bake them at 425°F for 20-25 minutes until nice and golden on top. Let them cool for a bit on the sheet pan and then dig in.
Tips and tricks
- Keep the butter in the fridge until you use it - you want it to stay cold for as long as possible.
- To work the butter into the flour using your hands use a pinching motion by pinching together pieces of butter with flour. This will break the butter into smaller pieces covered in flour and eventually will resemble very coarse sand.
- You can use a rolling pin to make the biscuits but you run the risk of over working the dough this way.
- When you cut the biscuits, use an up and down motion, do not pull the cutting utensil through the dough left-to-right as this would “seal” the edges and the folding would be for naught and the biscuits won’t rise as high. Or if you're using a biscuit cutter, do not twist.
- Use a small baking sheet when baking the biscuits. Unlike traditional roasting, it’s ideal if the biscuits are touching when they bake as the residual heat between them helps them rise.
- Try to not overwork the dough with your hands too much for two reasons:
- The heat from your hands will start to melt the butter, and if this melts before they get in the oven the biscuits won’t have the same flaky texture that is created by the pockets of butter melting.
- If you think your dough has gotten a little too hot, put it in the fridge for 15-20 minutes before baking.
- Overworked dough results in a tougher, less tender biscuit
- The heat from your hands will start to melt the butter, and if this melts before they get in the oven the biscuits won’t have the same flaky texture that is created by the pockets of butter melting.
- If your ricotta cheese is extra liquidy, put it in a cheese cloth and let a little bit of that excess liquid drain. We want some liquid, but we don’t want it to be fully wet.
Recipe variations
- Make them lemon ricotta biscuits by adding some fresh lemon zest in with the ricotta and even drizzle a lemon glaze over top (a combination of fresh lemon juice and powdered sugar).
- Make them ricotta herb biscuits by mixing in fresh herbs such as parsley or dill.
FAQs
I haven’t tried that with this ricotta biscuit recipe, but it’s worth a shot.
Sure! I like making them square and cutting them with a bench scraper or knife so that none of the dough goes to waste, but you can always re-roll the scraps and keep cutting with a round cutter. When you do this though, the butter will continue to melt and those biscuits will likely be less flaky.
I haven't tried this, but 1:1 gluten free flour might work!
A light, mild, spreadable Italian cheese. More on it here.
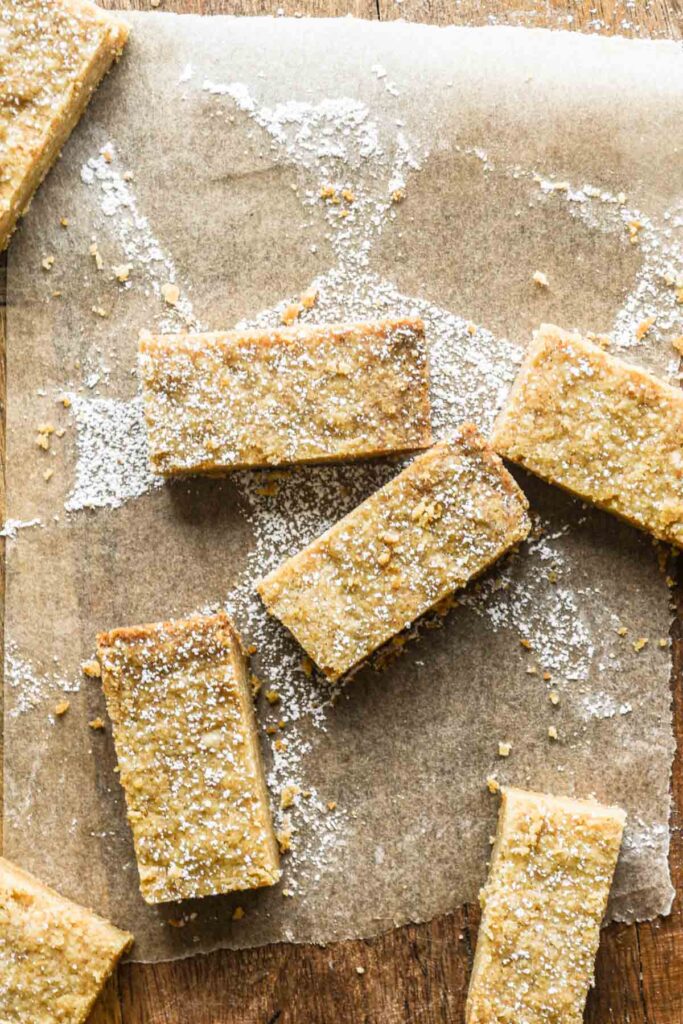
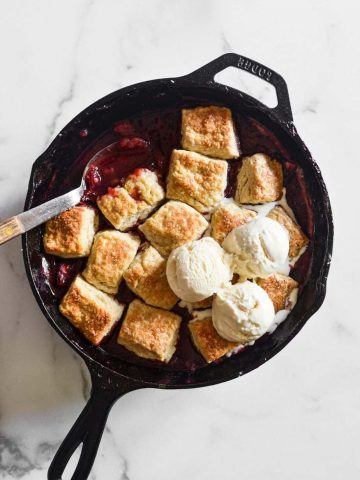
How to serve
Since ricotta cheese is so mild this biscuit goes great with anything sweet or savory. Some ways you could serve it them:
- Slather softened butter (honey butter would be amazing) and jam on top
- Spoon sausage gravy all over
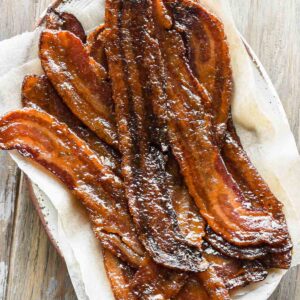
- Serve with eggs and a side of bacon
- Serve with fresh fruit
- Use as the bun for an egg sandwich with delicious runny yolks, melty cheese, and a drizzle of hot sauce
Storage and reheating
Storage: let them cool to room temp and store in the fridge in an airtight container for up to 3 days.
Reheating: warm in the microwave for about 30 seconds, or the oven at 350 for 5-10 minutes, or the toaster oven for a few minutes.
More biscuit recipes


Did you make this recipe? Leave a rating and review below and tag me on social!
📖 Recipe
Ricotta Biscuits
Ingredients
- 1 ½ cups all purpose flour
- 2 teaspoon baking powder
- ½ teaspoon kosher salt
- 1 stick unsalted butter cubed
- ¾ cup whole milk / full fat ricotta cheese
- 2 teaspoon honey
- 1 large egg
- 1 teaspoon water
Instructions
- Preheat your oven to 425°F.
- In a large mixing bowl, combine the flour, baking powder, and salt.
- Into the same mixing bowl with the dry mixture, add the butter pieces. Using your fingers or a pastry cutter, crumble the butter in with the flour until it’s the size of coarse sand.
- Add the ricotta and honey to the center of the flour mixture and combine with a wood spoon until a shaggy dough forms.
- Carefully dump the shaggy dough mixture onto a lightly floured surface. Using your hands work it together into a thick rectangle. Push the dough down with the palms of your hands until it’s 1 inch thick, then fold it on top of itself twice to form a square. Repeat this 2 more times (so you will have done the folding step 3 times).
- After your last fold and the biscuit dough is in a square, push it down one last time to be one inch thick. Using a bench scraper or sharp knife cut 6 individual biscuits. Transfer the 6 biscuits to a parchment paper lined rimmed baking sheet and arrange them in a single layer. Brush with egg wash (whisk together the 1 egg and a dash of water).
- Bake them at 425°F for 20-25 minutes until nice and golden on top. Let them cool for a bit on the sheet pan and then dig in.
Video
Notes
- Keep the butter in the fridge until you use it - you want it to stay cold for as long as possible.
- To work the butter into the flour using your hands use a pinching motion by pinching together pieces of butter with flour. This will break the butter into smaller pieces covered in flour and eventually will resemble very coarse sand.
- You can use a rolling pin to make the biscuits but you run the risk of over working the dough this way.
- When you cut the biscuits, use an up and down motion, do not pull the cutting utensil through the dough left-to-right as this would “seal” the edges and the folding would be for naught and the biscuits won’t rise as high. Or if you're using a biscuit cutter, do not twist.
- Use a small baking sheet when baking the biscuits. Unlike traditional roasting, it’s ideal if the biscuits are touching when they bake as the residual heat between them helps them rise.
- Try to not overwork the dough with your hands too much for two reasons:
- The heat from your hands will start to melt the butter, and if this melts before they get in the oven the biscuits won’t have the same flaky texture that is created by the pockets of butter melting.
- If you think your dough has gotten a little too hot, put it in the fridge for 15-20 minutes before baking.
- Overworked dough results in a tougher, less tender biscuit
- The heat from your hands will start to melt the butter, and if this melts before they get in the oven the biscuits won’t have the same flaky texture that is created by the pockets of butter melting.
- If your ricotta cheese is extra liquidy, put it in a cheese cloth and let a little bit of that excess liquid drain. We want some liquid, but we don’t want it to be fully wet.