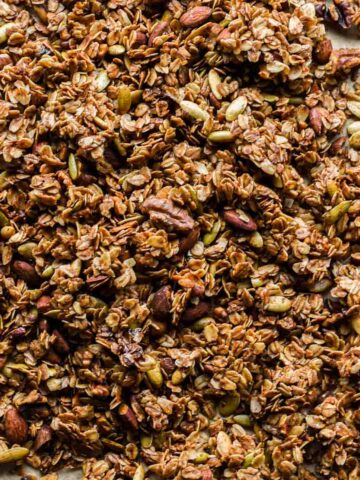
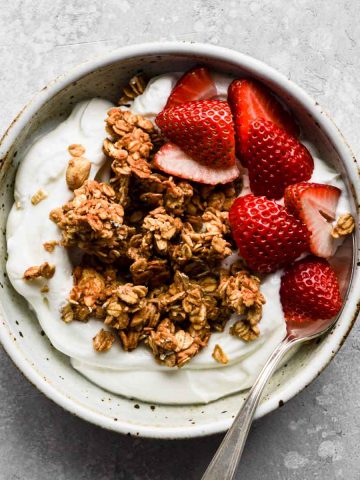
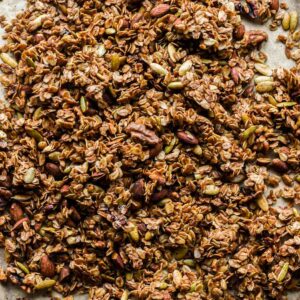
This Cinnamon Vanilla Granola recipe is my favorite go-to granola recipe. It’s sweetened with maple syrup and brown sugar, and has just enough vanilla and cinnamon to taste but not be overpowering. It’s great with yogurt and berries, on a smoothie bowl, or simply eaten with some milk.
Ingredients
Only a few simple ingredients are needed to make homemade granola. But part of the beauty of making granola yourself is that it’s a “choose your own adventure” situation and pretty customizable.
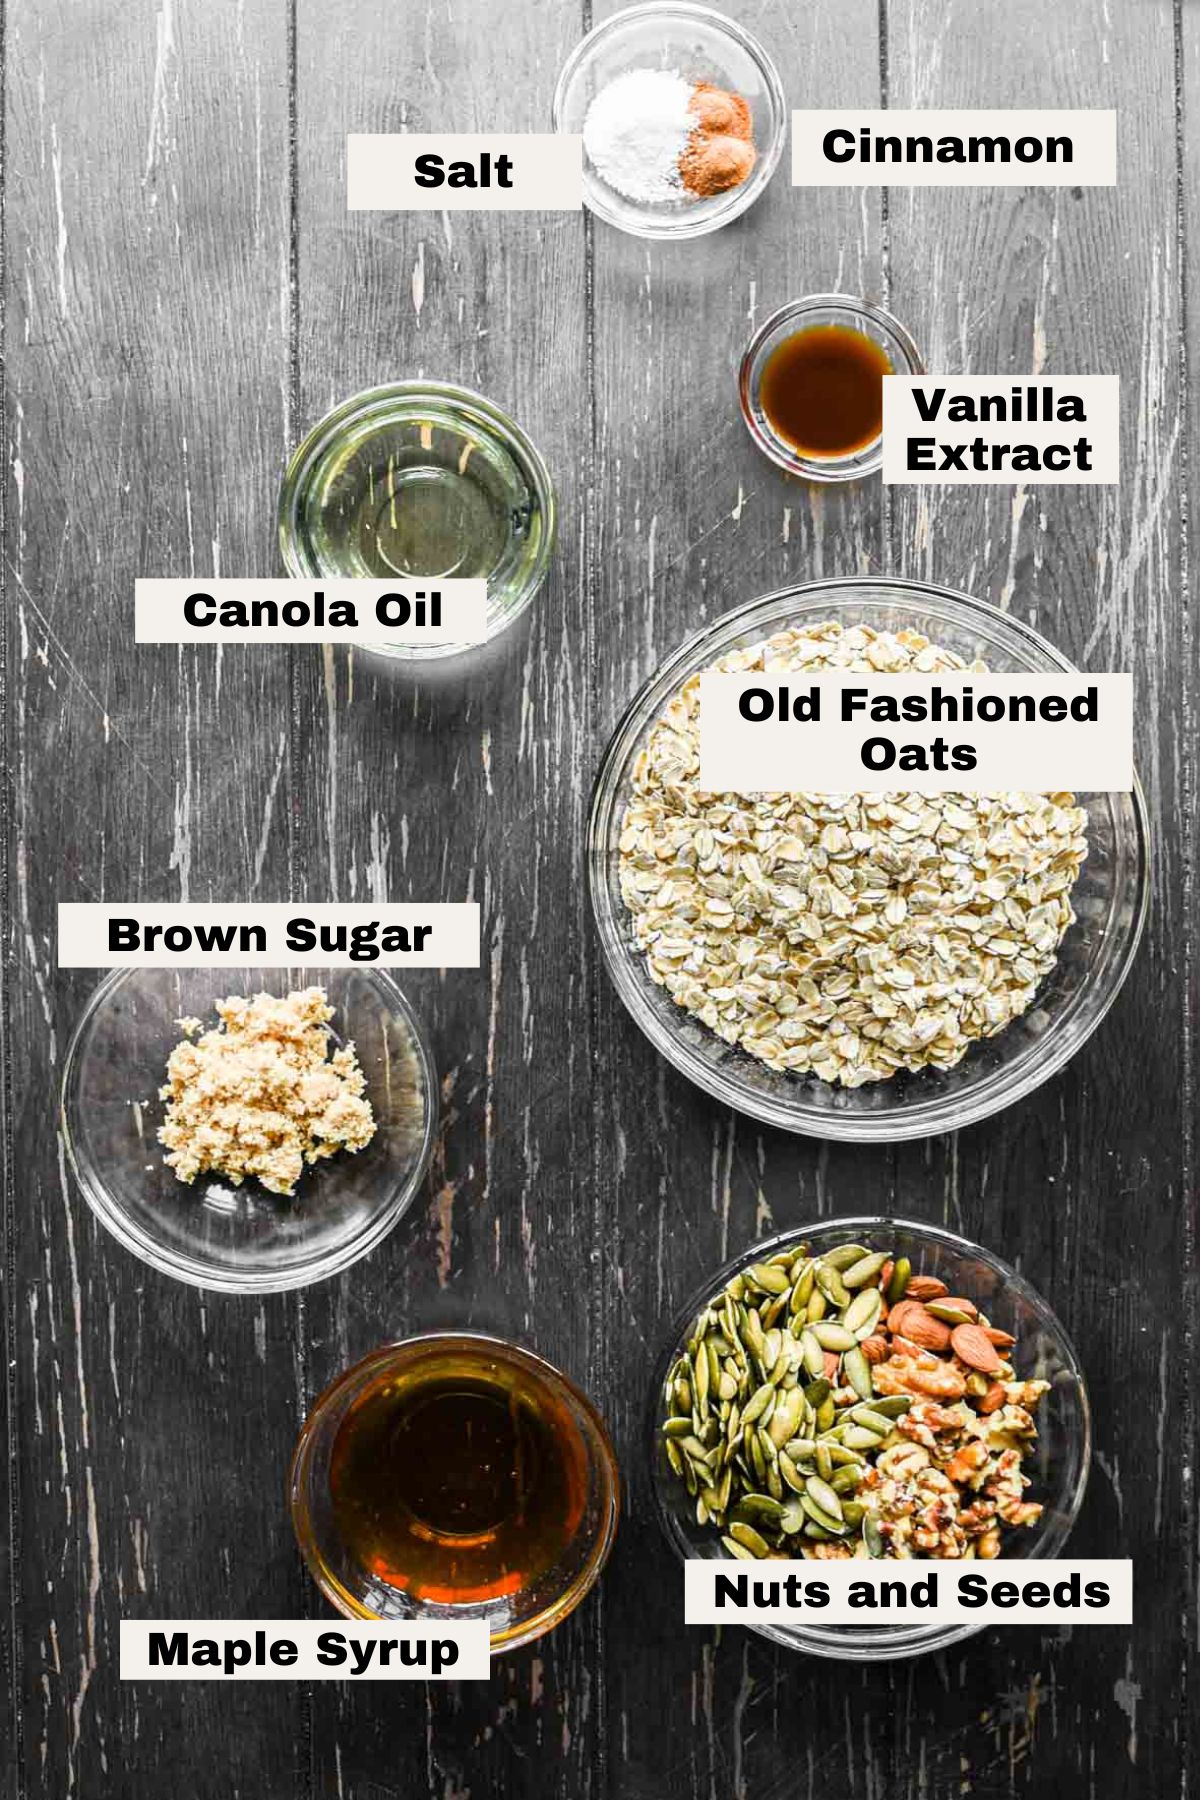
- Oats: Old fashioned oats are needed for this recipe. Not instant or quick oats as they are much thinner in texture and won’t hold up when baked.
- Nuts/seeds: Any combination of your favorite nuts and / or seeds. I like to use almonds, walnuts, and pumpkin seeds (pepitas). Pecans are my most common swap.
- Canola oil: Just a bit of oil to help the oats, nuts, and seeds toast in the oven. You can use unsweetened coconut oil, vegetable oil, or very mild olive oil instead if needed.
- Vanilla: The warm flavor from pure vanilla extract is delicious in granola.
- Cinnamon: Enough to taste the delicious spice that’ll add great flavor to any breakfast.
- Maple syrup: Use pure maple syrup so it doesn’t have added sweeteners. I like to use an amber one as it's a bit lighter in flavor.
- Light brown sugar: Using a bit of light brown sugar helps everything to caramelize and stick together.
- Salt: A bit of kosher salt to balance it all out.
Step by step instructions
This homemade easy granola recipe with cinnamon vanilla takes just a few quick and straightforward steps –
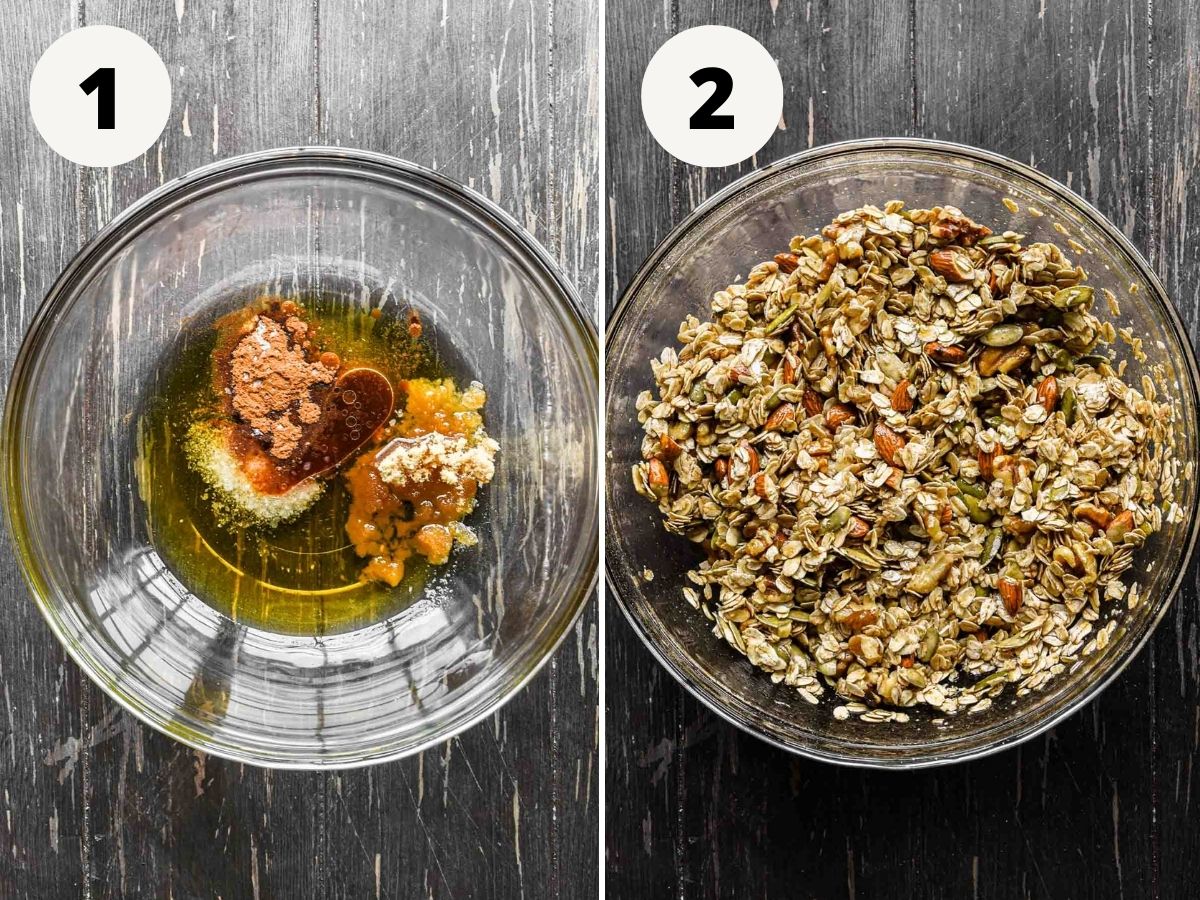
1. Combine the wet ingredients and spices. In a large mixing bowl, combine the canola oil, vanilla, cinnamon, maple syrup, light brown sugar, and salt.
2. Mix in the remaining dry ingredients. To the large bowl with the liquid mixture, add the oats and seeds. Toss it all together to combine well and coat all the oats/nuts in the liquid mixture.
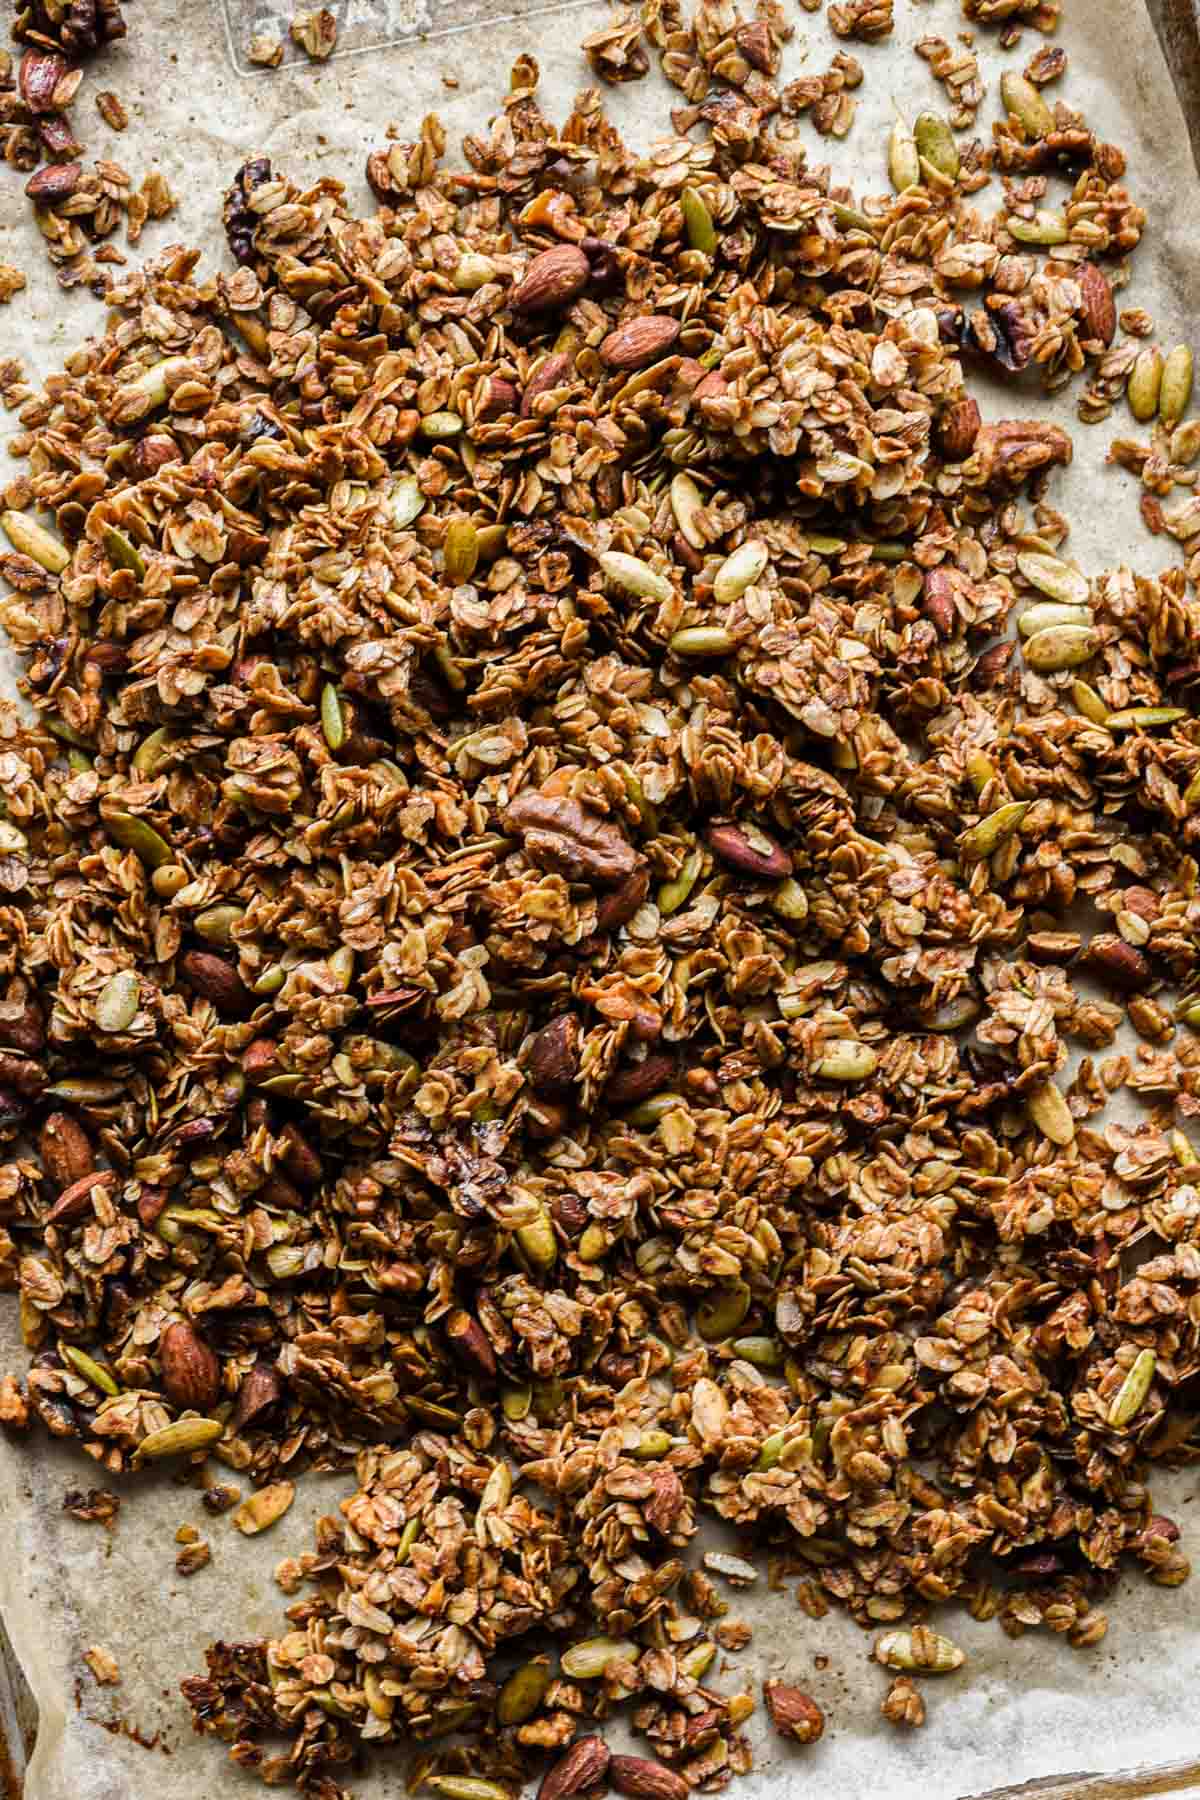
3. Transfer to a baking sheet. Line a large sheet pan with parchment paper. Dump the oat mixture onto it and lay out in a relatively flat layer about ½” thin.
4. Bake. Bake at 350°F for 15 minutes, then give it a gentle toss, and finish baking for another 10 minutes until deeply golden brown. Let it cool completely before transferring to a storage container.

Tips and tricks
- The best thing about granola is that it’s totally customizable. You can really use any fix-ins that you want. Your favorite nuts, dried fruit or coconut shavings, etc. More on this below.
- This granola doesn’t clump together a whole lot, but it does cluster a little bit. To get the best cluster results, don’t fully spread out the granola, keep it touching and overlapping. When you toss the granola at the halfway point in the oven, put it back together with pieces touching. Then let it cool completely without touching it so that the clusters stick together.
- For some recipes parchment paper isn’t necessary, but I find it really helpful when dealing with granola. Not only to ensure it doesn’t stick, but also so that you can easily lift it up and pour into your storage container.
Ways to use granola
I’d say I eat granola probably 4 out of 7 days a week. The little crunch in the morning is so good. Below are some of my favorite ways to eat it, but it also makes a perfect gift!
- Yogurt parfait with berries
- With some oat milk (or milk of your choice)
- Over a smoothie bowl
- On top of chia pudding
- Combine it with some M&Ms, chocolate chips, raisins, and dried fruit to make a little trailmix situation
- Sprinkle some over your favorite ice cream
Granola mix in customizations
- Nuts (one or a mixture of these): almonds, pecans, walnuts, peanuts, cashews, macadamia nuts
- Seeds (one or a mixture of these): pepitas (pumpkin seeds), sunflower seeds
- Dried fruit: apricot, dates, rasins,
Storage
This cinnamon vanilla granola recipe makes about 3 cups of granola, so I like to star it in a large airtight container such as a big glass jar. Before you put it in whatever storage vessel you're using, let it come to room temperature so it stays crispy. It will stay good for up to 2 weeks.
FAQs
Yup! Just use gluten free oats.
I’d definitely start with checking your oven temperature - use a thermometer! A lower temperature is crucial for getting crunchy granola because it allows it to cook through more evenly to get that crunch. If your oven is at too high of a temperature the outside burns before the inside gets a chance to cook.
While it uses pretty healthy ingredients, the actual health factor depends what you put in it. In my opinion, homemade is always a bit healthier because it doesn’t have as many additives, stabilizers, etc. However, it is sweetened with maple syrup and brown sugar, so I can’t confidently say that it is fully healthy.
Yes if it’s non-stick aluminum foil.
More breakfast recipes
Did you make this recipe? Leave a rating and review below and tag me on social!
📖 Recipe
Homemade Cinnamon Vanilla Granola
Ingredients
- ⅓ cup chopped almonds
- ⅓ cup chopped walnuts
- ⅓ cup pumpkin seeds
- 2 cups old fashioned oats
- ¼ cup canola oil
- ¼ cup maple syrup
- 1 tablespoon light brown sugar
- 1 teaspoon vanilla
- 1 ½ teaspoon cinnamon
- 1 teaspoon kosher salt
Instructions
- Preheat oven to 350℉
- In a large mixing bowl, combine the canola oil, vanilla, cinnamon, maple syrup, light brown sugar, and salt.
- To the large bowl with the liquid mixture, add the oats and seeds. Toss it all together to combine well and coat all the oats/nuts in the liquid mixture.
- Line a large sheet pan with parchment paper. Dump the oat mixture onto it and lay out in a relatively flat layer about ½” thin.
- Bake at 350°F for 15 minutes, then give it a gentle toss, and finish baking for another 10 minutes until deeply golden brown. Let it cool completely before transferring to a storage container.
Video
Notes
- The best thing about granola is that it’s totally customizable. You can really use any fix-ins that you want. Your favorite nuts, dried fruit or coconut shavings, etc. More on this below.
- This granola doesn’t clump together a whole lot, but it does cluster a little bit. To get the best cluster results, don’t fully spread out the granola, keep it touching and overlapping. When you toss the granola at the halfway point in the oven, put it back together with pieces touching. Then let it cool completely without touching it so that the clusters stick together.
- For some recipes parchment paper isn’t necessary, but I find it really helpful when dealing with granola. Not only to ensure it doesn’t stick, but also so that you can easily lift it up and pour into your storage container.