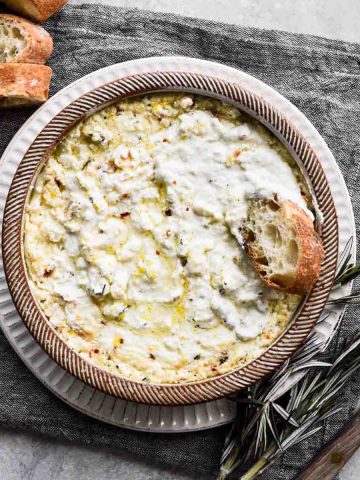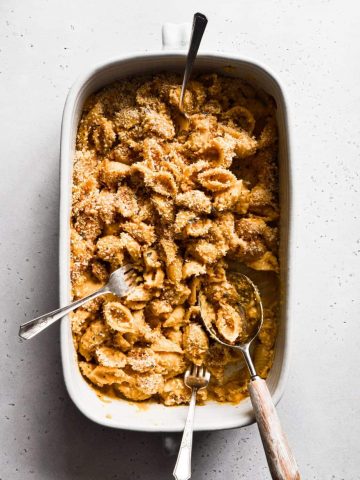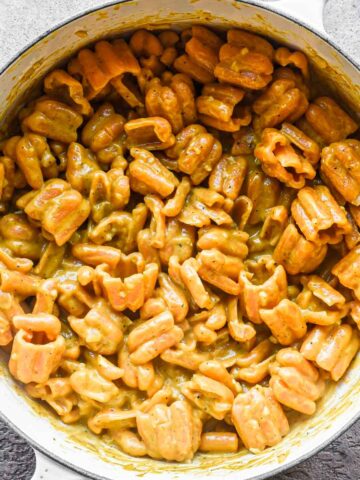
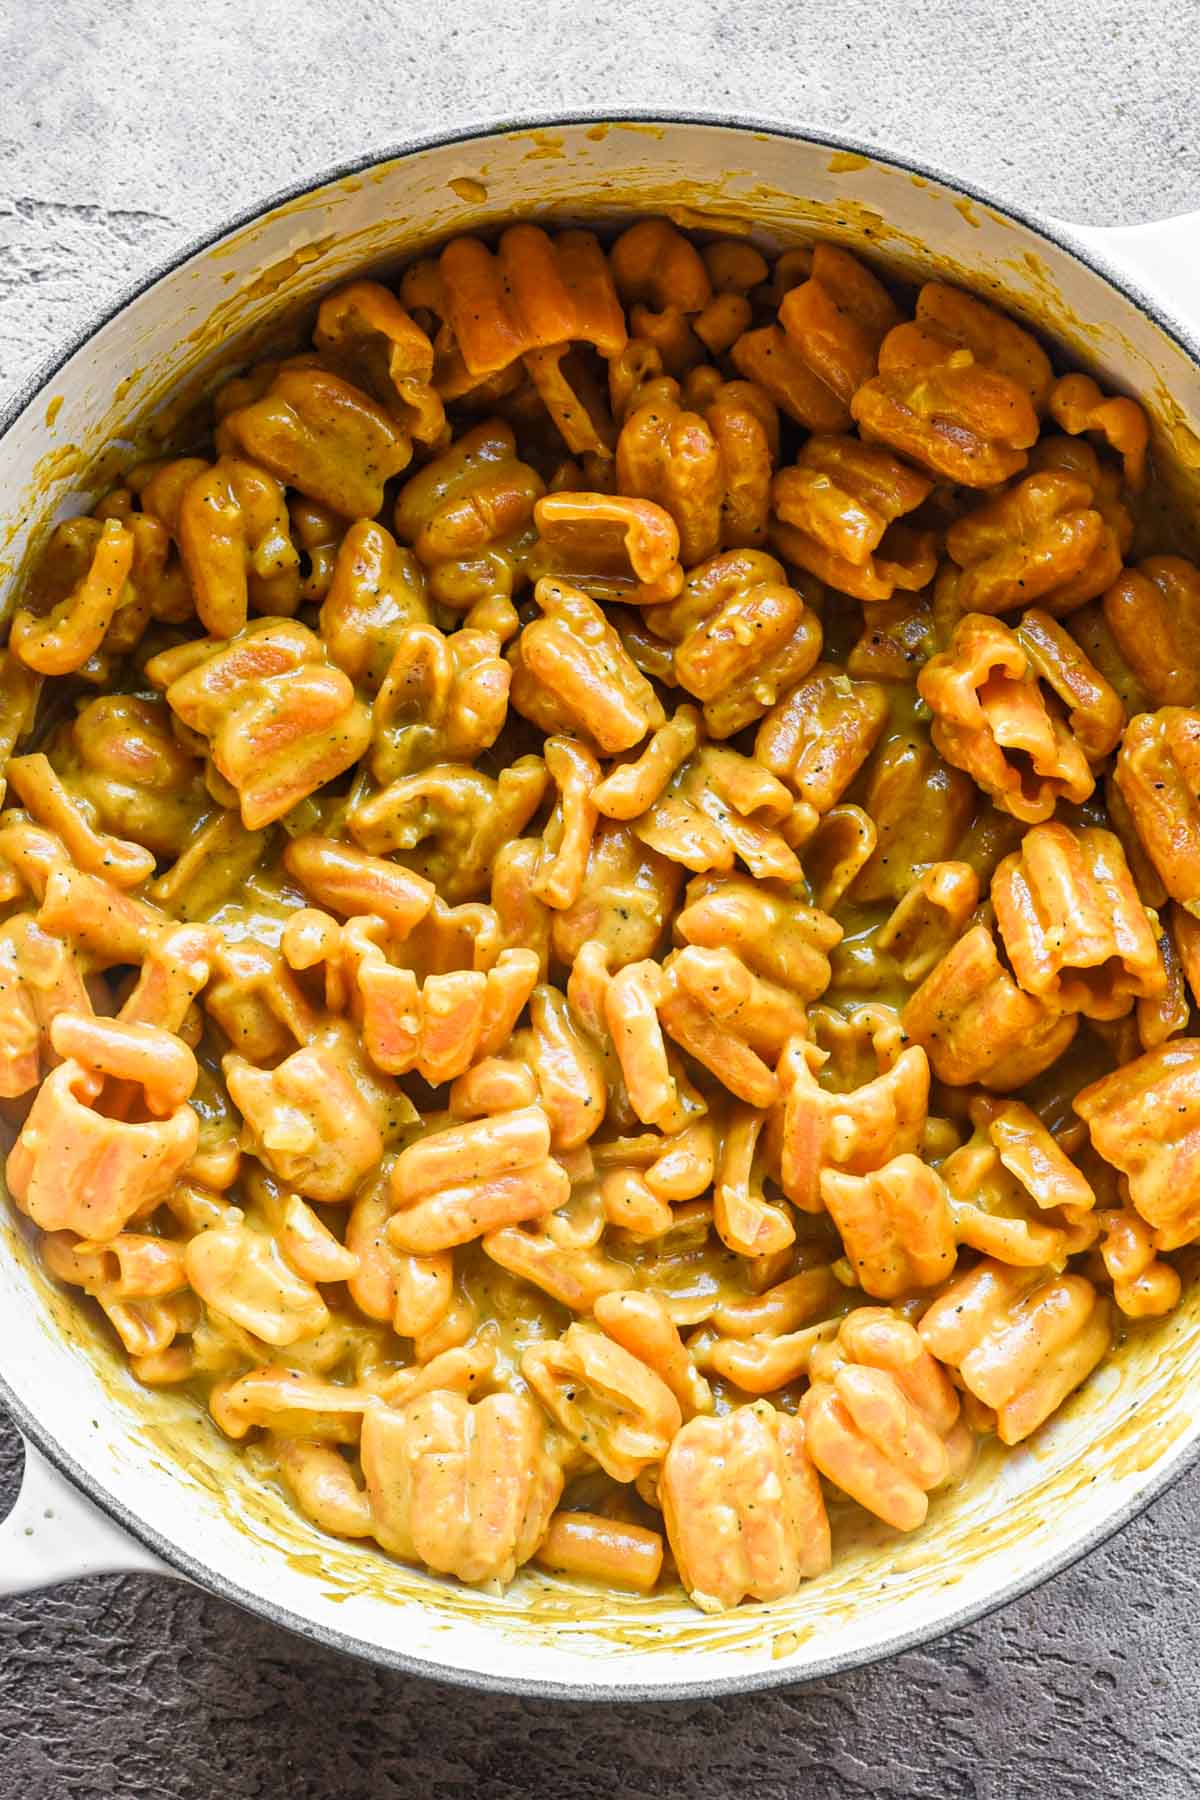
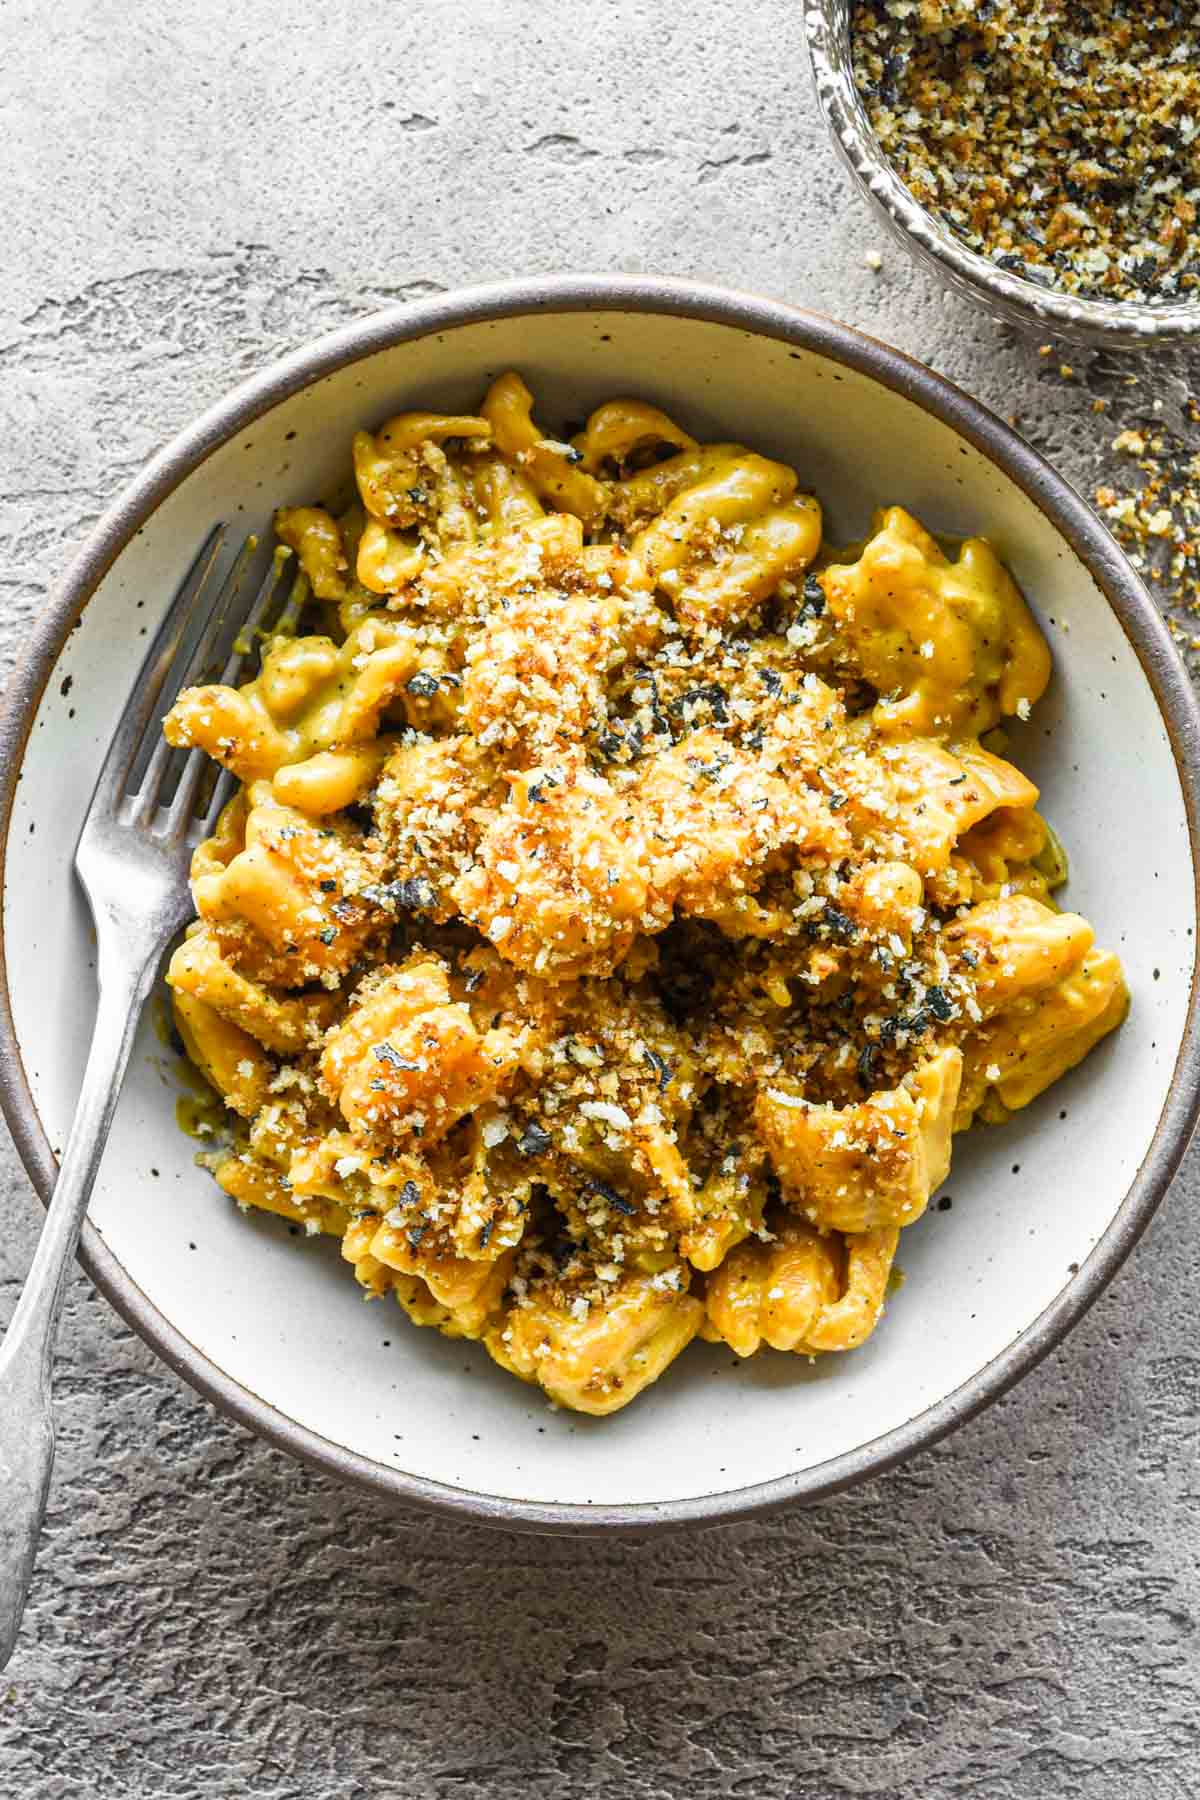
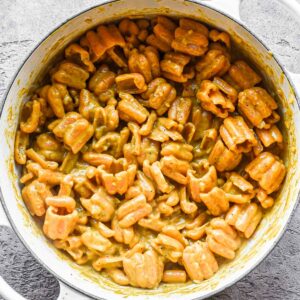
This Creamy Pumpkin Pasta Sauce recipe is so decadent and a perfect balance of sweet and savory. Made with garlic, shallot, pumpkin puree, vegetable broth, and heavy cream that all come together in a delicious sauce. Topped with crunchy toasted sage breadcrumbs for a perfect easy dinner.
Ingredients
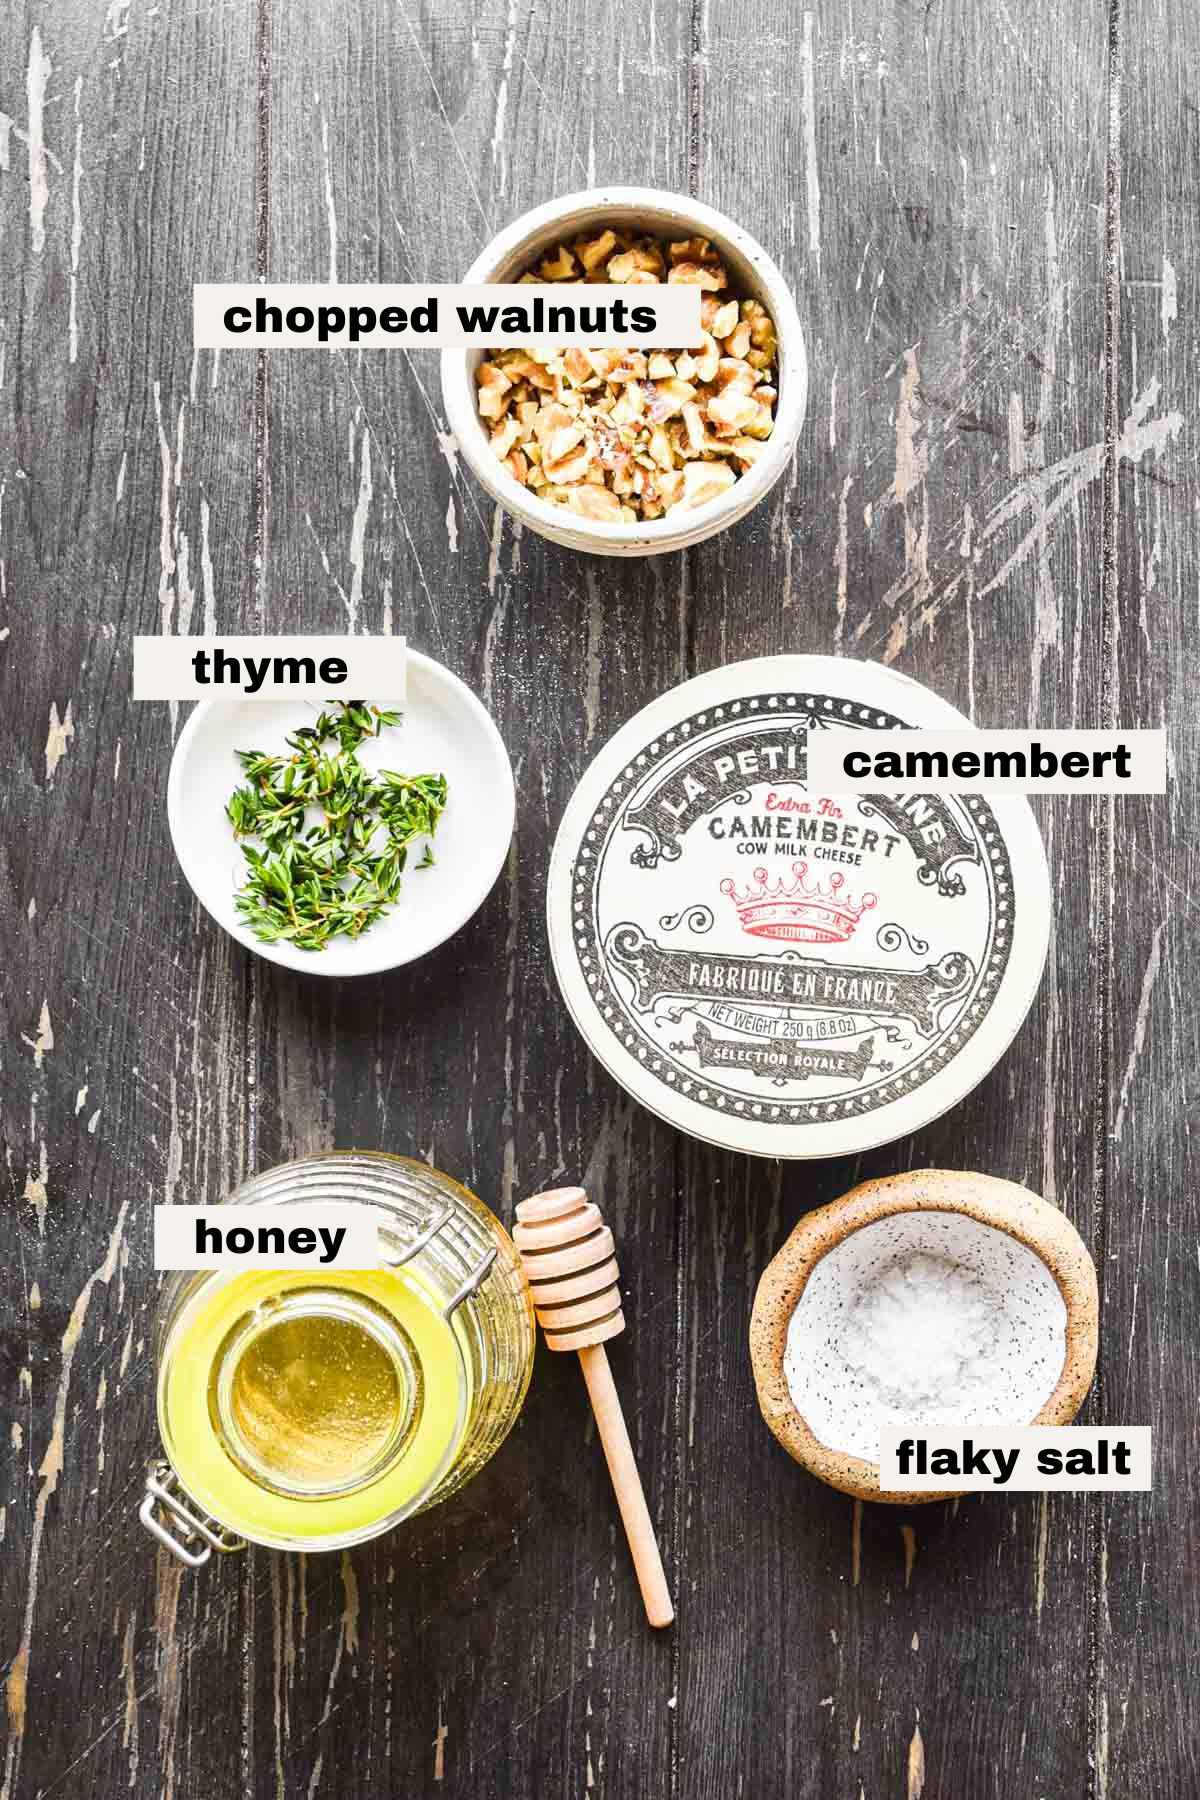
Not too many ingredients are needed to make this delicious canned pumpkin pasta sauce – you could even think of it as a pumpkin alfredo – it’s pretty similar!
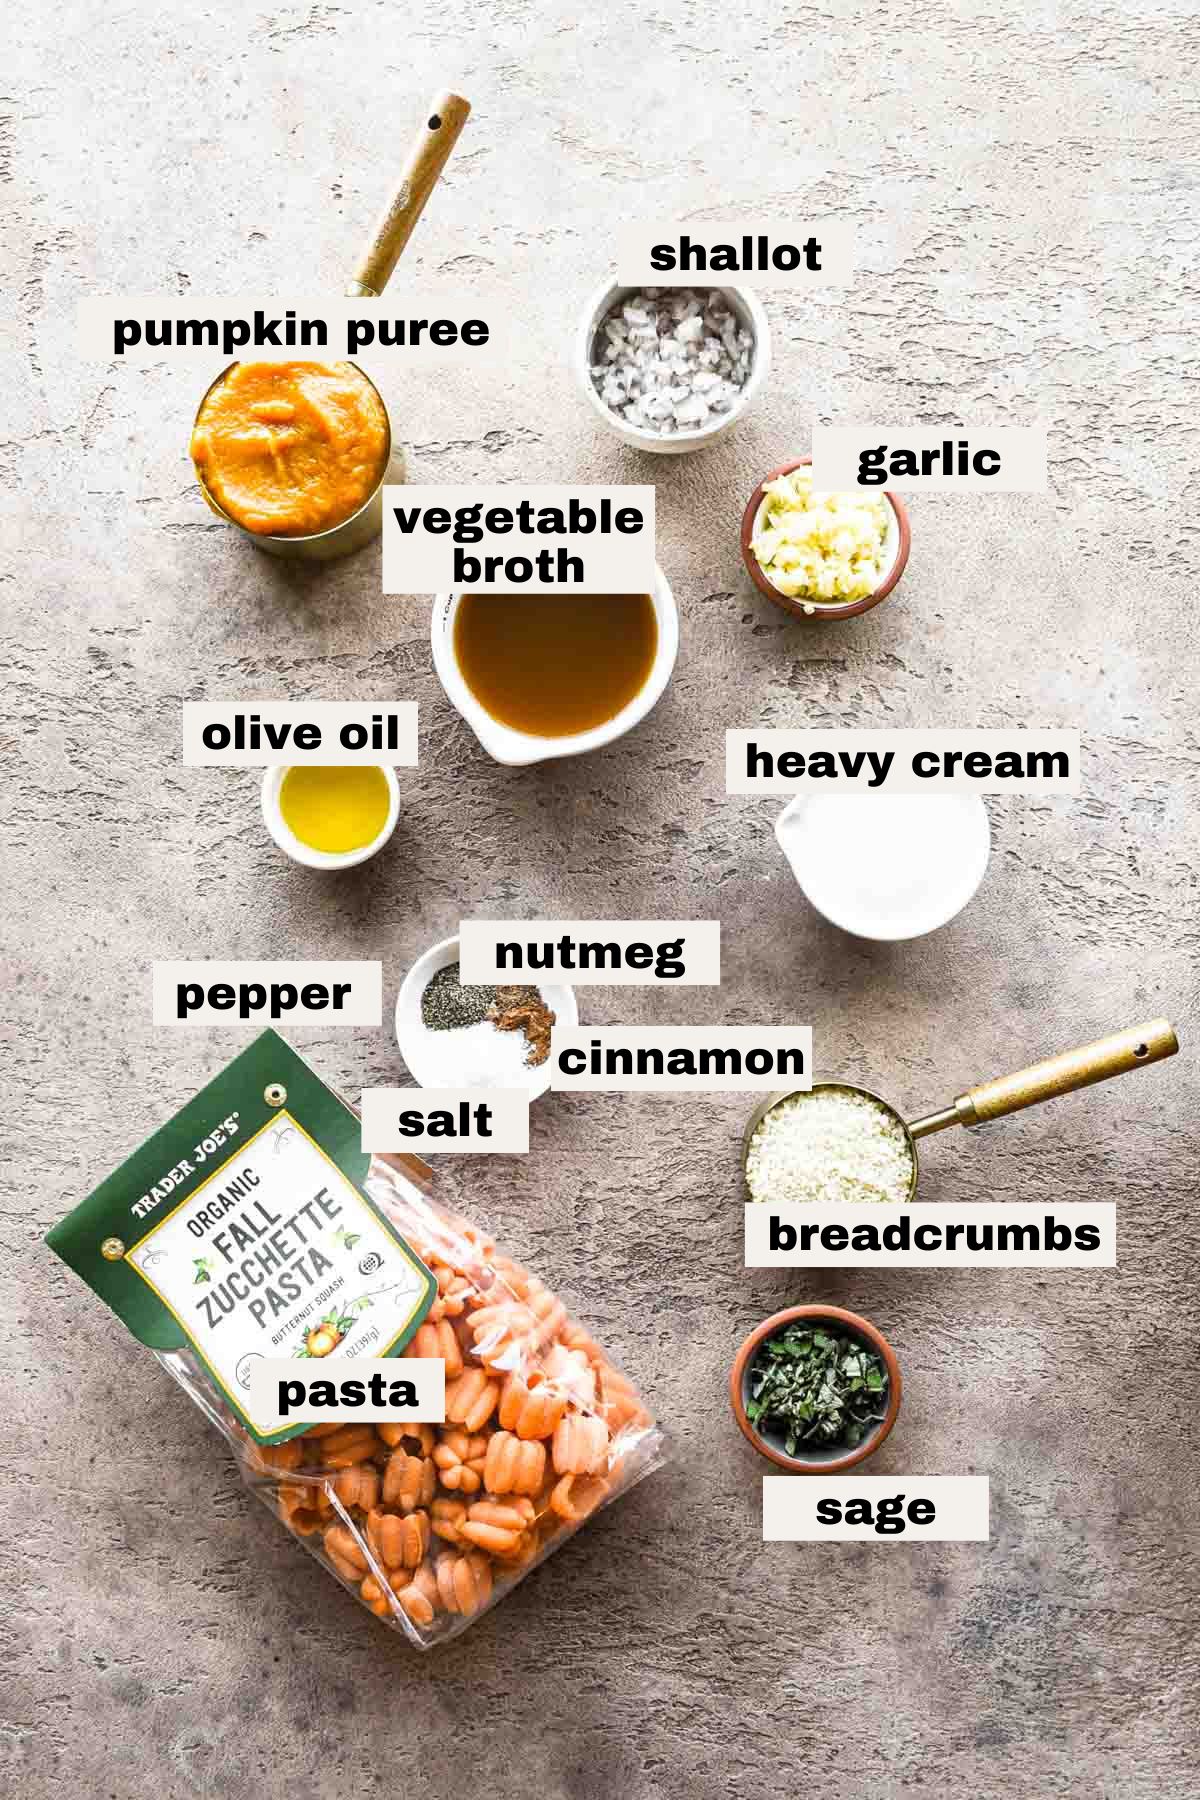
- Pasta: Any type of pasta works here. I prefer a short pasta with ridges to help grab the creamy sauce such as rigatoni or penne. You can also use gluten free or veggie packed pastas (such as chickpea pasta).
- Pumpkin puree: The base of the sauce – make sure you get canned pumpkin puree not pumpkin pie filling because the pie filling has additional ingredients in it. This is also a great way to use up the rest of an already opened can!
- Garlic: This recipe calls for three garlic cloves, but we always measure garlic with our hearts.
- Shallot: A bit more mild than garlic but a similar flavor profile.
- Vegetable broth: This will loosen up the sauce a little bit and bring a nice depth of flavor. You can use chicken broth if you want instead. I'd recommend low sodium for both that way you can control the levels of salt and taste as you go.
- Heavy cream: The creaminess, of course!
- Cinnamon and nutmeg: Adding just a hint of both of these spices ties nicely into the typical fall flavors we love.
- Breadcrumbs: Panko breadcrumbs are best to use here - the large flakes get nice and toasted for a perfect crunch.
- Sage: Fresh sage is delicious in the fall and when you chop it up and lightly sauté it along with the breadcrumbs it’s fantastic.
Step by step instructions
This easy fall pasta sauce comes together in just a few simple steps and under 30 minutes. The breadcrumbs are truly the cherry on top!
(Bring a large pot of salted water to a boil and cook your pasta until al dente – about 2 minutes less than the package directions. Save 1 cup pasta water).
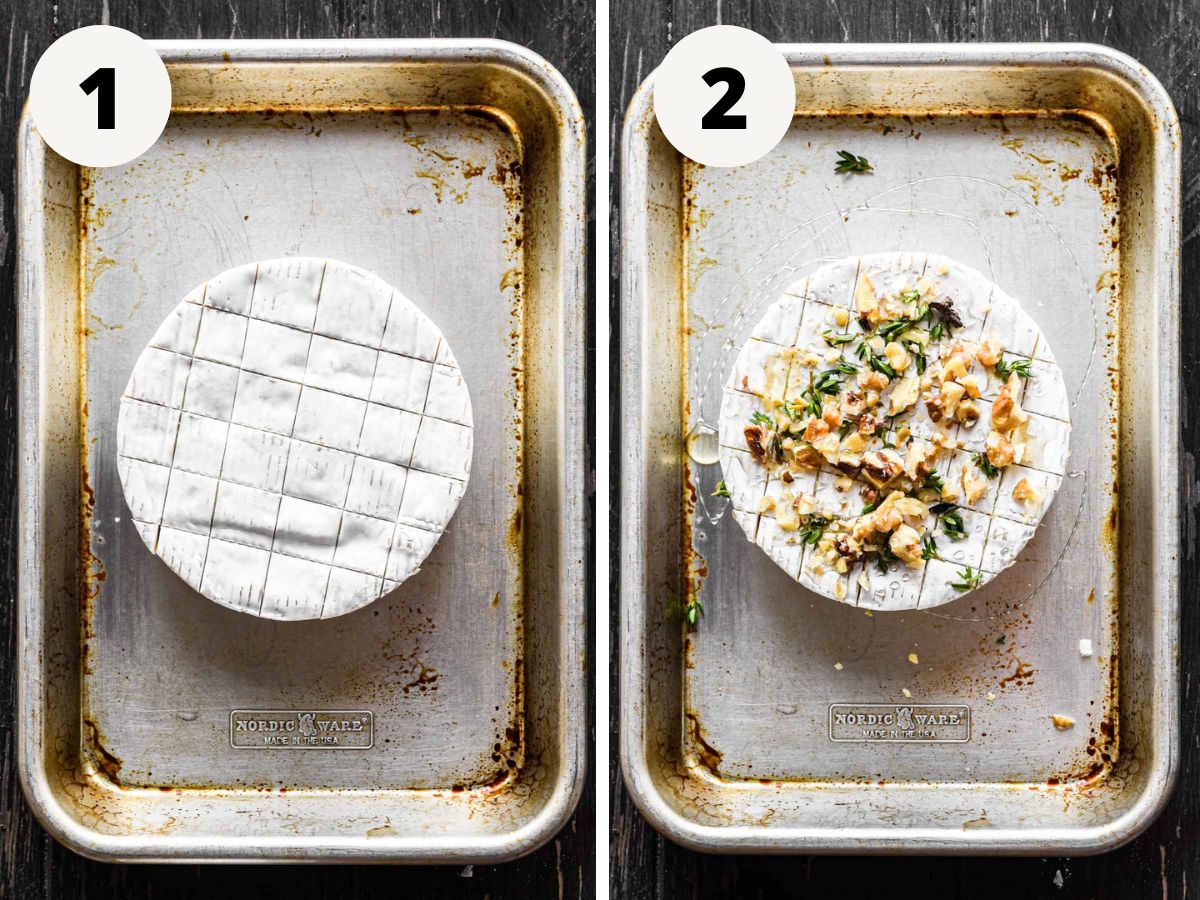
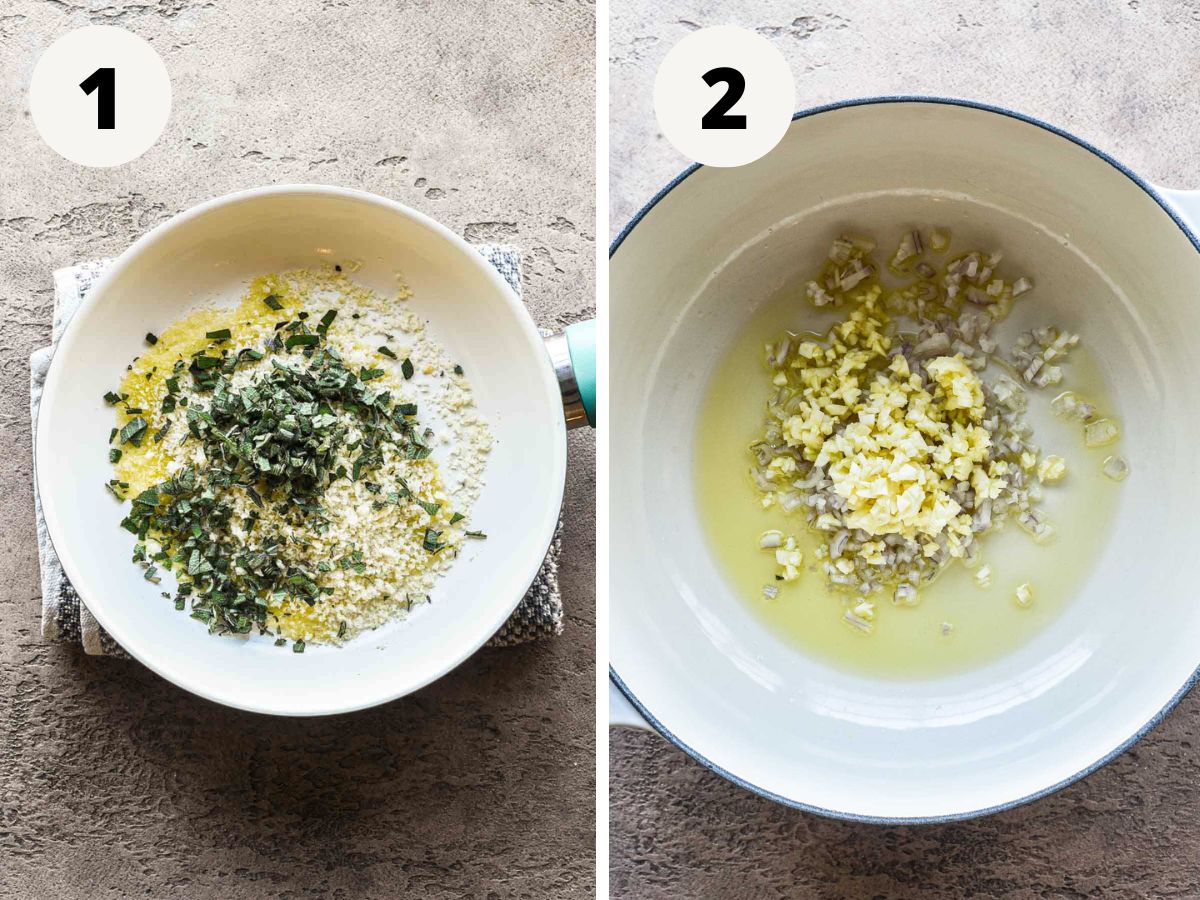
1. Make the breadcrumbs. Heat olive oil over medium-low heat and add the sage and breadcrumbs. Cook, stirring often until toasted, about 5-6 minutes.
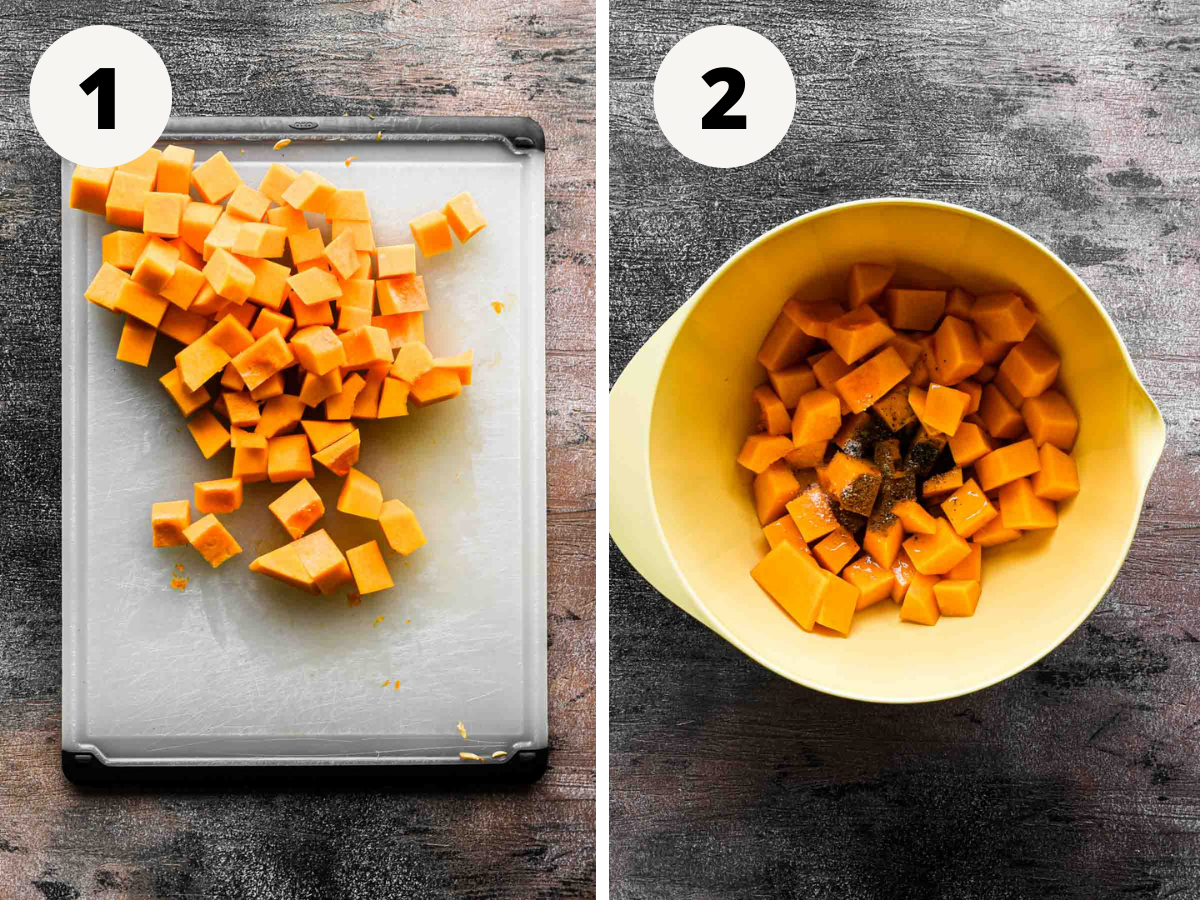
2. Sauté the garlic and onion. Warm a large skillet over medium heat. Once warmed, add 1 tablespoon olive oil, followed by the minced garlic and shallots. Sauté for about 2 minutes until very fragrant.
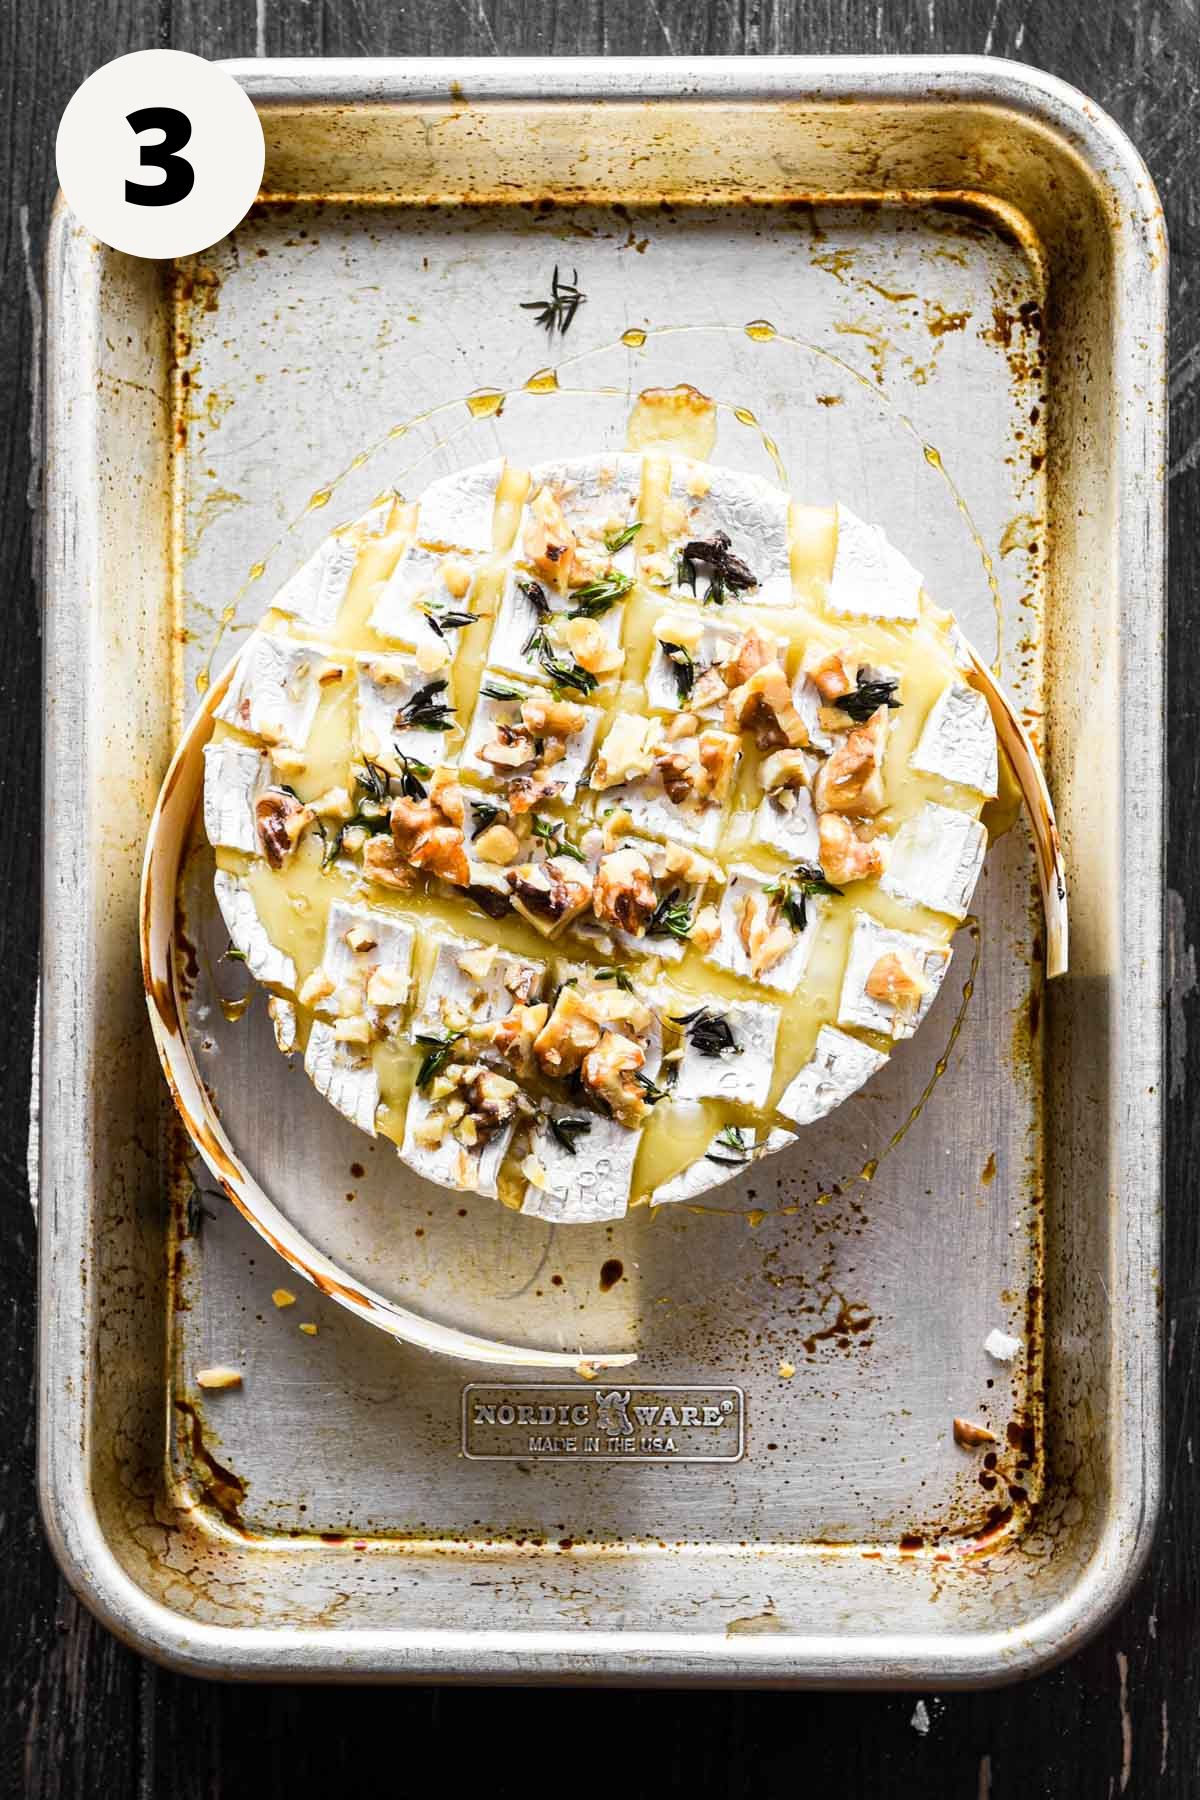
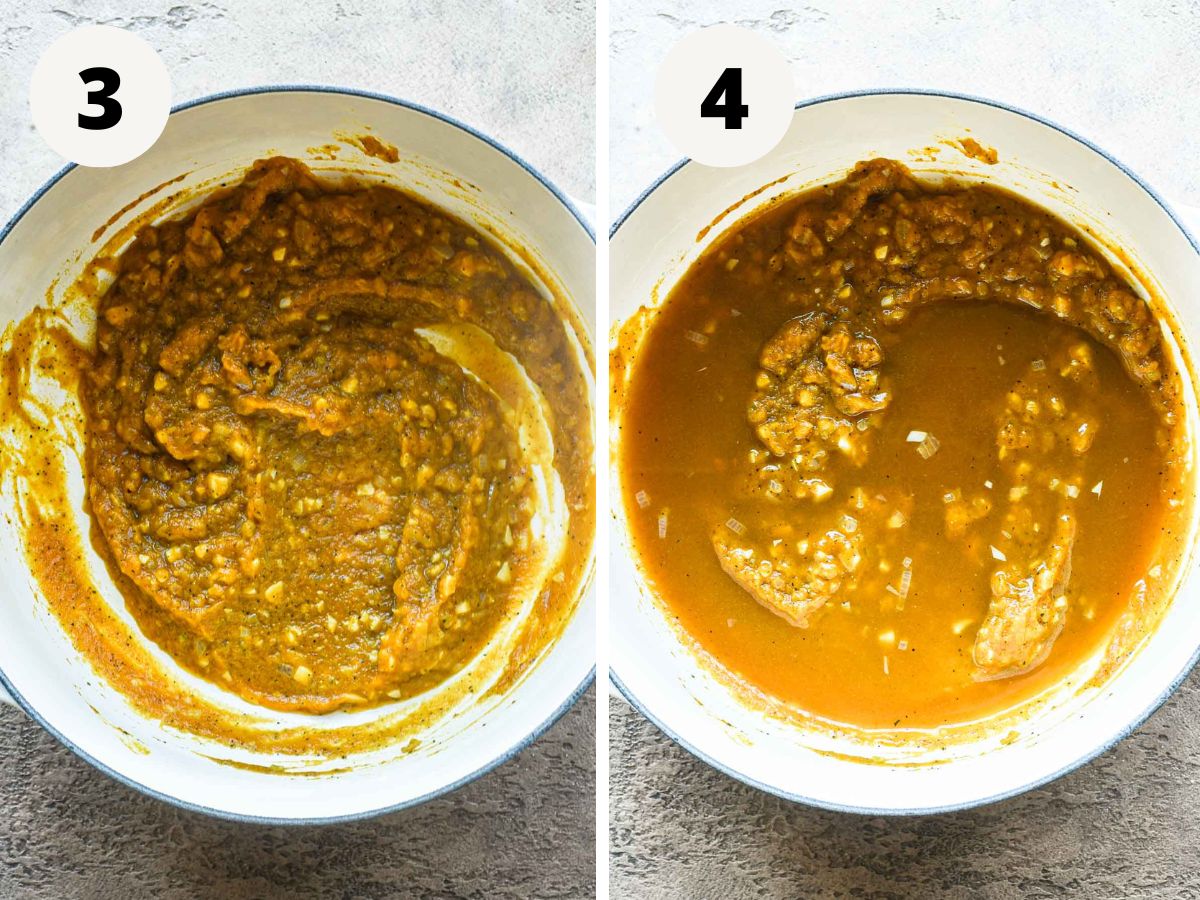
3. Add the pumpkin puree and spices. Add the pumpkin puree, cinnamon, nutmeg, salt, and pepper to the sautéing garlic and shallots. Cook, stirring often, for about 5 minutes until it has deepened in color – this will deepen the pumpkin flavor even more.
4. Add the broth. To the pot add the veggie broth and stir to combine. Bring to a simmer and cook until slightly thickened, about 5 minutes.
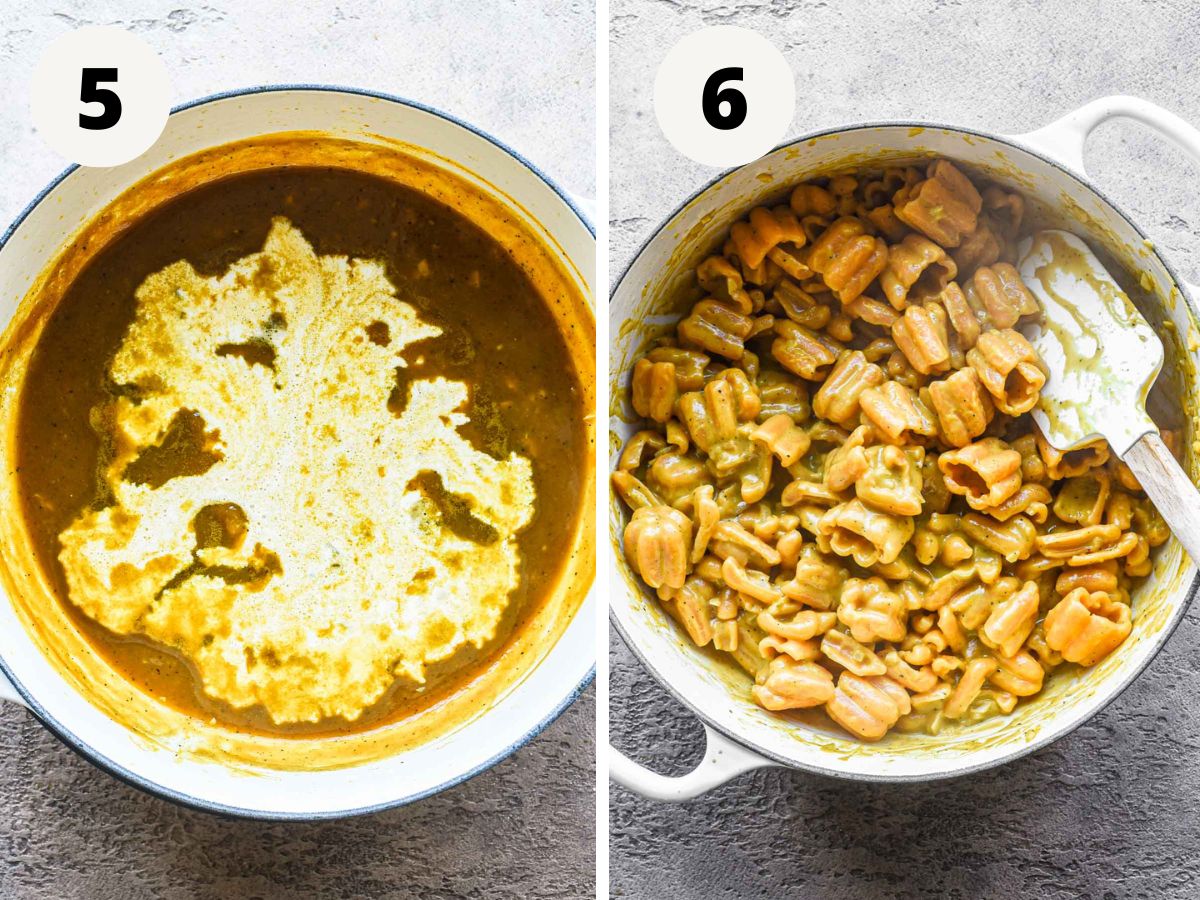
5. Add the heavy cream. To the pot add the heavy cream and stir to combine. Bring to a simmer and cook until slightly thickened, another 5 minutes.
6. Finish the sauce. Add the cooked pasta to the sauce and let it all come together for a few minutes, the residual starch from the pasta will finish thickening the sauce. If it gets too thick, use some reserved cooking water from the pasta to loosen it back up.
Tips and tricks
This is a pretty easy recipe for creamy pumpkin sauce, but check out the tips and tricks below to help make sure you nail it, or even add your own little spin.
- Use pumpkin puree not pumpkin pie filling. I know I wrote this above but make extra sure you’re using pumpkin puree! Pumpkin pie filling on the other hand is pumpkin puree + sweeteners and spices – you don’t want that for this dish.
- Cook the pasta to al dente. When you add it to the sauce it’ll finish cooking and also thicken the sauce.
- If you don’t have fresh sage for the breadcrumbs, dried sage is fine, but toast the breadcrumbs alone and then add the dried sage afterwards.
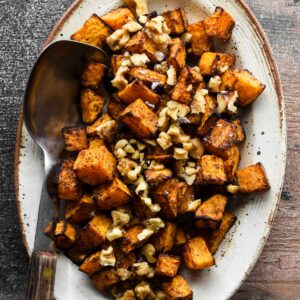
- Make your own pumpkin puree by roasting the pumpkin at 425F until fork-tender, then puree in a high-powered blender until smooth.
- Customize it. To make it spicy, add some red pepper flakes or crushed Calabrian chilis. Add some meat such as apple chicken sausage or crumbled bacon. Add some cheese such as parmesan cheese or pecorino cheese which will also help the sauce cling to the pasta. Or add a veggie – fresh spinach or kale added at the end would be great. You can even finish the sauce with a pat of unsalted butter to give it even more richness.
Storage and reheating
- Storage: let it come to room temperature then store in an air-tight container in the fridge for 3-4 days.
- Reheating: reheat in the microwave for a few minutes until warmed through. Add a splash of water to loosen it up as needed.
FAQs
If you swap in full-fat coconut milk instead of heavy cream, you’ll make it vegan and dairy free!
For sure! I’d recommend using spinach and ricotta ravioli for this recipe. You could do a pumpkin ravioli but I honestly think it’ll be too much pumpkin.
It would be great in a lasagna as a replacement to a tomato sauce layer! Or use it on top of chicken parmesan. Or baked ziti!
It is actually fairly nutrient dense! It especially has a lot of Vitamin A. Read more on it here.
More pasta recipes

📖 Recipe
Creamy Pumpkin Pasta Sauce with Sage Breadcrumbs
Ingredients
- 1 cup pumpkin puree
- ¾ cup vegetable broth
- ½ cup heavy cream
- 3 cloves garlic finely minced
- 1 shallot finely minced
- ¼ teaspoon cinnamon
- ¼ teaspoon nutmeg
- ½ teaspoon salt
- ¼ teaspoon pepper
- ½ cup panko bread crumbs
- 1 tablespoon fresh sage finely chopped
- 2 tablespoon olive oil, divided
Instructions
- Make the breadcrumbs: Heat olive oil over medium-low heat and add the sage and breadcrumbs. Cook, stirring often until toasted, about 5-6 minutes.
- Cook the pasta: Bring a large pot of water to a boil, add a 3-finger pinch of salt, and cook the pasta until al dente. Reserve 1 cup of pasta water and drain the remaining.
To make the sauce:
- Warm a large skillet over medium heat. Once warmed, add 1 tablespoon olive oil, followed by the minced garlic and shallots. Sauté for about 2 minutes until very fragrant.
- Add the pumpkin puree, cinnamon, nutmeg, salt, and pepper. Cook, stirring often, for about 5 minutes until it has deepened in color – this will deepen the pumpkin flavor.
- Add the veggie broth and stir to combine. Bring to a simmer and cook until slightly thickened, about 5 minutes.
- Add the heavy cream and stir to combine. Bring to a simmer and cook until slightly thickened, another 5 minutes.
- Add the cooked pasta to the sauce and let it all come together for a few minutes, the residual starch from the pasta will finish thickening the sauce. If it gets too thick, use some reserved cooking water from the pasta to loosen it back up.