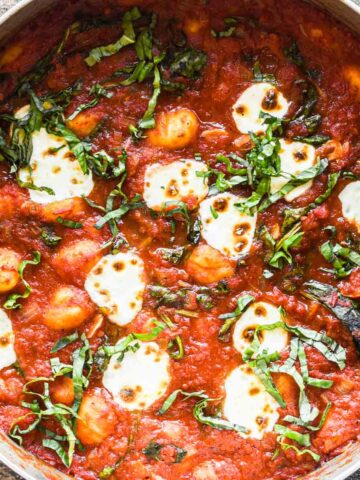
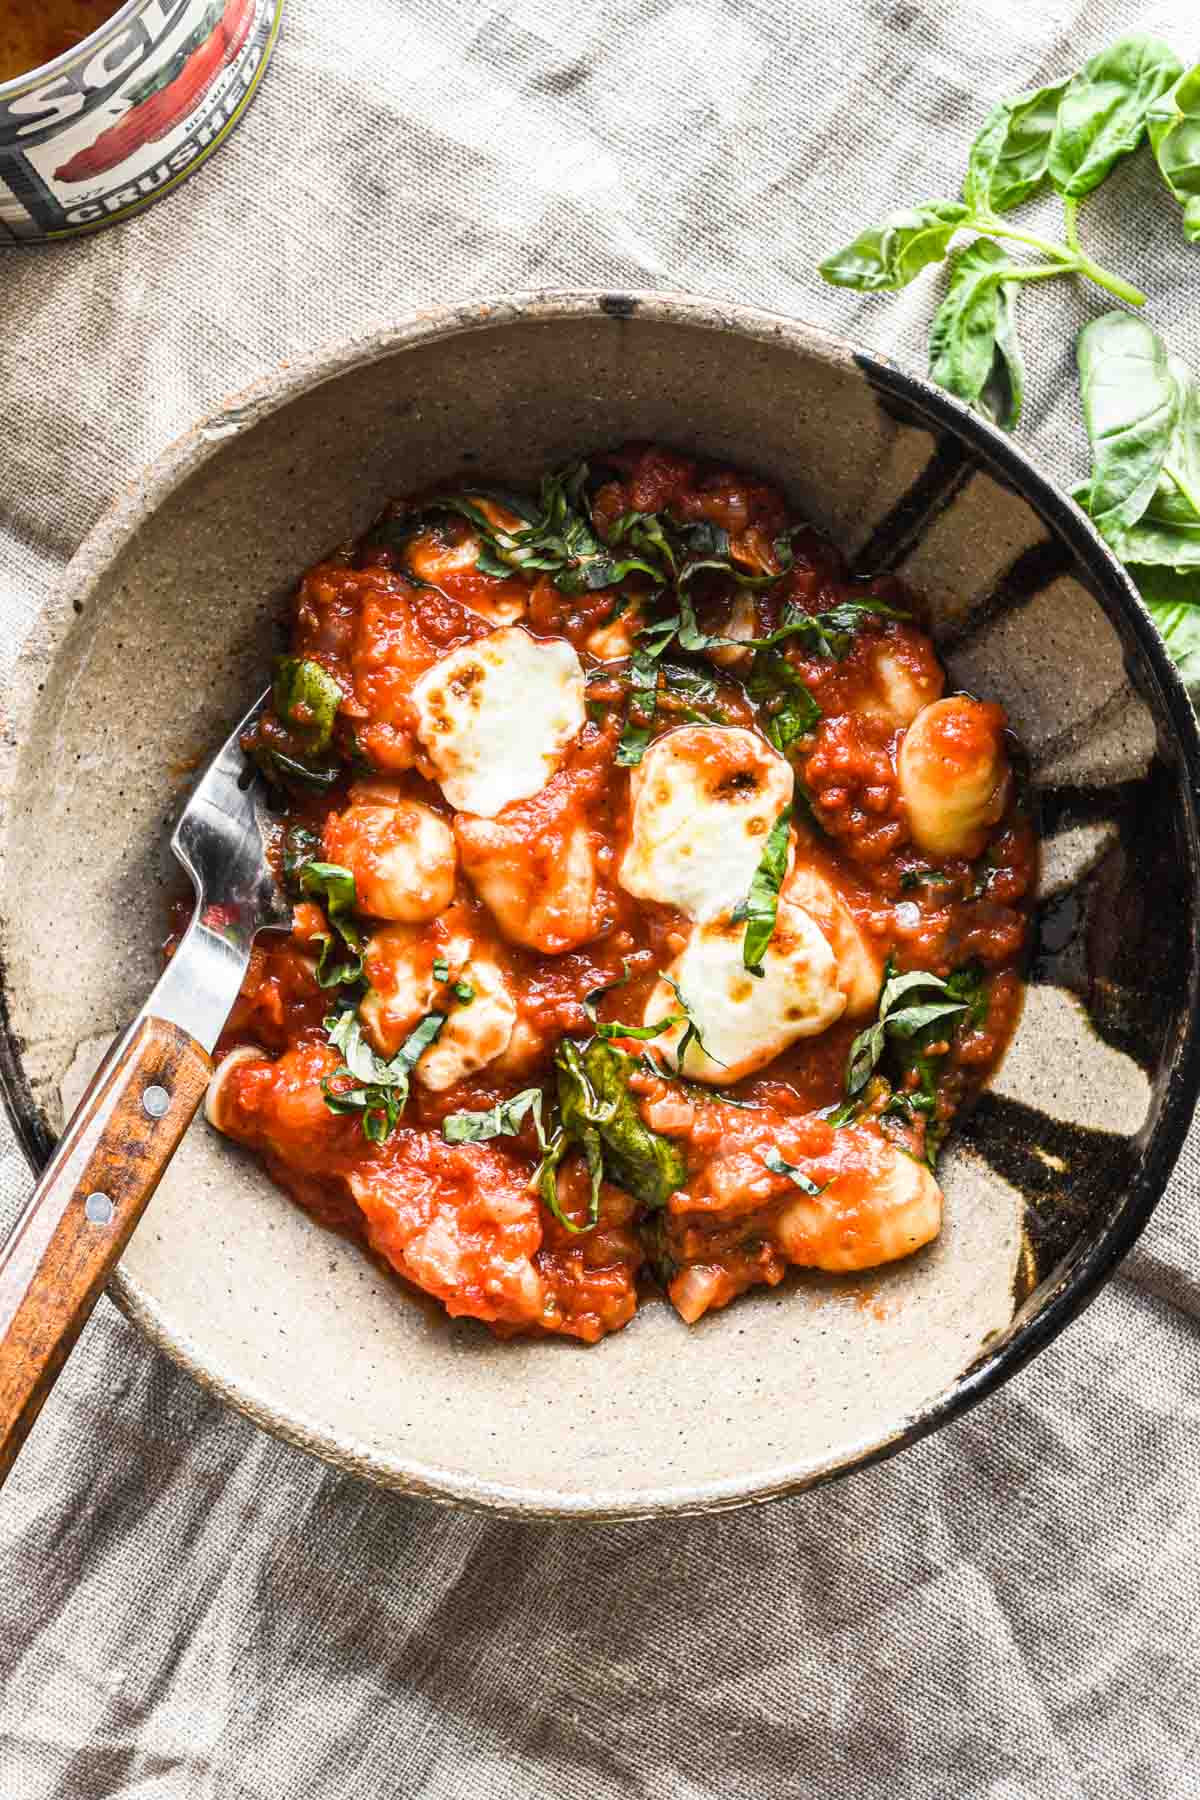
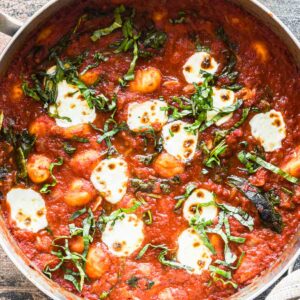
This One Pot Tomato Gnocchi with Spinach is an incredibly easy one pot dinner recipe full of flavor with a simple homemade tomato sauce. The gnocchi are cooked right in the sauce, then it’s all baked together to deepen the flavors and melt mozzarella cheese on top.

Ingredients
This easy recipe is great because not only does it use ingredients you very likely have on hand, but it also uses a ton of shelf stable ingredients. Full quantities are listed in the recipe card below.
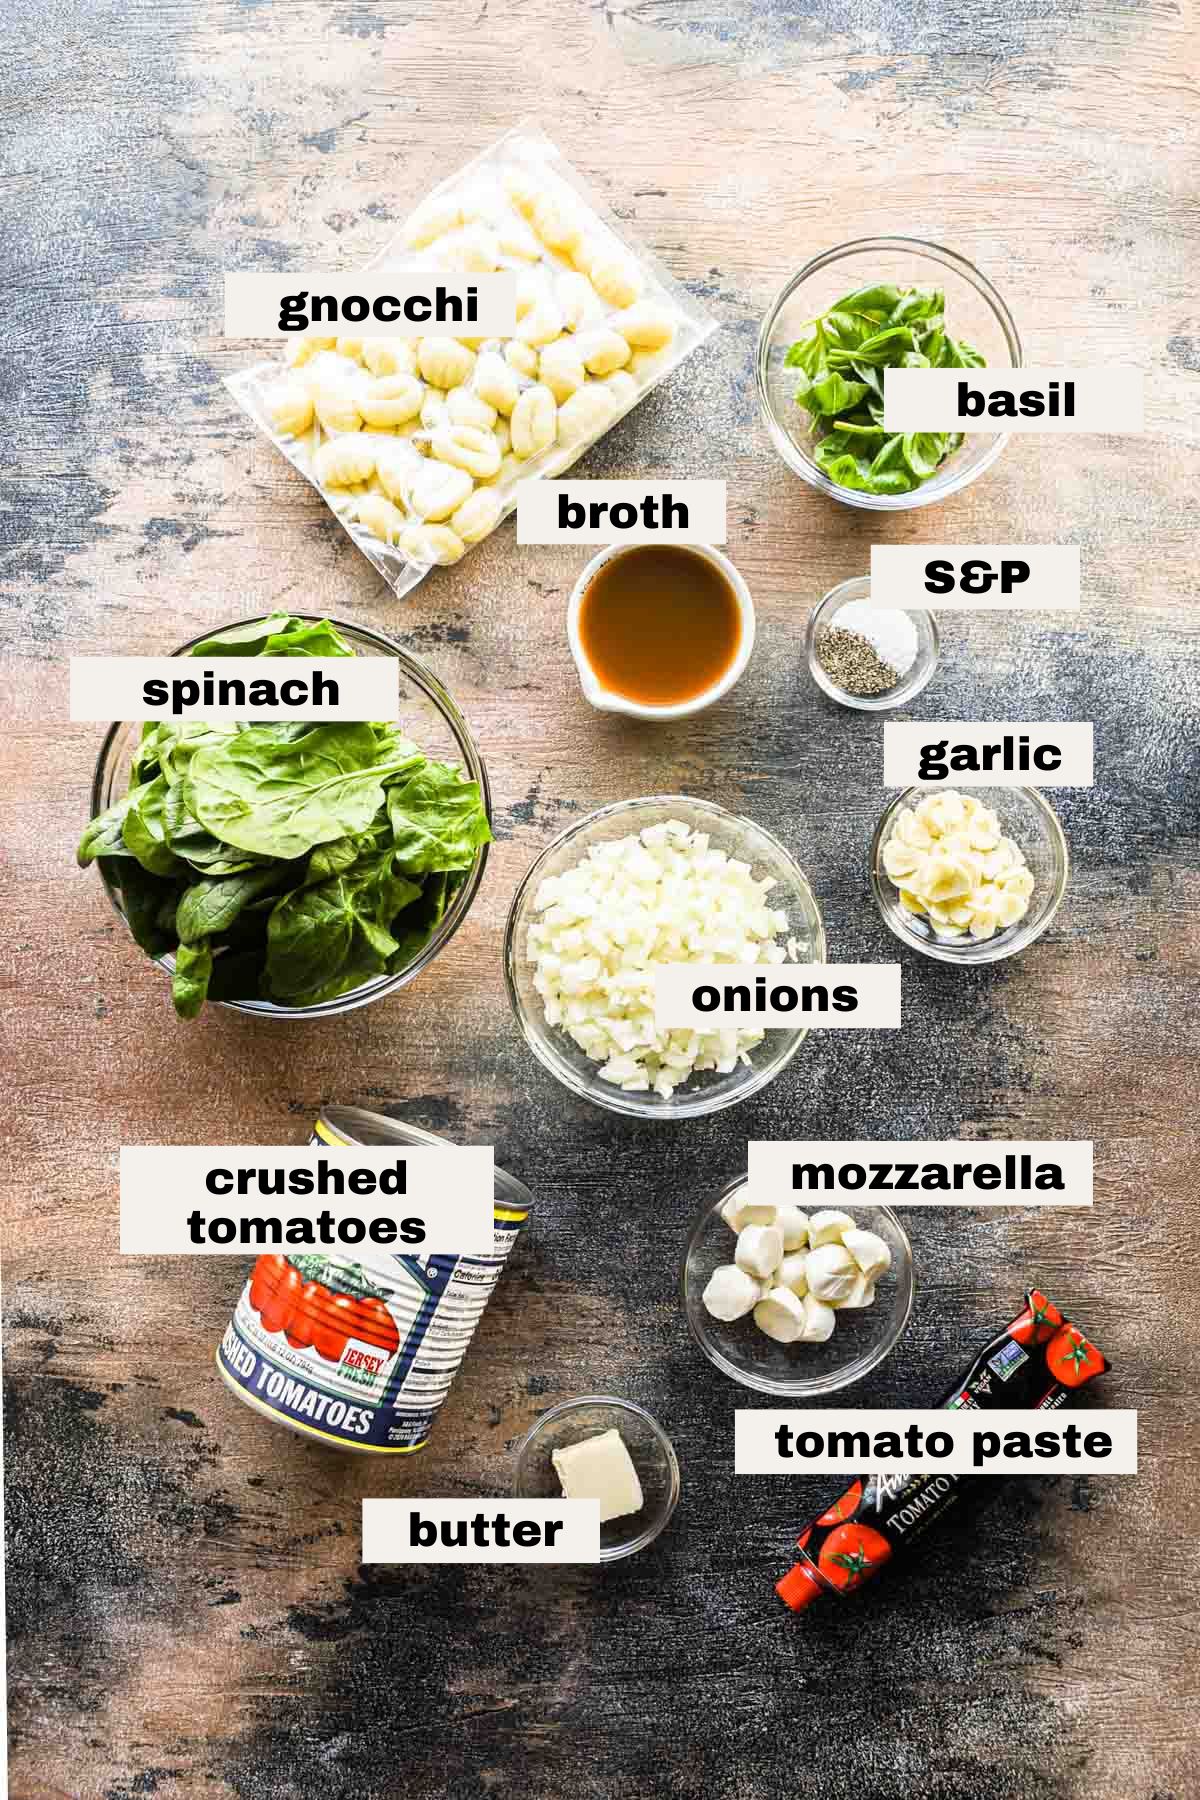
- Gnocchi: One package of shelf stable gnocchi works great for this tomato gnocchi recipe. You can choose whatever kind you like – potato gnocchi, spinach gnocchi, etc.
- Crushed tomatoes: One big 28oz can of crushed tomatoes. This serves as the base for the sauce.
- Vegetable stock or vegetable broth: This thins out the crushed tomatoes a bit so that there’s enough liquid for the gnocchi to cook in the sauce. You could use chicken broth or chicken stock if you have it / prefer it.
- Tomato paste: Since we are thinning out the crushed tomatoes, we want to make sure enough of the tomato flavor still comes through, so adding tomato paste (concentrated tomatoes), helps ensure that.
- Yellow onion: Just a half of a yellow onion gets sautéd to bring a ton of flavor to the sauce.
- Garlic: I like a prominent garlic flavor, so I recommend 5 cloves. You can reduce or add to that based on your preference.
- Butter: Unsalted butter is used to sauté the onion and garlic, just adding another layer of flavor.
- Spinach: Fresh spinach is best here - as the gnocchi cooks it’ll wilt down into the sauce. Regular or baby spinach are both fine.
- Fresh mozzarella: I like to use the mini mozzarella balls and cut them in half. They’ll get broiled to melt and become nice and browned. You could also use a large ball of mozzarella and tear it.
- Basil: To finish the dish before serving, adding some torn fresh basil leaves lightens it all up and is not only pretty but rounds out the Italian flavors. Chopped parsley would also be great.
Step by step instructions
This one pan gnocchi with spinach is easily whipped up and great for a busy weeknight. It's perfect if you’re trying to eat vegetarian, but so good the meat lovers will enjoy it too. instructions can be found below with reference images.
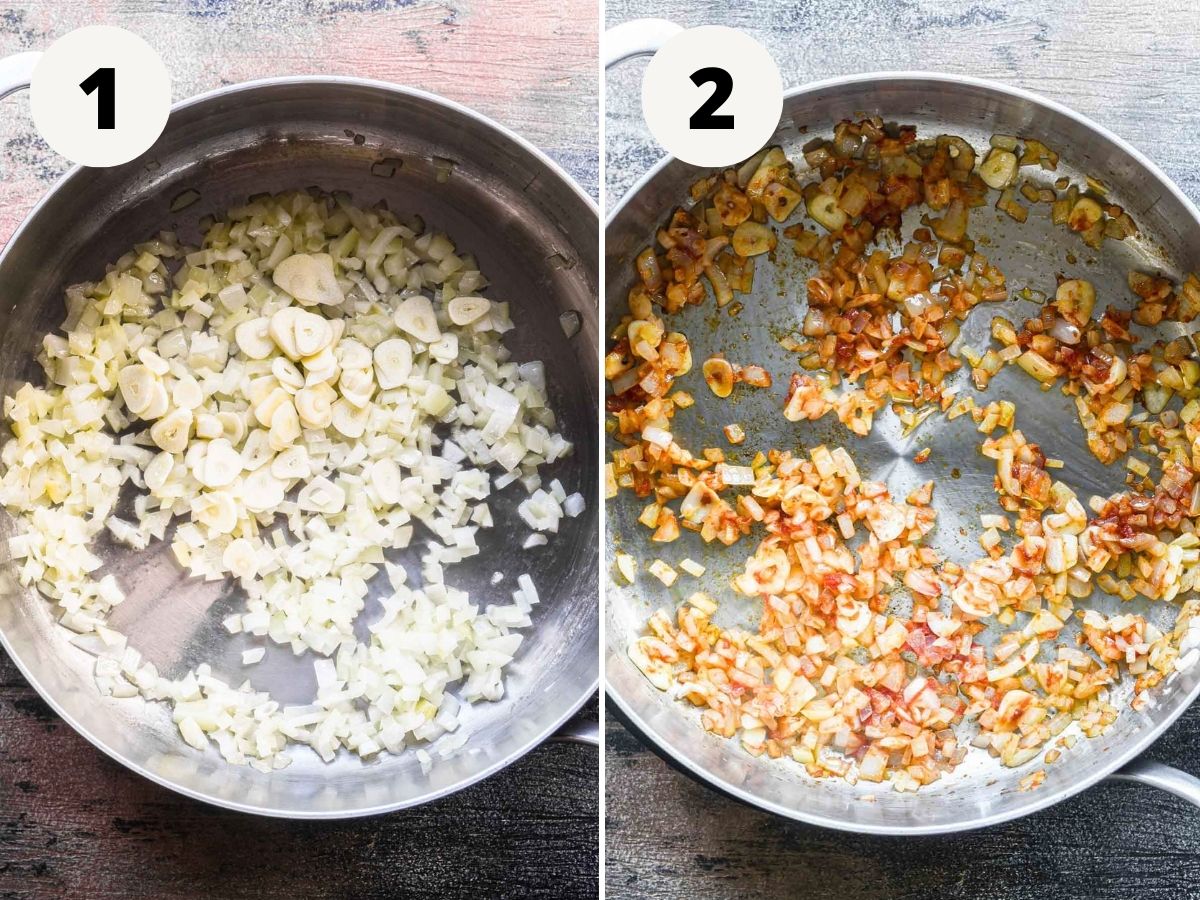
1. Cook the onion and garlic. Warm a large skillet or cast iron pan (with an oven safe lid) over medium heat. Add the butter. Once the butter is melted, add the onion. Sauté the onion for 5 minutes until lightly translucent. Then add in the sliced garlic cloves and cook for 2 minutes.
2. Add the tomato paste. To the onion and garlic mixture, add in the 1 tablespoon of tomato paste. Stir this to get it incorporated and cook for 2-3 minutes to deepen in color and flavor.
3. Add the tomatoes, stock, and seasoning. To the pan, add the crushed tomatoes, vegetable stock, and salt and black pepper. Stir together and bring it to a gentle simmer.
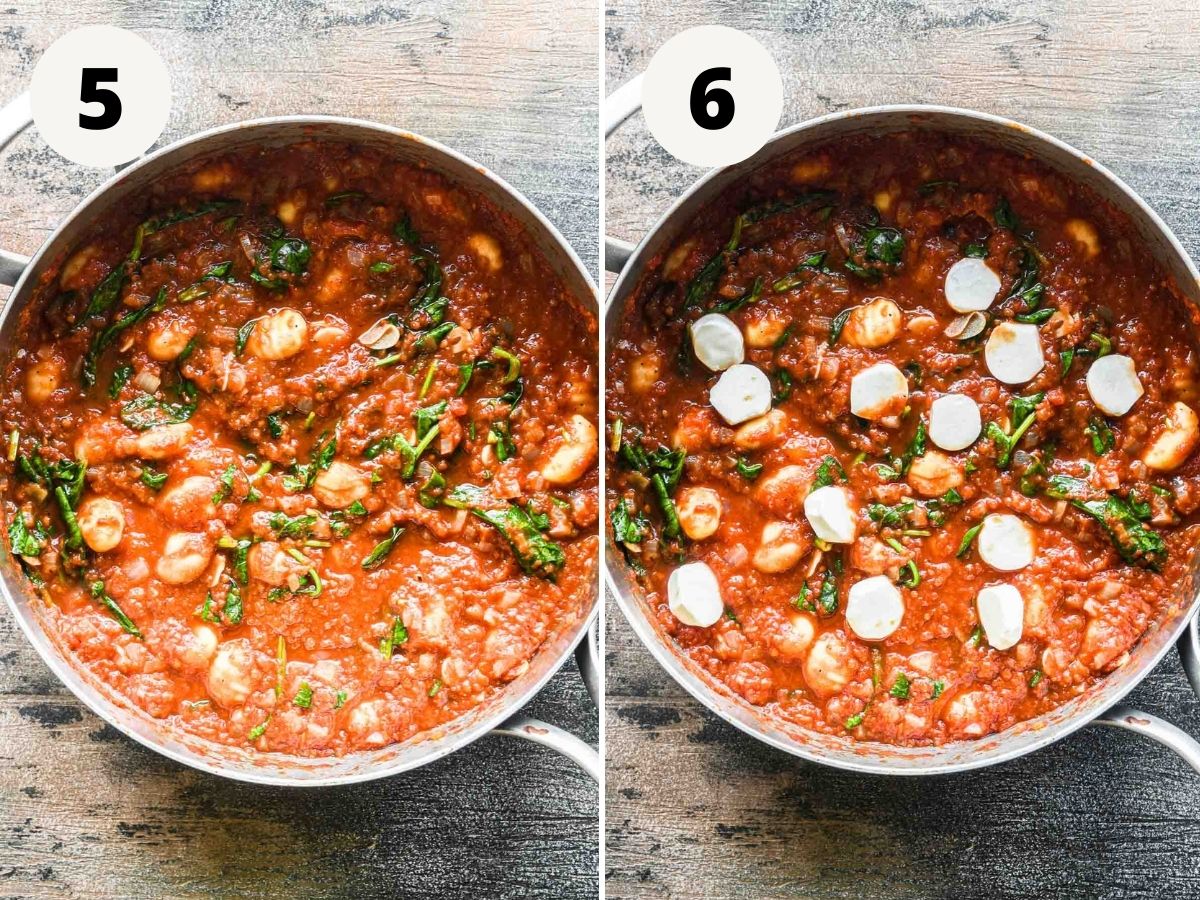
4. Add the gnocchi and spinach. To the pot add the uncooked gnocchi and fresh spinach. Mix it in as best you can, submerging all of the gnocchi.

5. Bake. Cover the pot and bake for 20 minutes, stirring every 5-ish minutes.
6. Broil. Top with mozzarella cheese and broil for 5 minutes on high until melted and lightly browned. Serve with fresh basil and a drizzle of a little extra virgin olive oil if desired.
Recipe customizations
- If you want to add protein into this, some chicken cutlets on top would be great. You could also add ground meat (such as Italian sausage) into the sauce directly.
- Make it a little bit spicy by adding red pepper flakes or crushed Calabrian chili peppers when you add the garlic.
- Make it dairy free by simply skipping the mozzarella cheese or use a dairy free parmesan cheese in its place.
- Feel free to add some halved cherry tomatoes or chopped sun-dried tomatoes in there as well if you want the additional texture.
- Add a dollop of pesto into the sauce if you want.
- Swirl in some heavy cream before you add the gnocchi to the pot if you want to make it a creamy tomato sauce.
Tips and tricks
This is maybe one of the easiest gnocchi recipes you'll come across and is a great quick meal. Below are some tips and tricks to nail it, and some variations should you want them.
- Make sure that the pot you use has a lid that is oven safe to high temperatures.
- Stirring a few times while it’s in the oven ensures everything cooks evenly, the spinach wilts into the sauce, and nothing sticks to the bottom of the pan.
- If you don't want to bake the dish, you can bring the sauce up to a simmer on the stovetop and add the gnocchi and spinach in. Continue simmering on medium-low heat until the gnocchi are cooked through and the spinach is wilted. Option to add the mozzarella cheese and broil if you'd like.
- Serve with homemade garlic bread.
Storage and reheating
This easy baked gnocchi recipe holds up pretty well when stored because there’s plenty of sauce to keep it moist.
- Storage: let it cool to room temperature then store in an airtight container in the fridge for up to 4 days.
- Reheating: reheat in the microwave in intervals, stirring between, until warmed through.
- Freezing: Once the tomato gnocchi dish is cooked and cooled, you could freeze it in an airtight container for up to 3 months. To reheat from frozen, warm it on low heat on the stovetop until heated through. Add a little stock as needed to thin out the sauce.
FAQs
Gnocchi is a type of pasta, originating in Italy, that’s made mostly of potato and flour. They are soft, chewy, and almost dumpling-esque. More on this here.
You can, but defrost it and squeeze out all the excess liquid before you add it in. You can add it at the same step.
Sure if needed!
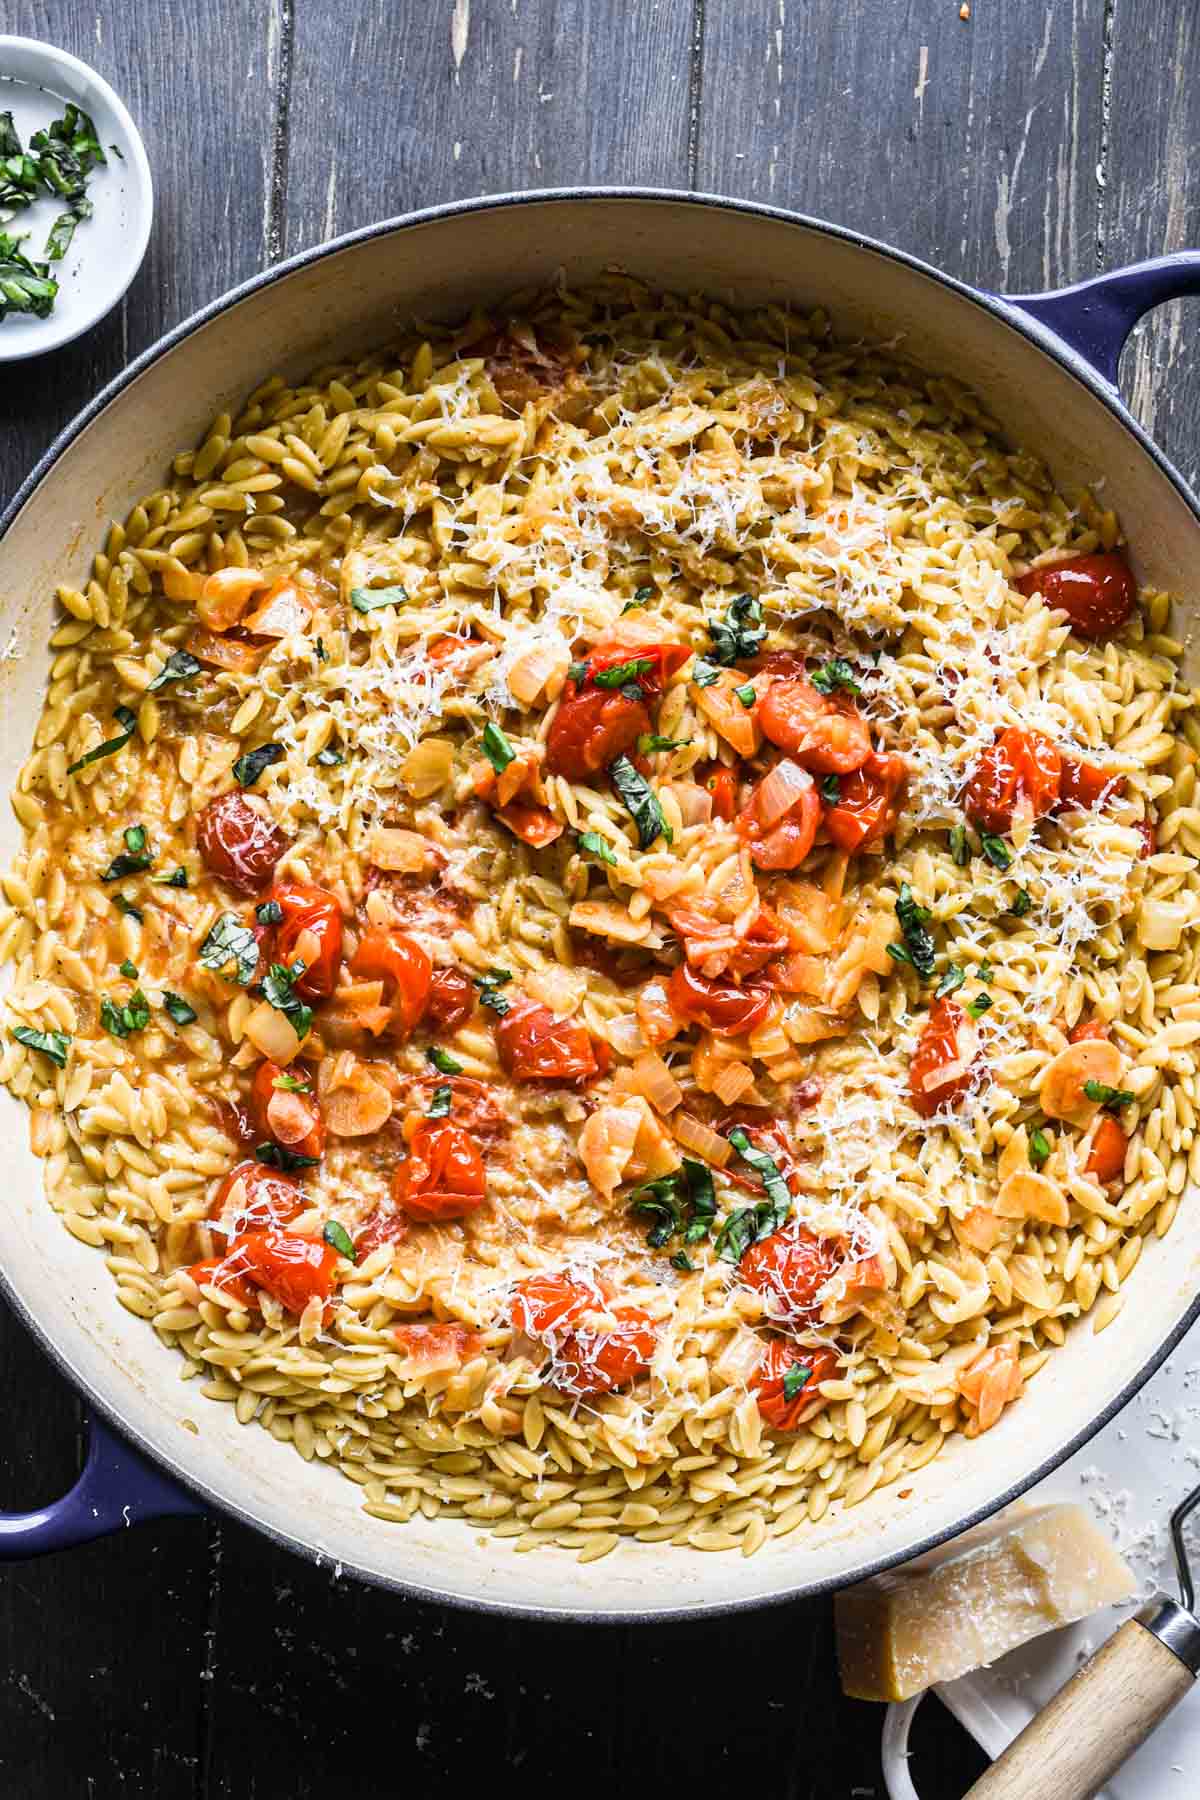
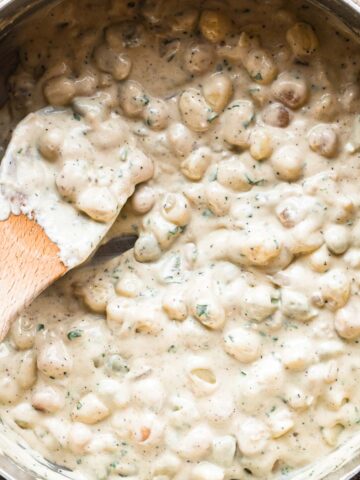
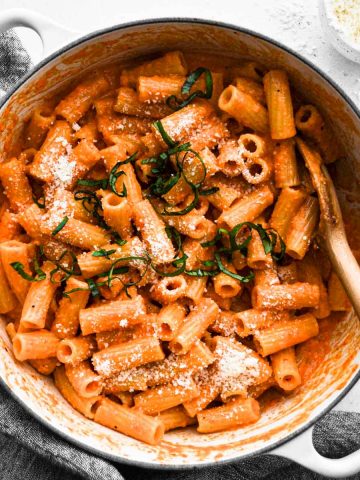
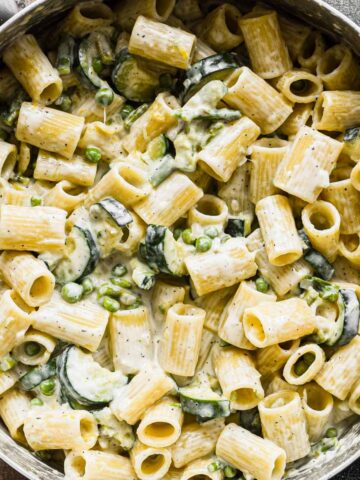
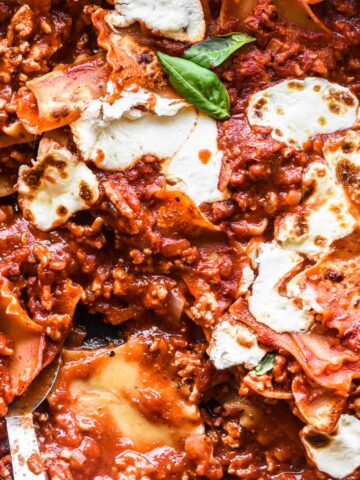
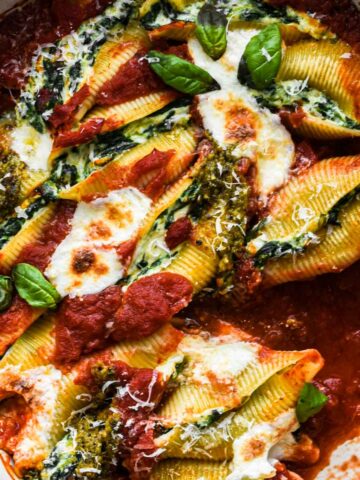
More red sauce pasta recipes


Did you make this recipe? Leave a rating and review below and tag me on social!
📖 Recipe
One Pot Tomato Gnocchi with Spinach
Ingredients
- 16 oz shelf stable gnocchi
- 2 tablespoon unsalted butter
- ½ yellow onion diced
- 5 cloves garlic sliced
- 1 tablespoon tomato paste
- 28 oz can of crushed tomatoes
- 1.5 cups fresh spinach
- ½ cup vegetable stock
- 4 oz fresh mozzarella
- 2 tablespoon fresh basil chopped
Instructions
- Preheat your oven to 400℉
- Warm a large skillet or cast iron pan (with an oven safe lid) over medium heat. Add the butter. Once the butter is melted, add the onion. Sauté the onion for 5 minutes until lightly translucent. Then add in the sliced garlic cloves and cook for 2 minutes.
- To the onion and garlic mixture, add in the 1 tablespoon of tomato paste. Stir this to get it incorporated and cook for 2-3 minutes to deepen in color and flavor.
- To the pan, add the crushed tomatoes, vegetable stock, and salt and black pepper. Stir together and bring it to a gentle simmer.
- To the pan, add the uncooked gnocchi and fresh spinach. Mix it in as best you can, submerging all of the gnocchi.
- Cover and bake for 20 minutes, stirring every 5-ish minutes.
- Top with mozzarella cheese and broil for 5 minutes on high until melted and lightly browned. Serve with fresh basil and a drizzle of a little extra virgin olive oil if desired.