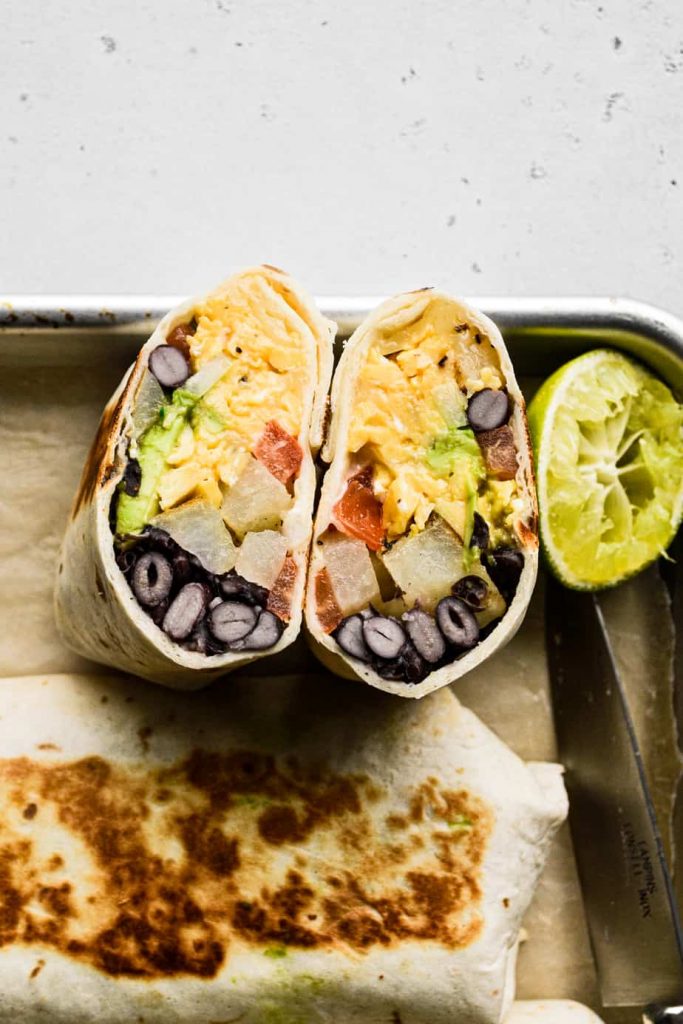
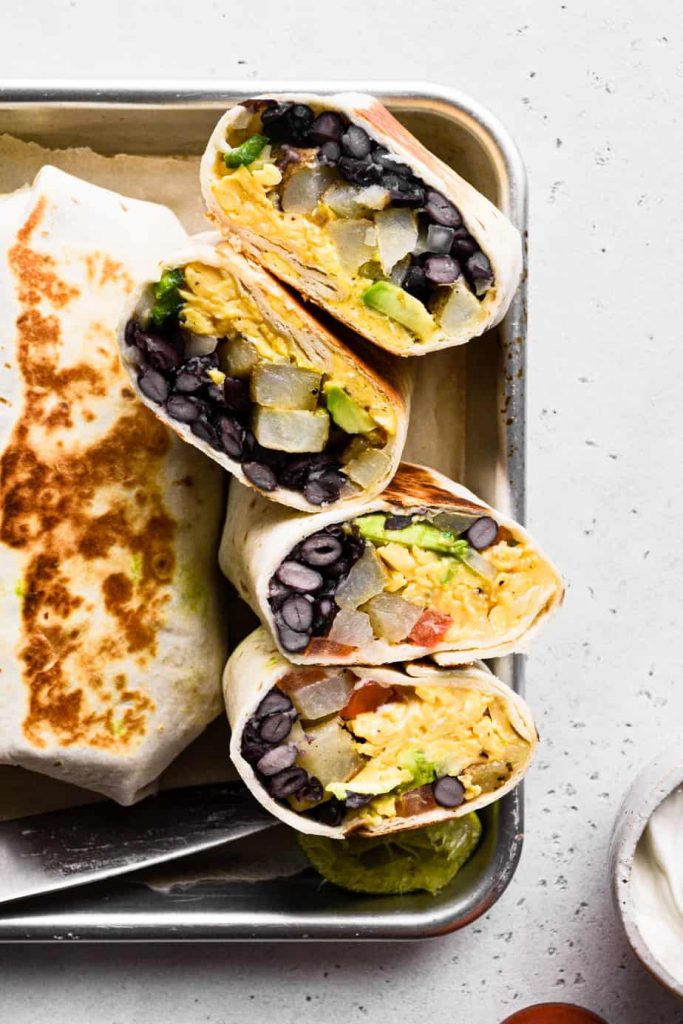
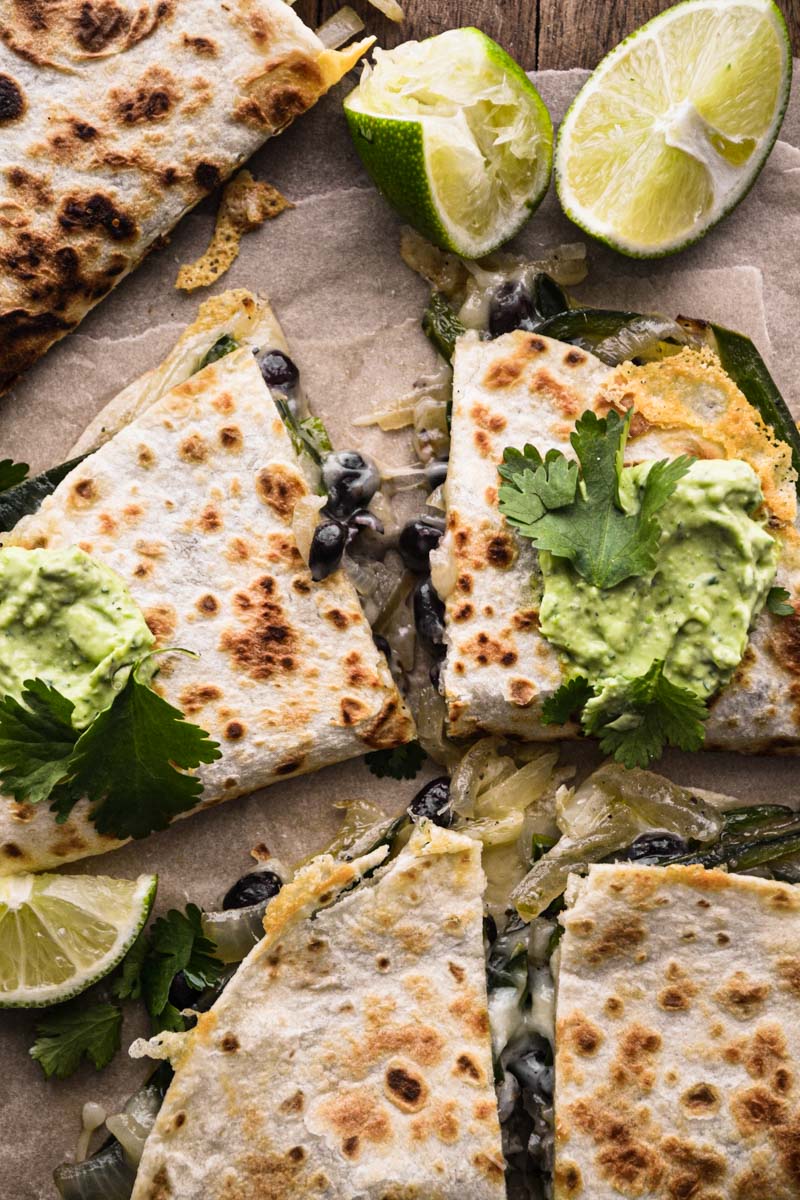
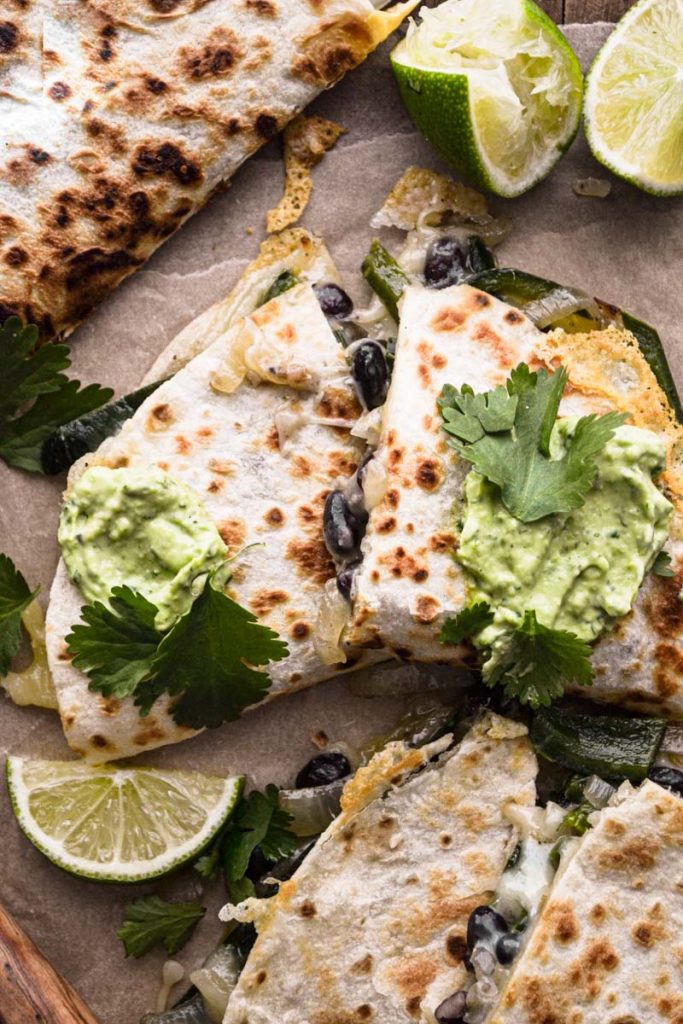
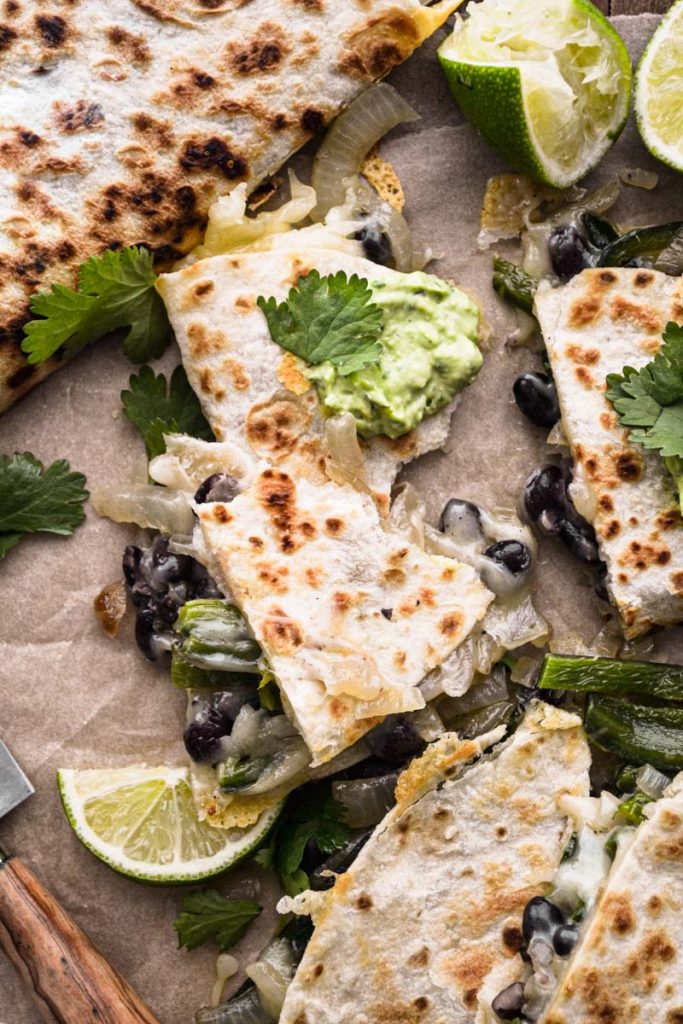
These Poblano and Black Bean Quesadillas are SO good if you're looking for a veggie quesadilla, and even if you're not. Delicious sautéed poblano peppers, black beans, and onions, stuffed between melty jack cheese in a crispy tortilla.
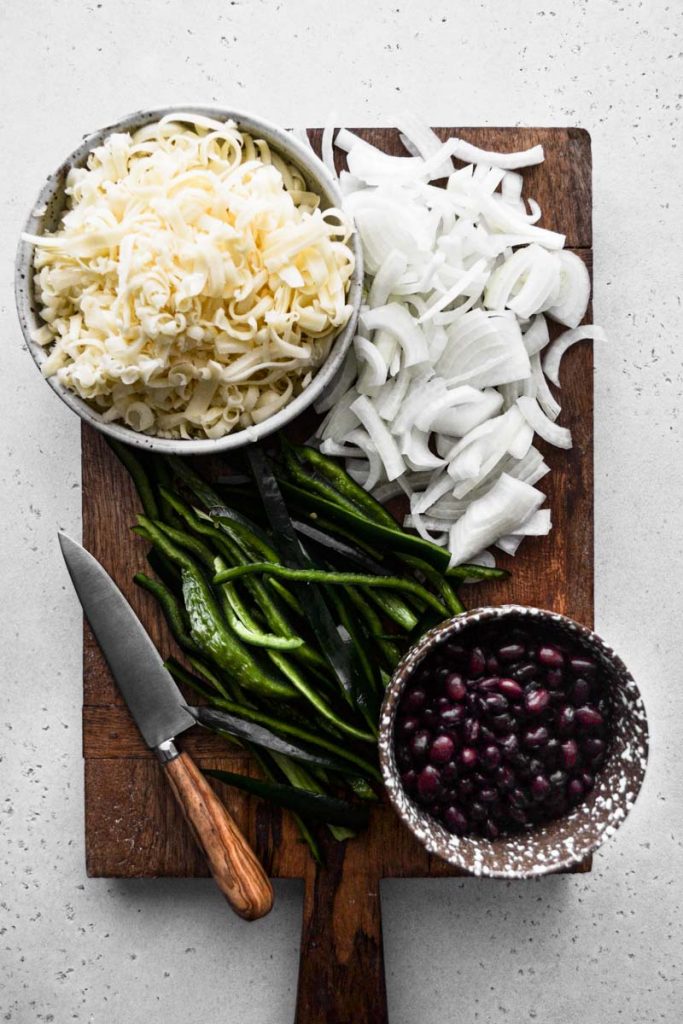
KEY INGREDIENTS:
- Poblano peppers: The main ingredient in these quesadillas! I wouldn't swap for a different pepper, poblanos are definitely key.
- Onion: Sautéed with the poblano peppers for delicious added flavor.
- Black beans: Gotta get some protein in there!
- Tortillas: Taco-sized tortillas are my favorite, and what the quantities of this recipe is based on. but you could easily use any other size tortilla, just note the end number of quesadillas will vary.
- Cumin: I love the flavor of cumin in veggie quesadillas - adds so much!
- Monterey jack cheese: A perfect melty cheese for these quesadillas. Freshly grated is best because it'll melt better with less/no preservatives.
KITCHEN EQUIPMENT:
- Coarse cheese grater
- Large skillet
- Chef's knife
- Cutting board
- Spatula
HOW TO MAKE THESE POBLANO AND BLACK BEAN QUESADILLAS:
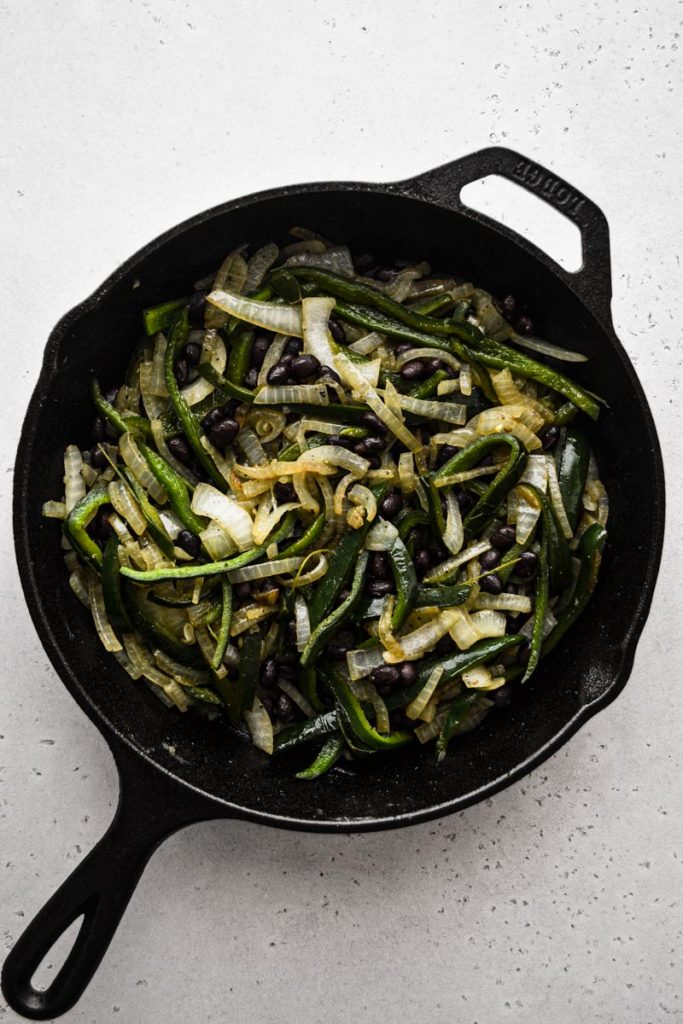
- Step 1: Sauté the veggies. In your skillet, heat 1 tablespoon olive oil on medium heat. Add the peppers, onion, cumin, salt, and pepper. Sauté about 10 minutes until softened but still with some structure. Add in the black beans and stir to combine. Remove the mixture from the skillet and set aside.
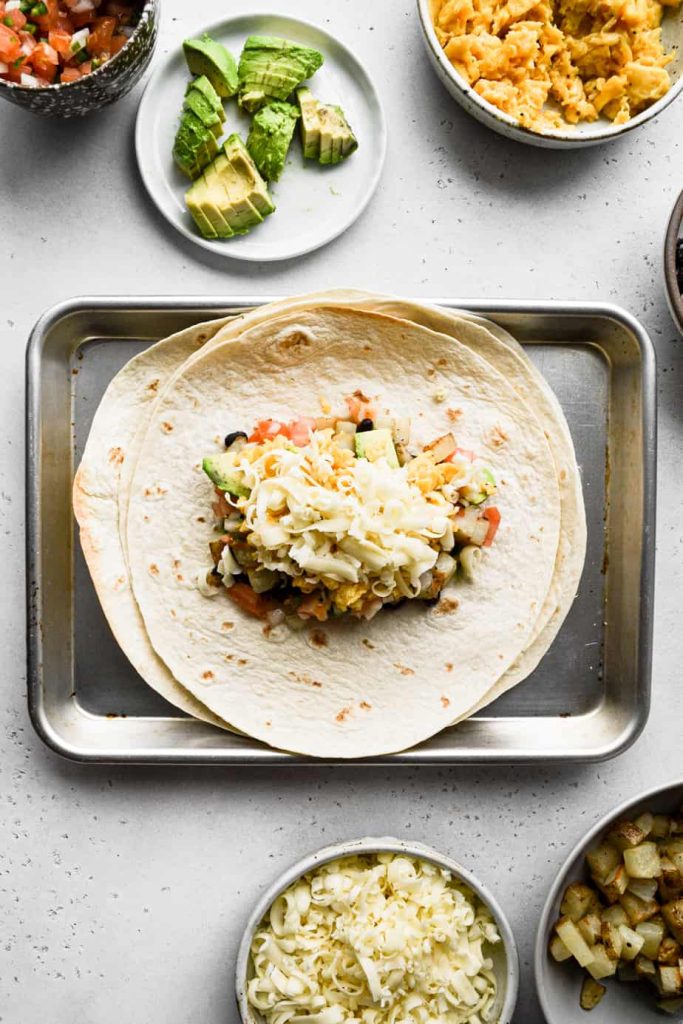
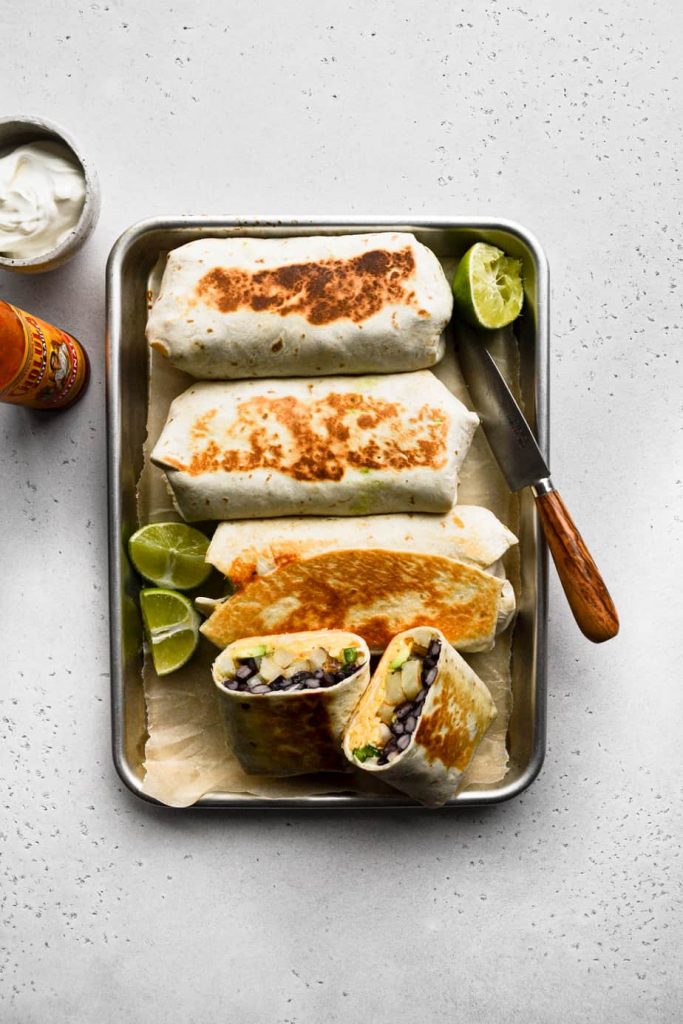
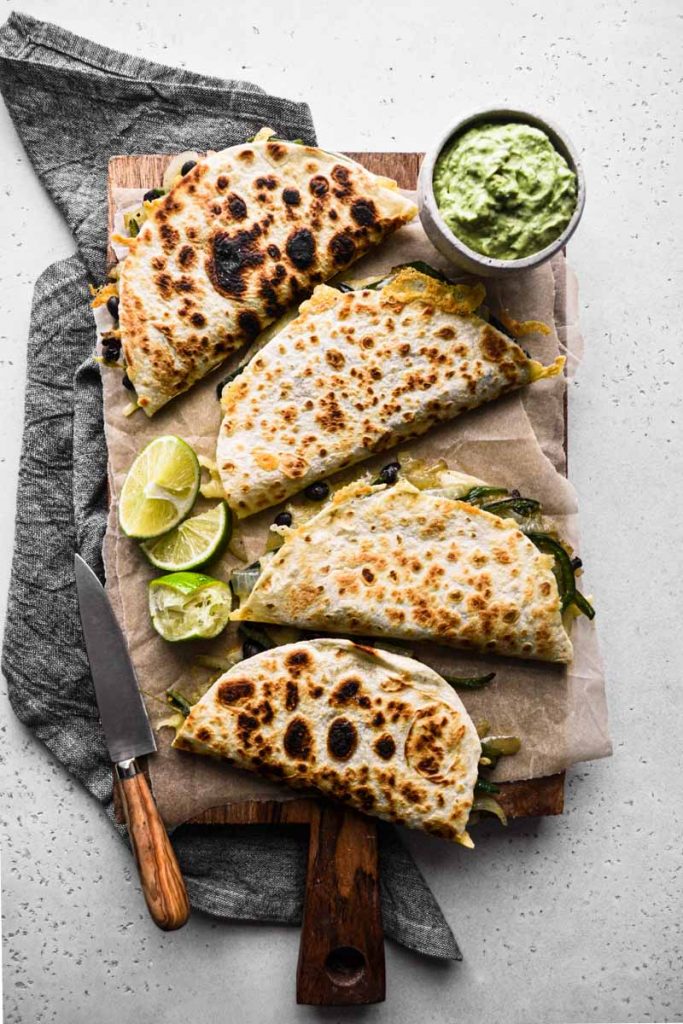
- Step 2: Assemble & finish. To the same skillet on medium heat, lay down one tortilla. Sprinkle with ¼ of the cheese and ¼ of the pepper mixture. Let that sit about 2 minutes until the cheese begins to melt. Then fold in half and press down slightly to meld the two halves together. Cook for another 2 minutes and flip to the other side, cooking 2 minutes more, until both sides are golden brown.
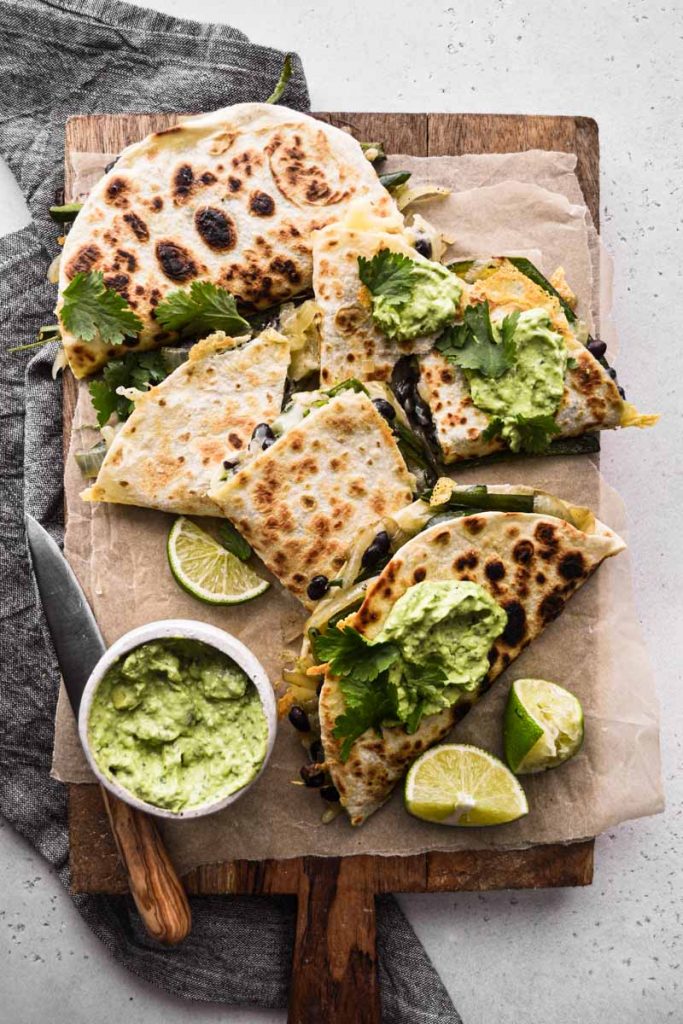
And that's it! If you'd like, serve with an avocado dipping sauce:
- In a food processor, combine 1 avocado, ½ cup cilantro, 2 tablespoon sour cream, juice of 1 lime, 2 garlic cloves, ½ teaspoon salt and ¼ teaspoon pepper. Pulse until smooth.
CAN YOU COOK THESE POBLANO QUESADILLAS IN THE OVEN?
Yes, sure! Here's how:
- On a large sheet pan, lay out the poblano peppers and onions. Drizzle with olive oil and the cumin, salt, and pepper. Roast at 400℉ for about 20-30 minutes until well softened. Mix in the black beans. Remove the mixture from the pan and set aside.
- On the same sheet pan, lay down your four tortillas, sprinkle each with ¼ of the cheese and ¼ of the pepper mixture. Fold them over and place another sheet pan of the same size (or two if smaller) on top to weigh them down and keep the tortillas closed.
- Bake at 400℉ until the cheese is melted and they're a little crispy - about 10-15 minutes.
MORE MEXICAN-INSPIRED RECIPES:
- Mexican Street Corn and Black Bean Tacos
- Cheesy Veggie Quesadilla
- Fish Tacos with Jalapeño Mango Salsa
📖 Recipe

Poblano Black Bean Quesadilla
These Poblano Black Bean Quesadillas are SO good if you're looking for a veggie quesadilla, and even if you're not. Delicious sautéed poblano peppers, black beans, and onions, stuffed between melty jack cheese in a crispy tortilla.
Print
Pin
Rate
Servings: 4 quesadillas
Ingredients
- 4 taco-sized flour tortillas
- 2 cups monterey jack cheese freshly grated preferable
- 1 large onion sliced ½"
- 2 large poblano peppers sliced ¼"
- 1 14oz can black beans drained and rinsed
- ¼ teaspoon cumin
- 1 teaspoon kosher salt
- ½ teaspoon pepper
- 1 tablespoon olive oil
Avocado dipping sauce:
- 1 avocado
- ½ cup cilantro
- 2 tablespoon sour cream
- 2 teaspoon lime juice (about 1 lime)
- 2 cloves garlic
- ½ teaspoon kosher salt
- ¼ teaspoon pepper
Instructions
- Heat your skillet and 1 tablespoon olive oil on medium heat.
- Add the peppers, onion, cumin, salt, and pepper. Sauté about 10 minutes until softened but still with some structure.
- Add in the black beans and stir to combine. Remove the mixture from the skillet and set aside.
- To the same skillet still on medium heat, lay down one tortilla. Sprinkle with ¼ of the cheese and ¼ of the pepper mixture. Let that sit about 2 minutes until the cheese begins to melt. Then fold in half and press down slightly to meld the two halves together. Cook for another 2 minutes and flip to the other side, cooking 2 minutes more, until both sides are golden brown.
- Repeat for all four tortillas.
- Avocado dipping sauce: In a food processor, combine 1 avocado, ½ cup cilantro, 2 tablespoon sour cream, juice of 1 lime, 2 garlic cloves, ½ teaspoon salt and ¼ teaspoon pepper. Pulse until smooth.
Nutrition Estimate
Calories: 452kcal | Carbohydrates: 27g | Protein: 18g | Fat: 31g | Saturated Fat: 14g | Polyunsaturated Fat: 2g | Monounsaturated Fat: 14g | Cholesterol: 53mg | Sodium: 1394mg | Potassium: 516mg | Fiber: 6g | Sugar: 5g | Vitamin A: 906IU | Vitamin C: 57mg | Calcium: 486mg | Iron: 2mg